
Ever wondered what all the fuss is about with those wrinkled, tangy treats sitting in jars at Asian markets?
Picture this: It’s a cozy evening, and you’re craving something different-something with a satisfying chew, bold flavors, and that perfect tangy kick.
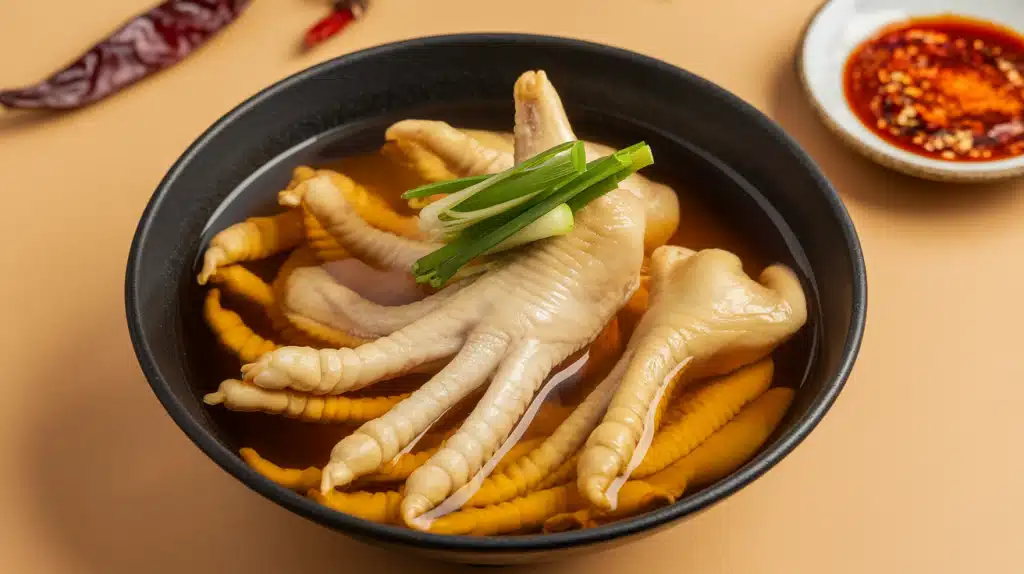
Enter pickled chicken feet, the ultimate snack that’s been winning hearts across Asia for centuries!
Here’s a fun fact that’ll surprise you – chicken feet contain more collagen than any other part of the chicken, making them incredible for your skin and joints!
No fancy cooking skills needed, just a simple brine, some patience, and an adventurous spirit.
Last week, when skeptical friends tried these golden, pickled treasures for the first time, they couldn’t help but reach for more.
The combination of tender meat, gelatinous texture, and zesty pickle flavor creates an addictive snack that’s impossible to resist.
Ingredients You’ll NeedFor the Chicken Feet
For the Pickling Brine
For Extra Flavor
|
Recipe Notes
| Prep Time: 30 minutes | Cook Time: 1 hour | Pickling Time: 24-48 hours |
| Method: Boiled & Pickled | Category: Appetizer/Snack | Cuisine: Asian-Inspired |
Let’s Get Pickling – Step by Step!
Making pickled chicken feet is like creating edible treasure – it takes a little patience, but the reward is worth it! No special equipment is needed, just a large pot, clean jars, and enthusiasm for trying something new.
Time to roll up those sleeves and create some tangy magic!
1. Preparing the Chicken Feet
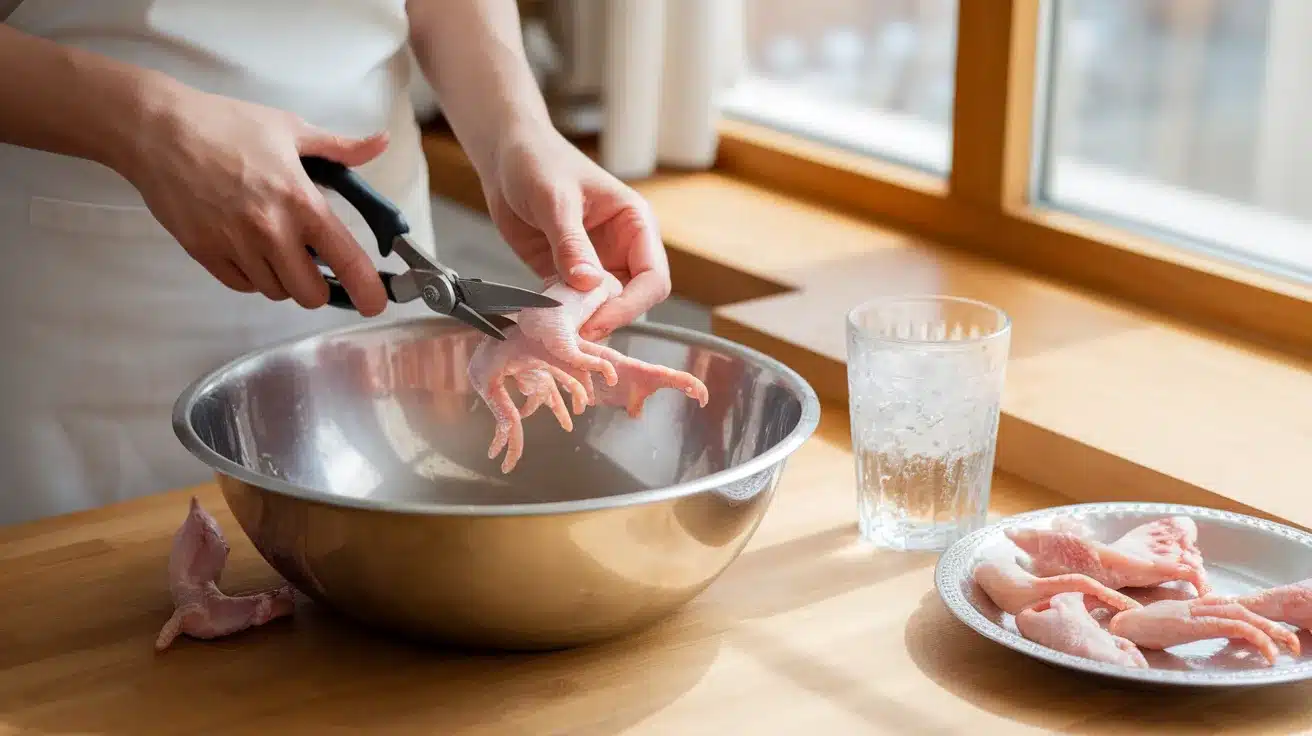
First, the chicken feet need proper cleaning and trimming. Any remaining feathers or rough spots are carefully removed. The nails are trimmed off with kitchen shears; this step is crucial for achieving the best texture and appearance.
Cold water rinses away any debris, leaving clean, ready-to-cook feet. A large bowl holds them while the cooking water comes to a boil.
Pro Tip: Ask your butcher to clean and trim the feet if you prefer – many will do this service for free!
2. The First Cooking Bath
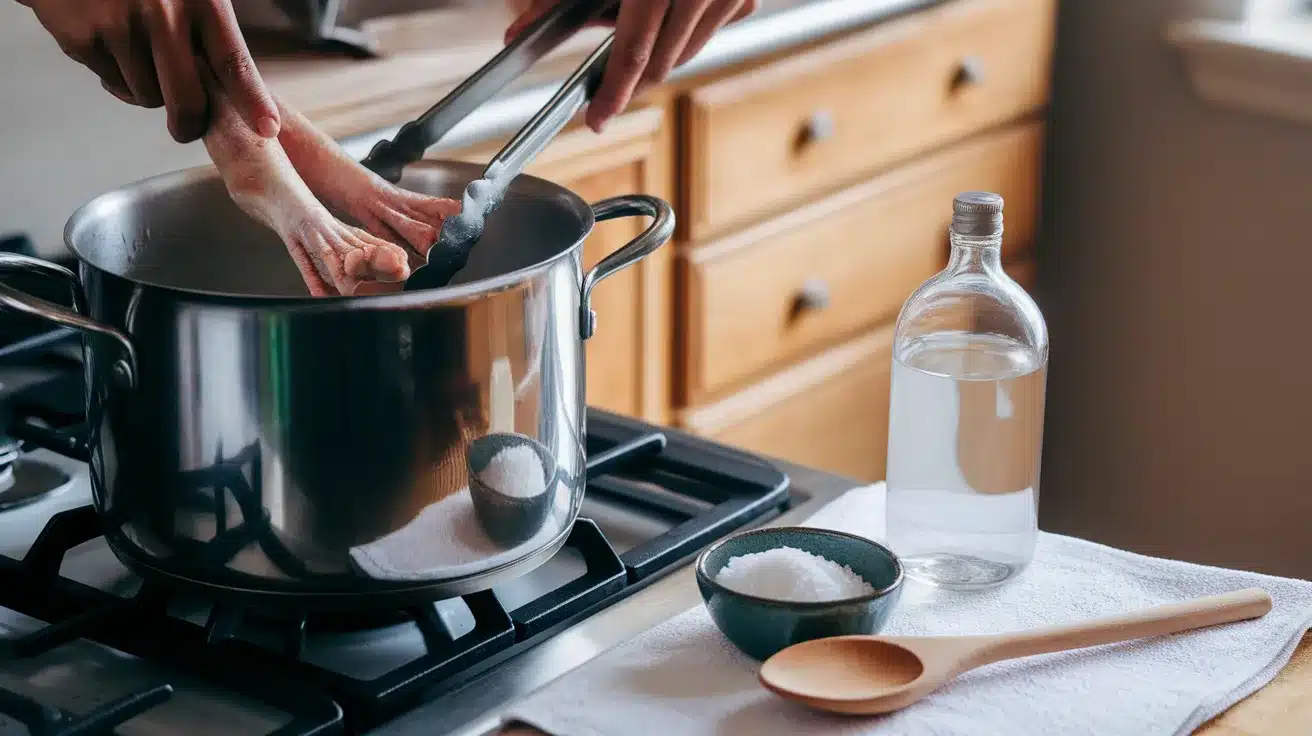
A large pot filled with 8 cups of water comes to a rolling boil. Salt and white vinegar are added to help clean and tenderize the feet. The chicken feet go in carefully, one by one.
Everything cooks for about 45-60 minutes until the meat is tender but not falling apart. A fork should pierce the skin easily when they’re ready.
Pro Tip: Skim off any foam that rises to the surface during cooking – this keeps the final result crystal clear!
3. The Ice Bath Shock
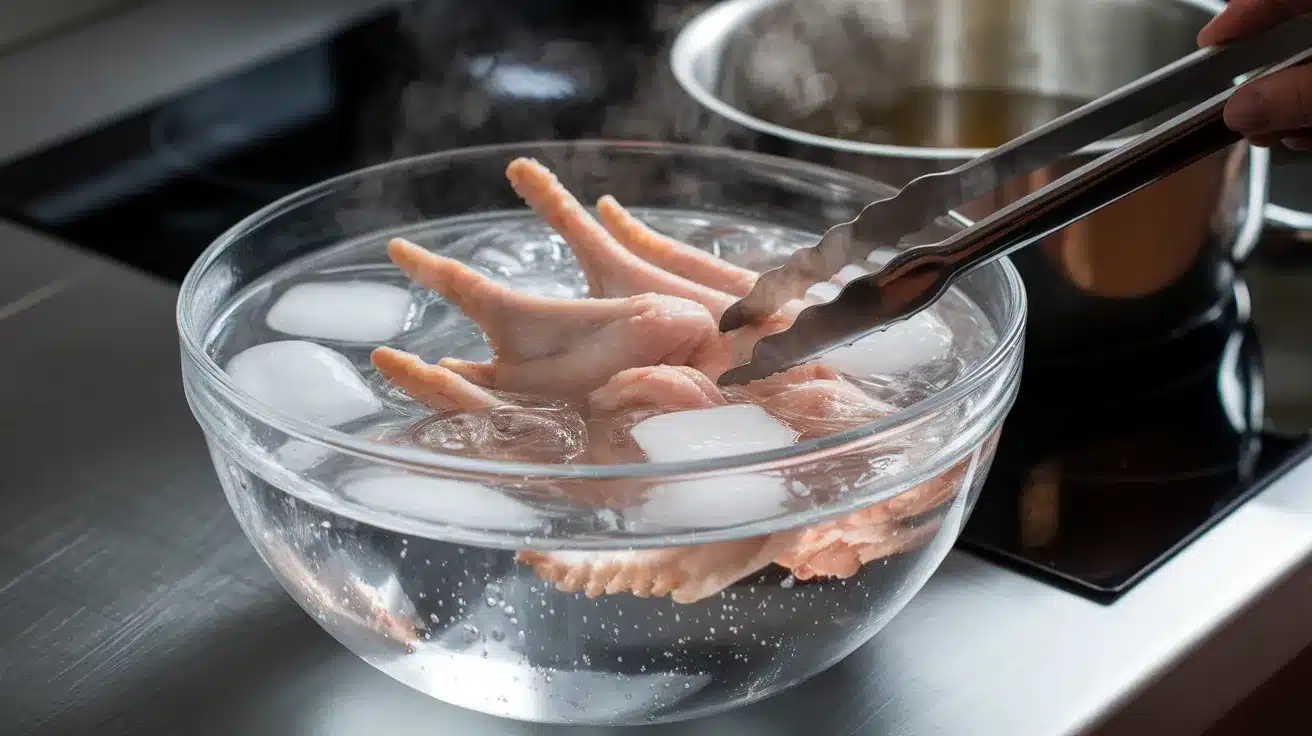
Once cooked, the feet are immediately plunged into a bowl of ice water. This stops the cooking process and helps firm up the texture perfectly. They stay in the ice bath for about 10 minutes.
This innovative technique creates the ideal chewy yet tender texture that makes pickled chicken feet so addictive.
Pro Tip: Save some cooking liquid! It makes an excellent base for soup stock later.
4. Creating the Perfect Pickling Brine
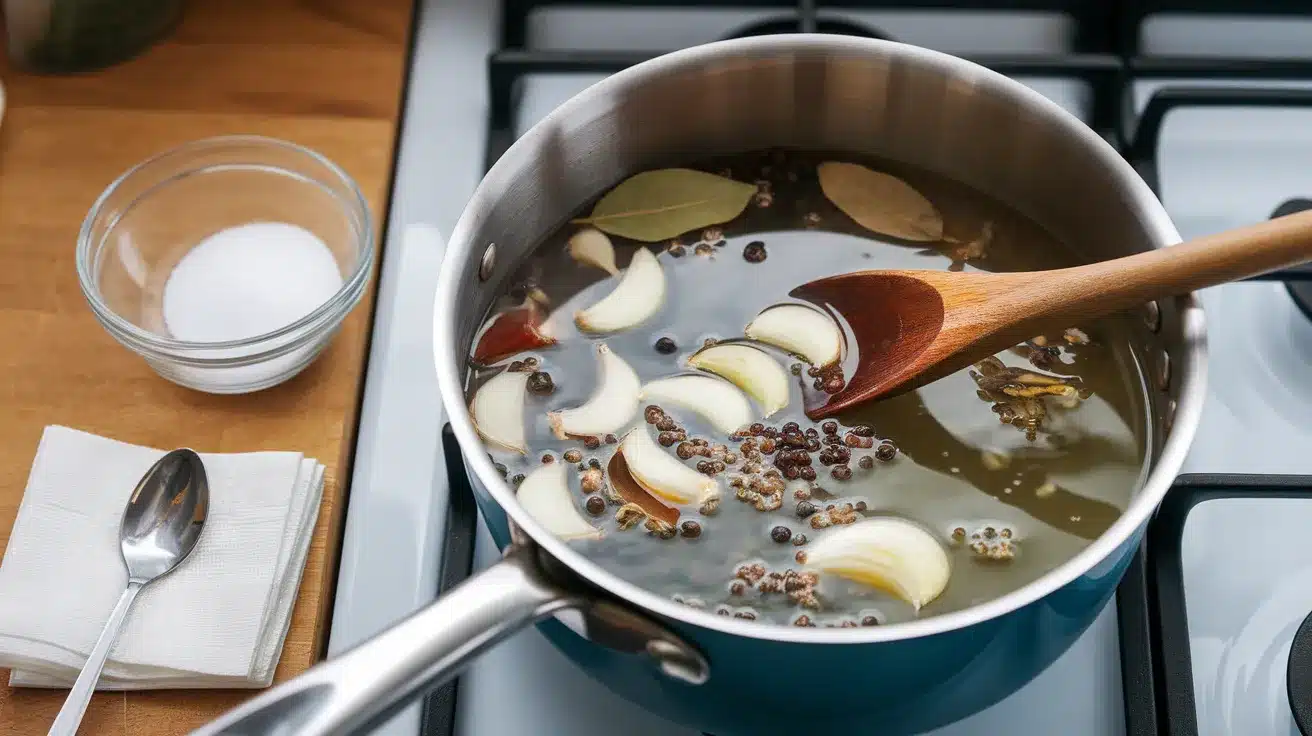
While the feet cool, attention turns to that amazing brine! Combine white vinegar, water, sugar, and salt in a medium saucepan. Everything comes to a gentle boil, stirring until the sugar and salt dissolve completely.
Garlic slices, onion, bay leaves, peppercorns, red pepper flakes, coriander seeds, and mustard seeds join the party. The mixture simmers for 5 minutes, creating an aromatic brine that has an incredible aroma.
Pro Tip: Taste the cooled brine – it should be tangy, slightly sweet, and well-seasoned. Adjust salt or sugar as needed!
5. The Jar Assembly Process
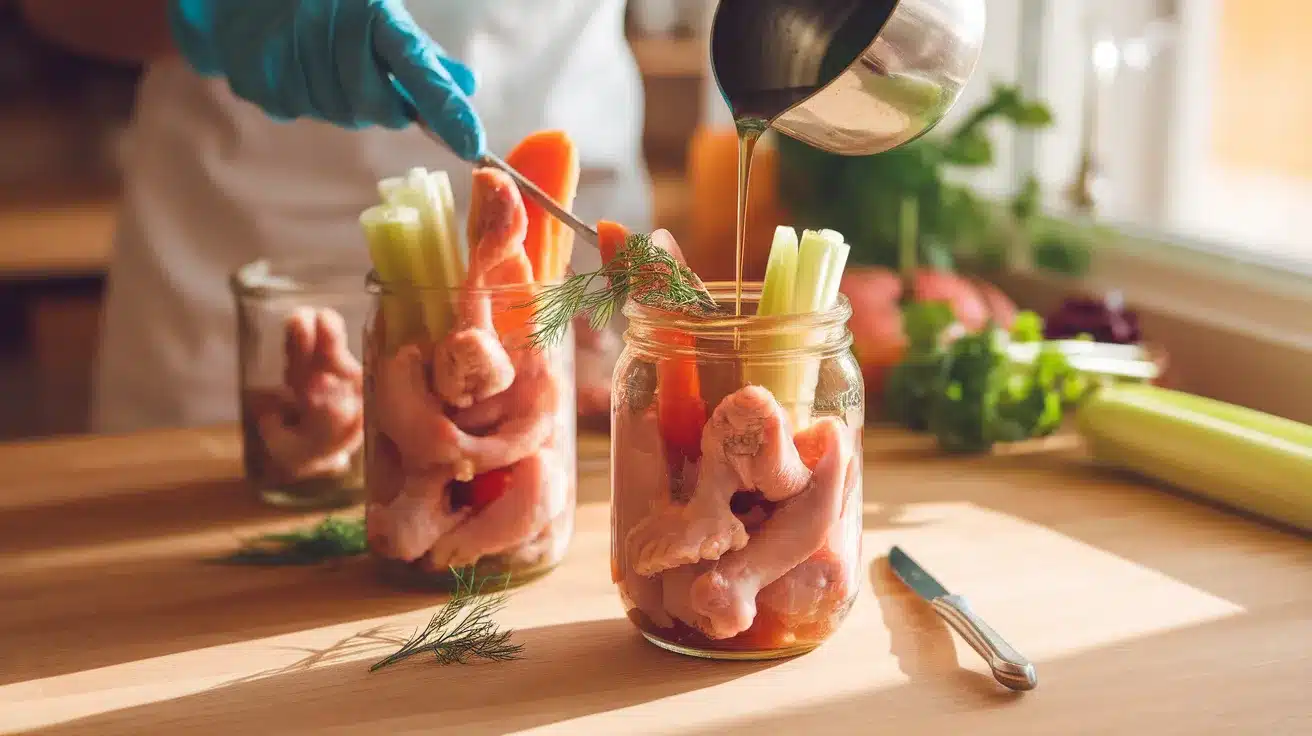
Clean glass jars are the secret to perfect pickled feet! The cooled chicken feet are packed into sterilized jars along with dill sprigs, carrot slices, and celery pieces. Everything gets arranged nicely for the best presentation.
The hot brine is poured over everything, leaving about ½ inch of headspace at the top. Air bubbles are gently removed by tapping the jars or using a clean knife.
Pro Tip: Wide-mouth jars make packing and removing the feet much easier than narrow-neck containers!
6. The Patience Game

Tight-fitting lids are placed on the jars, and everything is sent to the refrigerator for the magic waiting period to occur. The first 24 hours are the hardest – the anticipation builds as flavors meld together!
After 24 hours, the feet are ready to try, but 48 hours creates even deeper, more complex flavors that are incredible.
Pro Tip: Gently shake the jars once a day to help distribute the flavors evenly throughout!
Nutrition Facts
These tangy treats pack surprising nutritional benefits along with incredible flavor!
| Nutrition Information | Per Serving (4 pieces) |
|---|---|
| Calories | 85 |
| Sugar | 3g |
| Sodium | 680mg |
| Fat | 4g |
| Carbs | 2g |
| Protein | 11g |
| Collagen | High |
Note: These values are approximate and may vary depending on specific preparation methods. The high collagen content supports healthy skin, joints, and bones!
Storage & Serving Secrets
These pickled treasures stay delicious with proper storage techniques!
- Storing: Pickled chicken feet can be stored in the refrigerator for up to 2 weeks in their brine. The flavors continue developing over time!
- Serving: Best served chilled, straight from the jar. Room temperature works too, but cold brings out the tangy flavors perfectly.
- Make-ahead magic: The pickling process improves the flavor, so making them 2-3 days ahead creates the best results.
- Serving size: Start with 2-3 pieces if you’re new to chicken feet – the rich flavor and unique texture can be filling!
Make It Your Own: Creative Twists!

The basic recipe is fantastic, but experimenting with different flavors keeps things exciting:
Spice Variations
- Add Thai chilies for severe heat
- Include Sichuan peppercorns for numbing spice
- Try star anise for a licorice note
Herbs
- Fresh cilantro instead of dill
- Lemongrass for citrusy freshness
- Thai basil for aromatic complexity
Sweet and Sour Options
- Increase sugar for sweeter pickles
- Add rice vinegar for milder acidity
- Include pineapple juice for a tropical twist
Perfect Pairings for Your Pickled Chicken Feet
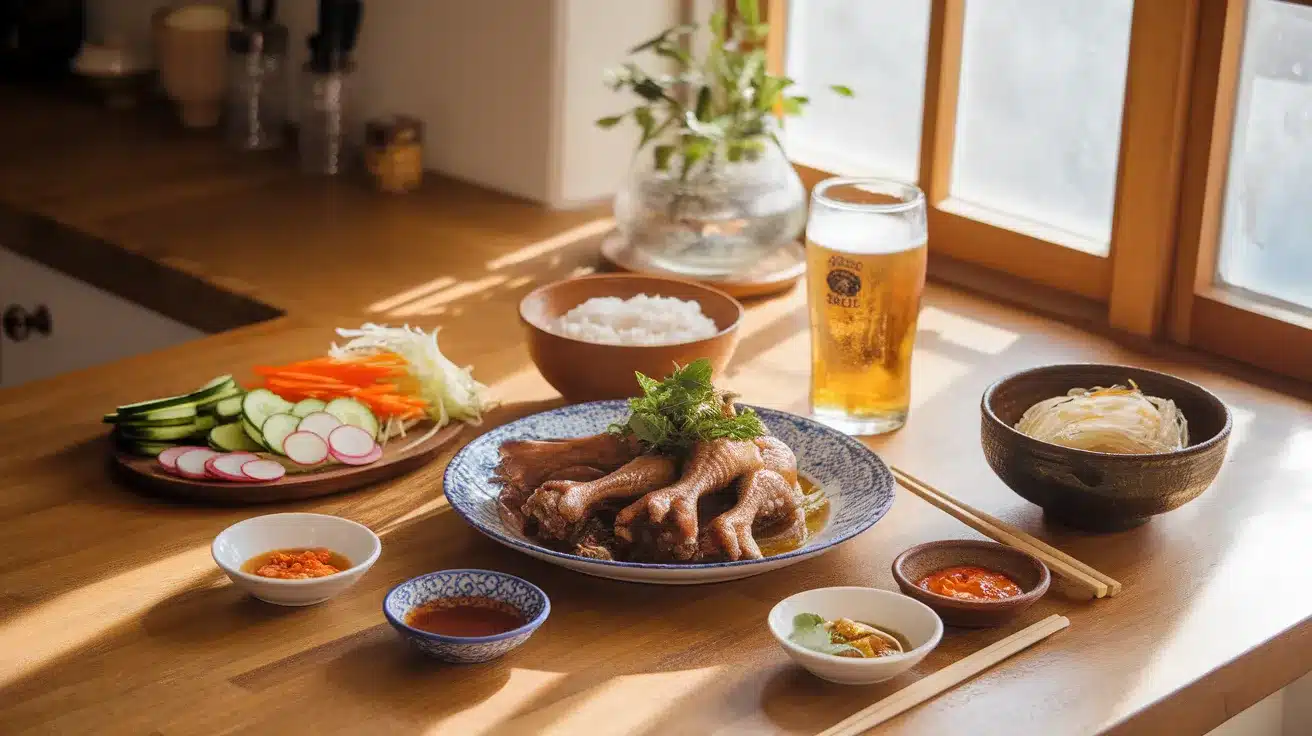
When serving these incredible treats, creating the complete snacking experience makes them even more special:
1. Cold Beer or Tea: Ice-cold beer complements the richness perfectly, while jasmine tea offers a soothing contrast to the tangy flavors.
2. Crunchy Vegetables: Fresh cucumber slices, carrot sticks, or radishes add refreshing crunch alongside the chewy texture.
3. Rice or Noodles: Plain steamed rice or cold noodles make these pickled feet into a complete meal.
4. Pickled Friends: Other pickled vegetables, such as daikon, cabbage, or beans, create a fantastic pickle party!
5. Spicy Condiments: Sriracha, chili oil, or hot sauce on the side lets everyone adjust the heat to their liking.
Turn Snack Time Into an Experience!
What started as curiosity about an unusual ingredient turned into an incredible find of bold flavors and satisfying textures!
The tangy bite, the satisfying chew, and the rich umami depth combine into something that’s both comforting and exciting.
These pickled chicken feet prove that the most unexpected foods often become the most beloved treats.
The surprised expressions and requests for seconds will be proof that stepping outside your comfort zone creates the most memorable food experiences.
Ready to become the pickled feet master of your friend group? One bite of these tangy treasures and you’ll understand why they’re beloved across cultures worldwide!
Make this recipe this weekend, snap a photo of your colorful jars, and tell us in the comments – were you brave enough to try them straight from the jar, or did you need a few bites to fall in love?