Think you need a fancy kitchen to make restaurant-quality turkey? Think again.
Your backyard rotisserie is about to become your new best friend. This method gives you the juiciest meat with skin so crispy it crackles when you cut into it.
I’ve tried every turkey cooking method out there. Roasting, deep frying, even smoking. But nothing beats the even heat and constant rotation of a rotisserie. The skin gets golden and crispy all around. The meat stays incredibly moist.
The best part? Once you get it spinning, you can sit back and relax. No basting every hour. No flipping a heavy bird. Just set it and let the rotisserie do all the work.
Your family will be amazed at how professional this turkey looks and tastes. And you’ll wonder why you ever stressed about cooking turkey any other way.
Let me show you exactly how to make this happen.
Why You’ll Love This Rotisserie Turkey
I’ve been perfecting this recipe for years, and it’s become our go-to method for every holiday. Here’s what makes it so special:
- Crispy skin all around – The constant rotation ensures even browning and crackling skin
- Incredibly juicy meat – Self-basting action keeps the turkey moist throughout cooking
- Hands-off cooking – No basting, flipping, or constant checking required
- Feeds a crowd easily – Perfect for holidays, parties, or meal prep
- Better than store-bought – You control the seasoning and know exactly what goes into it
- Impressive presentation – Looks like something from a fancy restaurant
Ingredients You’ll NeedThese simple ingredients pack serious flavor. Most of them are probably sitting in your spice cabinet right now. For the Turkey
For the Dry Rub
For Inside the Cavity
|
Recipe Quick Facts
| Prep Time | Cook Time | Total Time | Serves |
|---|---|---|---|
| 20 minutes | 3-4 hours | 4 hours 20 min | 8-10 people |
How to Make Rotisserie Turkey
Trust me, this is way easier than traditional oven roasting. Let’s walk through it together, step by step.
1. Prep Your Turkey
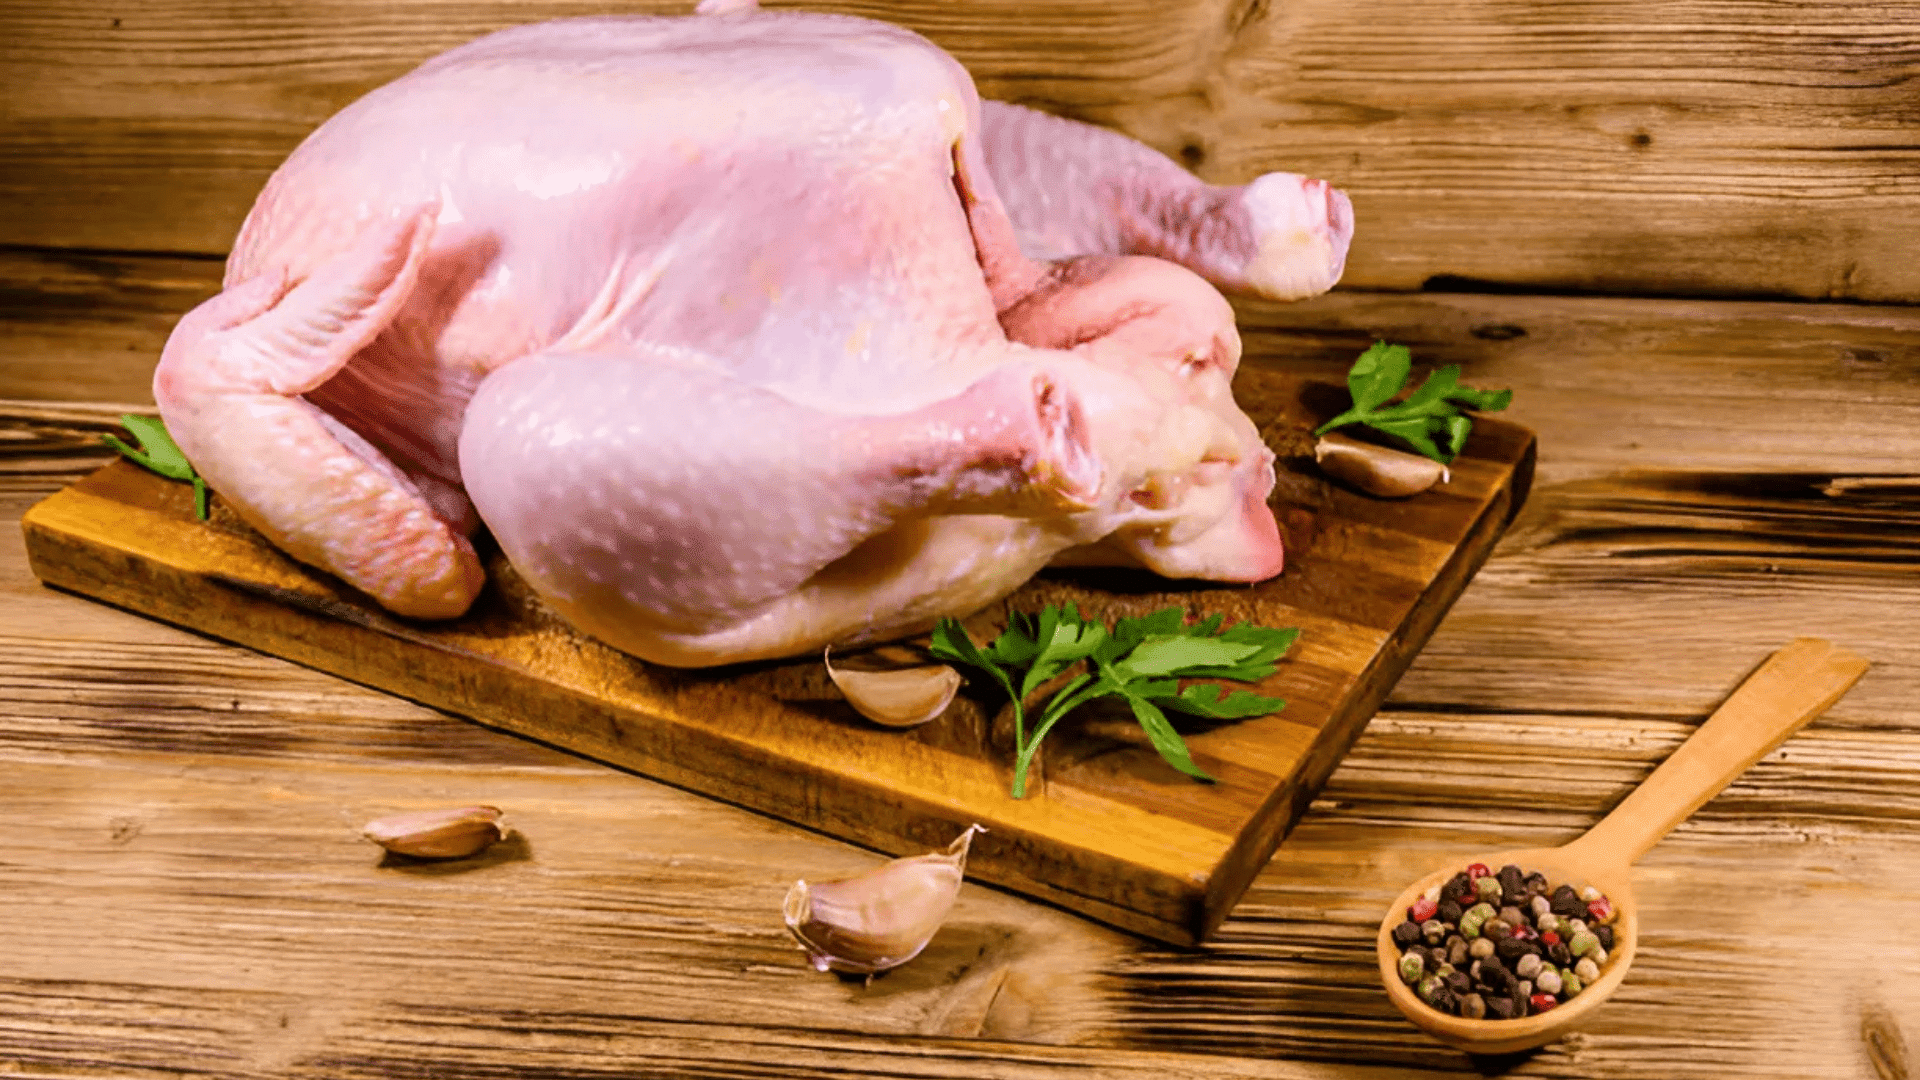
Remove the turkey from the packaging and pat it completely dry inside and out. Take out the neck and giblets from the cavity. Mix all your dry rub ingredients in a bowl.
Rub the olive oil and melted butter all over the turkey skin. Then massage that dry rub everywhere – under the skin, inside the cavity, all over the outside. Don’t be shy with it!
Tip: Dehydrated turkey skin is key to getting it crispy. I use paper towels and even let it air dry in the fridge for an hour if I have time.
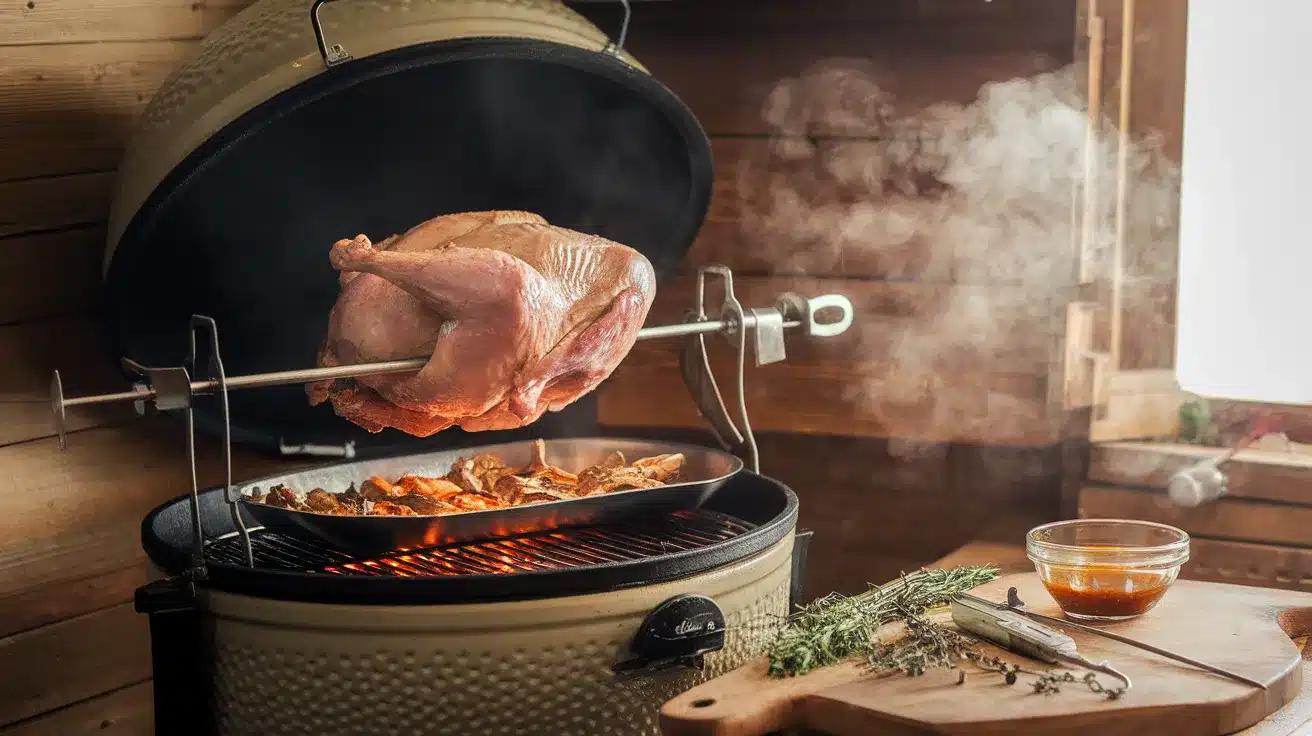
2. Stuff and Truss
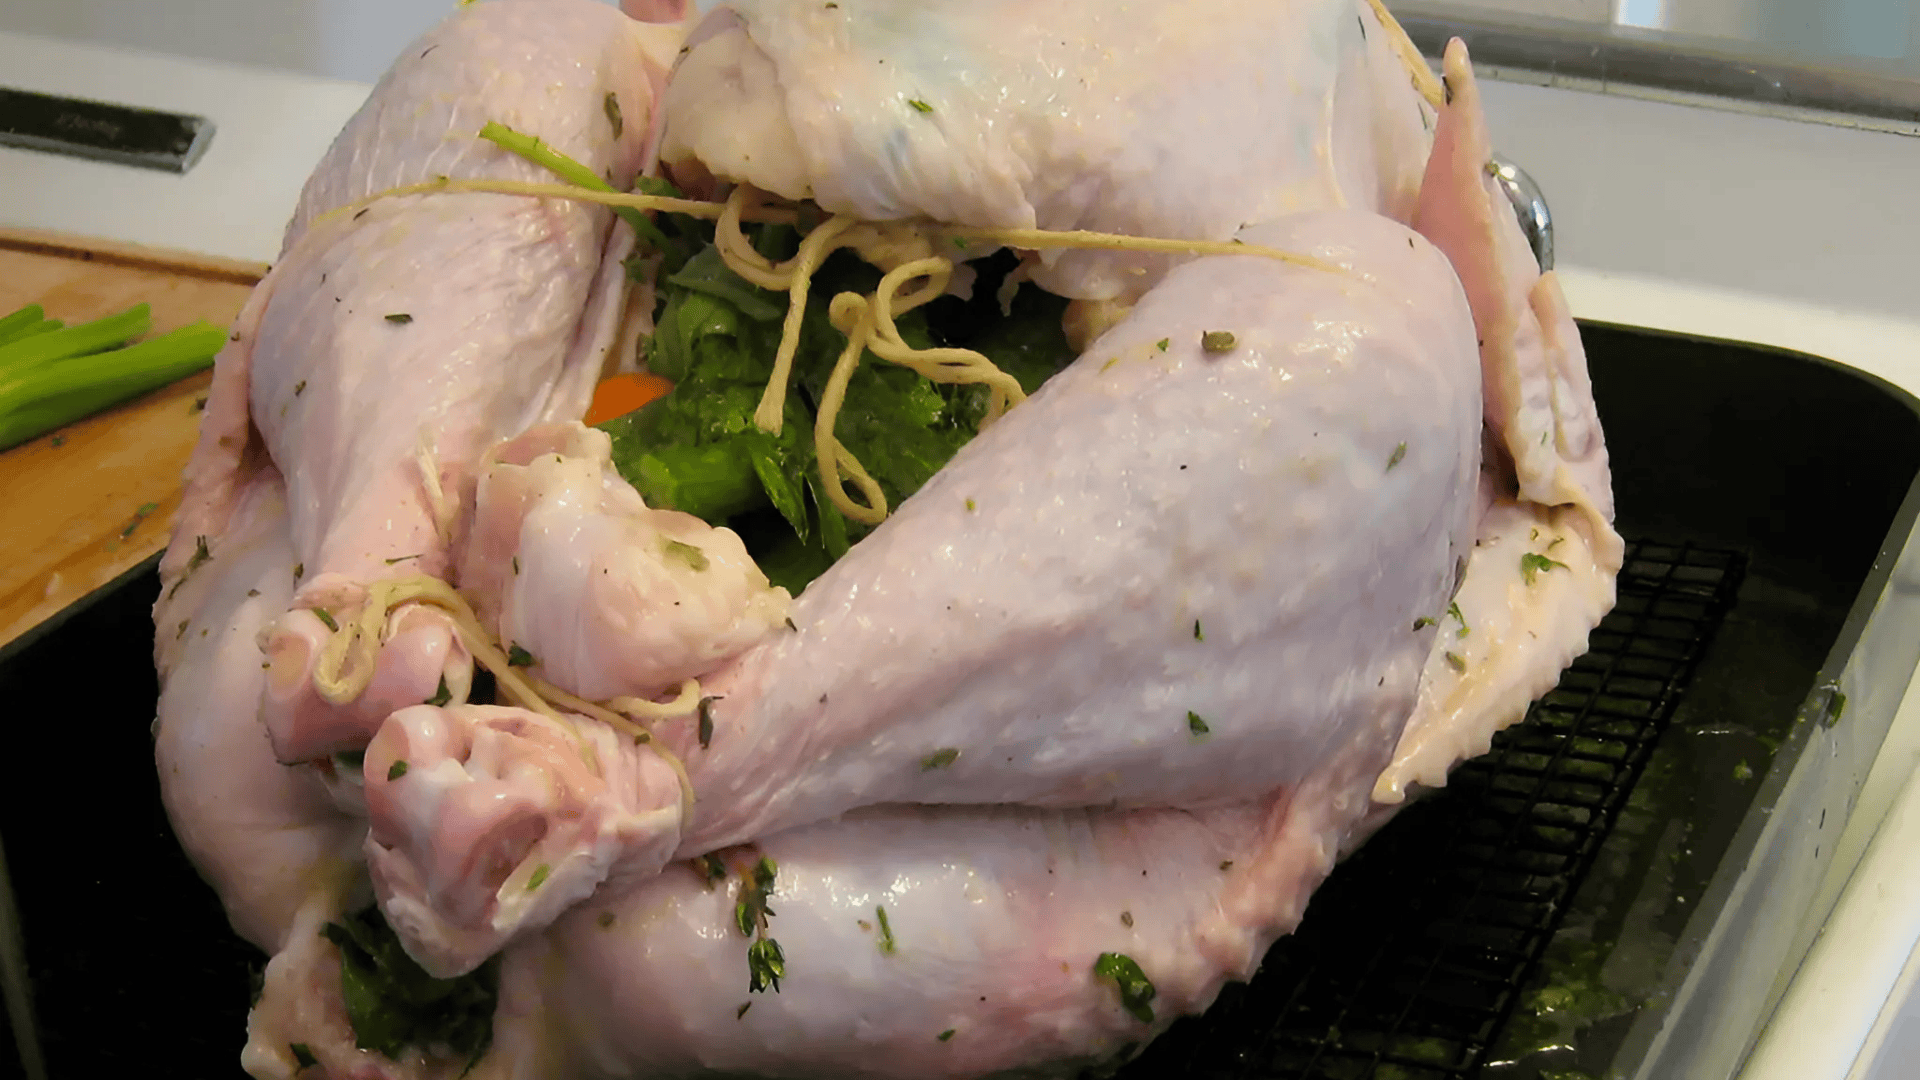
Fill the cavity with onion quarters, celery, garlic, and fresh herbs. This adds flavor from the inside out. Now truss the turkey – tie the legs together and tuck the wings under the body.
Slide the rotisserie rod through the turkey, making sure it’s balanced. Secure with the forks on both ends. The turkey should spin evenly without wobbling.
Tip: Test the balance before you start cooking. An unbalanced turkey will strain your rotisserie motor and cook unevenly.
3. Set Up Your Rotisserie
Preheat your rotisserie to medium heat (around 325°F). Place a drip pan underneath to catch the juices; you’ll want these for gravy later.
Mount the turkey on your rotisserie and begin spinning it. Make sure it clears all sides as it rotates. Close the lid and let the magic begin.
Tip: I like to check the turkey every hour to ensure everything is spinning smoothly. But resist the urge to open the lid too often – you’ll lose heat.
4. Cook to Perfection
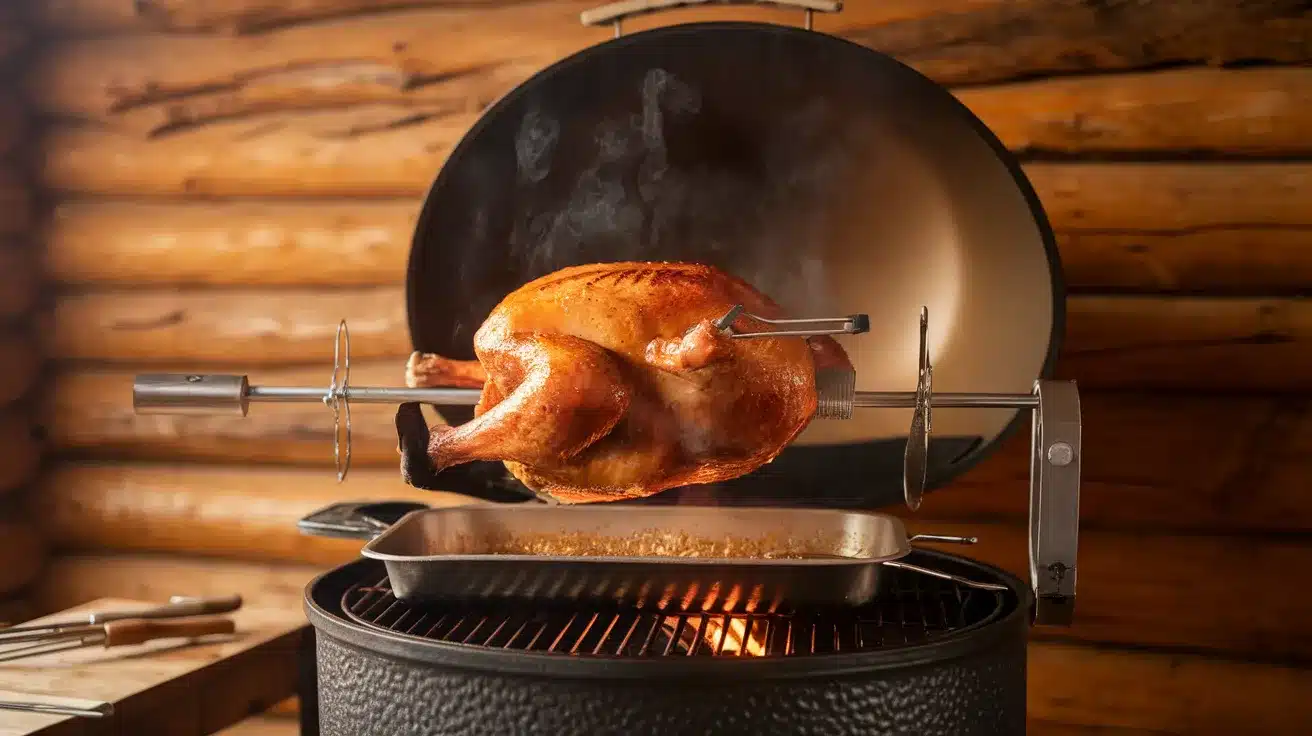
Cook for about 15-20 minutes per pound. For a 12-pound turkey, that’s roughly 3-4 hours total. The skin will get gorgeously golden and crispy as it spins.
Check the internal temperature with a meat thermometer. You want 165°F in the thickest part of the thigh. The juices should run clear when pierced.
Tip: Start checking the temperature around the 3-hour mark. Every rotisserie cooks a bit differently, so trust your thermometer over the clock.
5. Rest and Serve
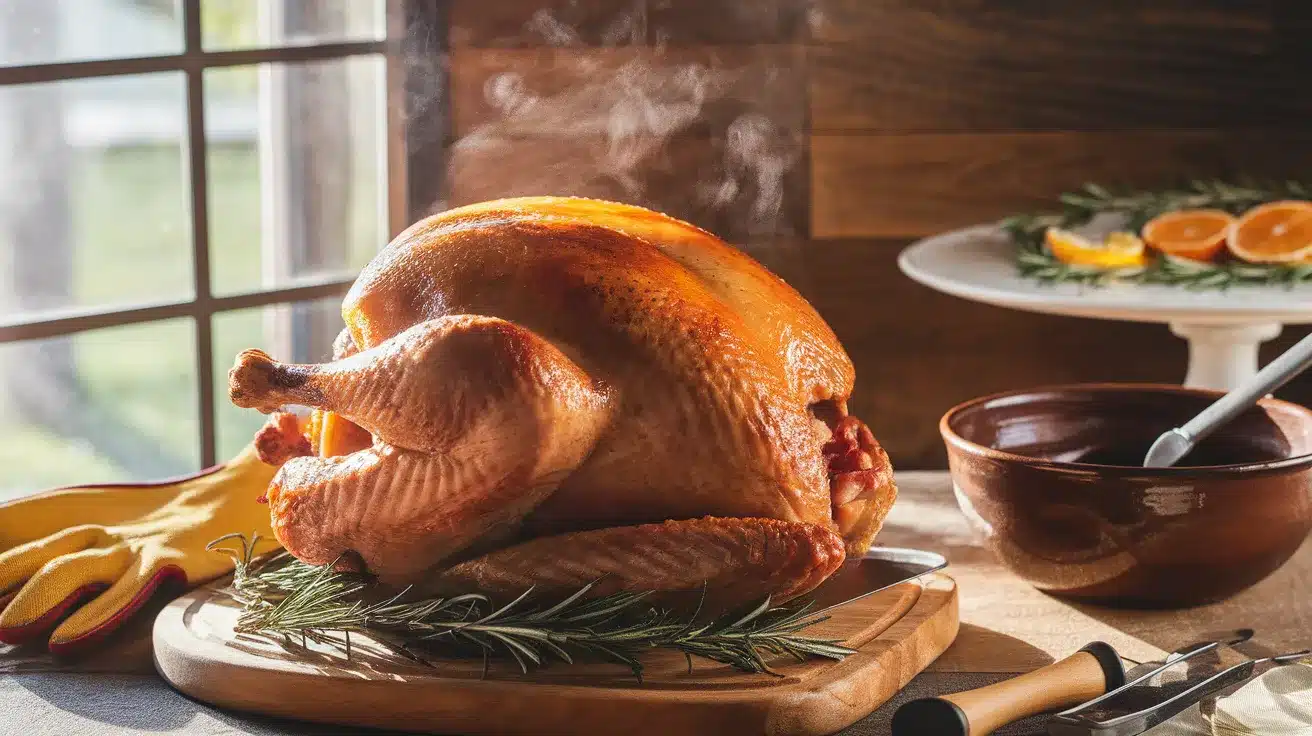
Carefully remove the turkey from the rotisserie using heat-proof gloves. Let it rest on a cutting board for 15 minutes before carving. This lets the juices settle back into the meat.
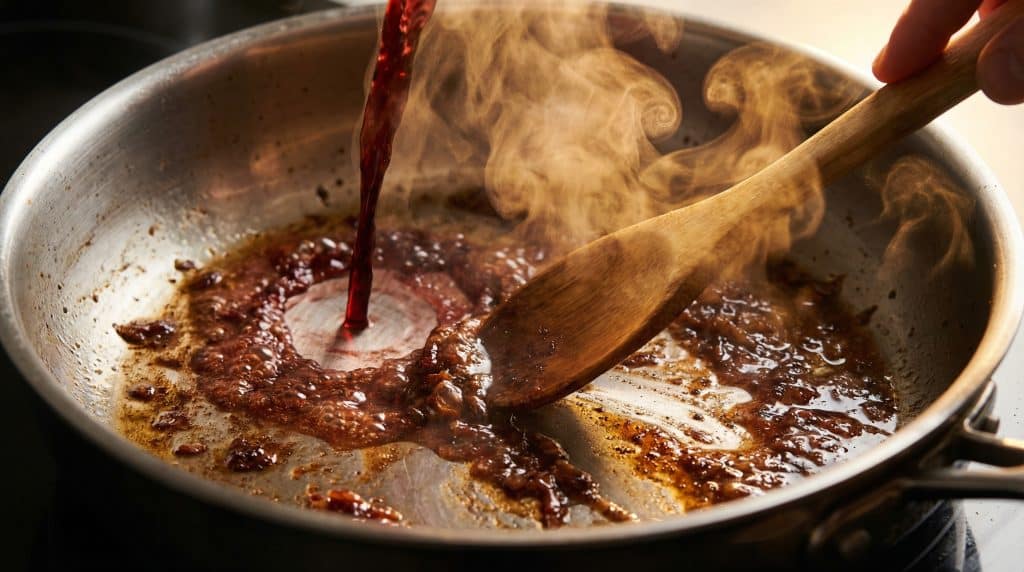
Carve and arrange on your serving platter. Save those drippings from the pan, they make incredible gravy or can be drizzled over the carved meat.
Nutrition Facts
Per Serving (serves 10)
| Nutrient | Amount |
|---|---|
| Calories | 285 |
| Protein | 42g |
| Carbs | 2g |
| Fat | 11g |
| Sugar | 1g |
| Sodium | 320mg |
Storage and Reheating Tips
Let me share what I’ve learned about keeping this turkey fresh and delicious. These tips will help you make the most of your leftovers:
Storing leftovers: Remove all meat from the bones and store in the fridge for up to 4 days. Keep white and dark meat separate since they reheat differently.
Reheating method: Add a splash of chicken broth to sliced turkey and warm gently in a covered pan over low heat. This prevents the meat from drying out and keeps it tender.
Make-ahead tip: You can rub the turkey with seasonings up to 24 hours ahead. Just wrap it well and keep it in the fridge. The flavors will penetrate even deeper.
Freezing: Cooked turkey freezes well for up to 3 months. Slice it first, then freeze in meal-sized portions. Thaw overnight in the fridge before reheating.
What to Serve with Rotisserie Turkey
This turkey is delicious on its own, but pairing it with the right sides makes it a memorable feast your guests will talk about.
Garlic Mashed Potatoes
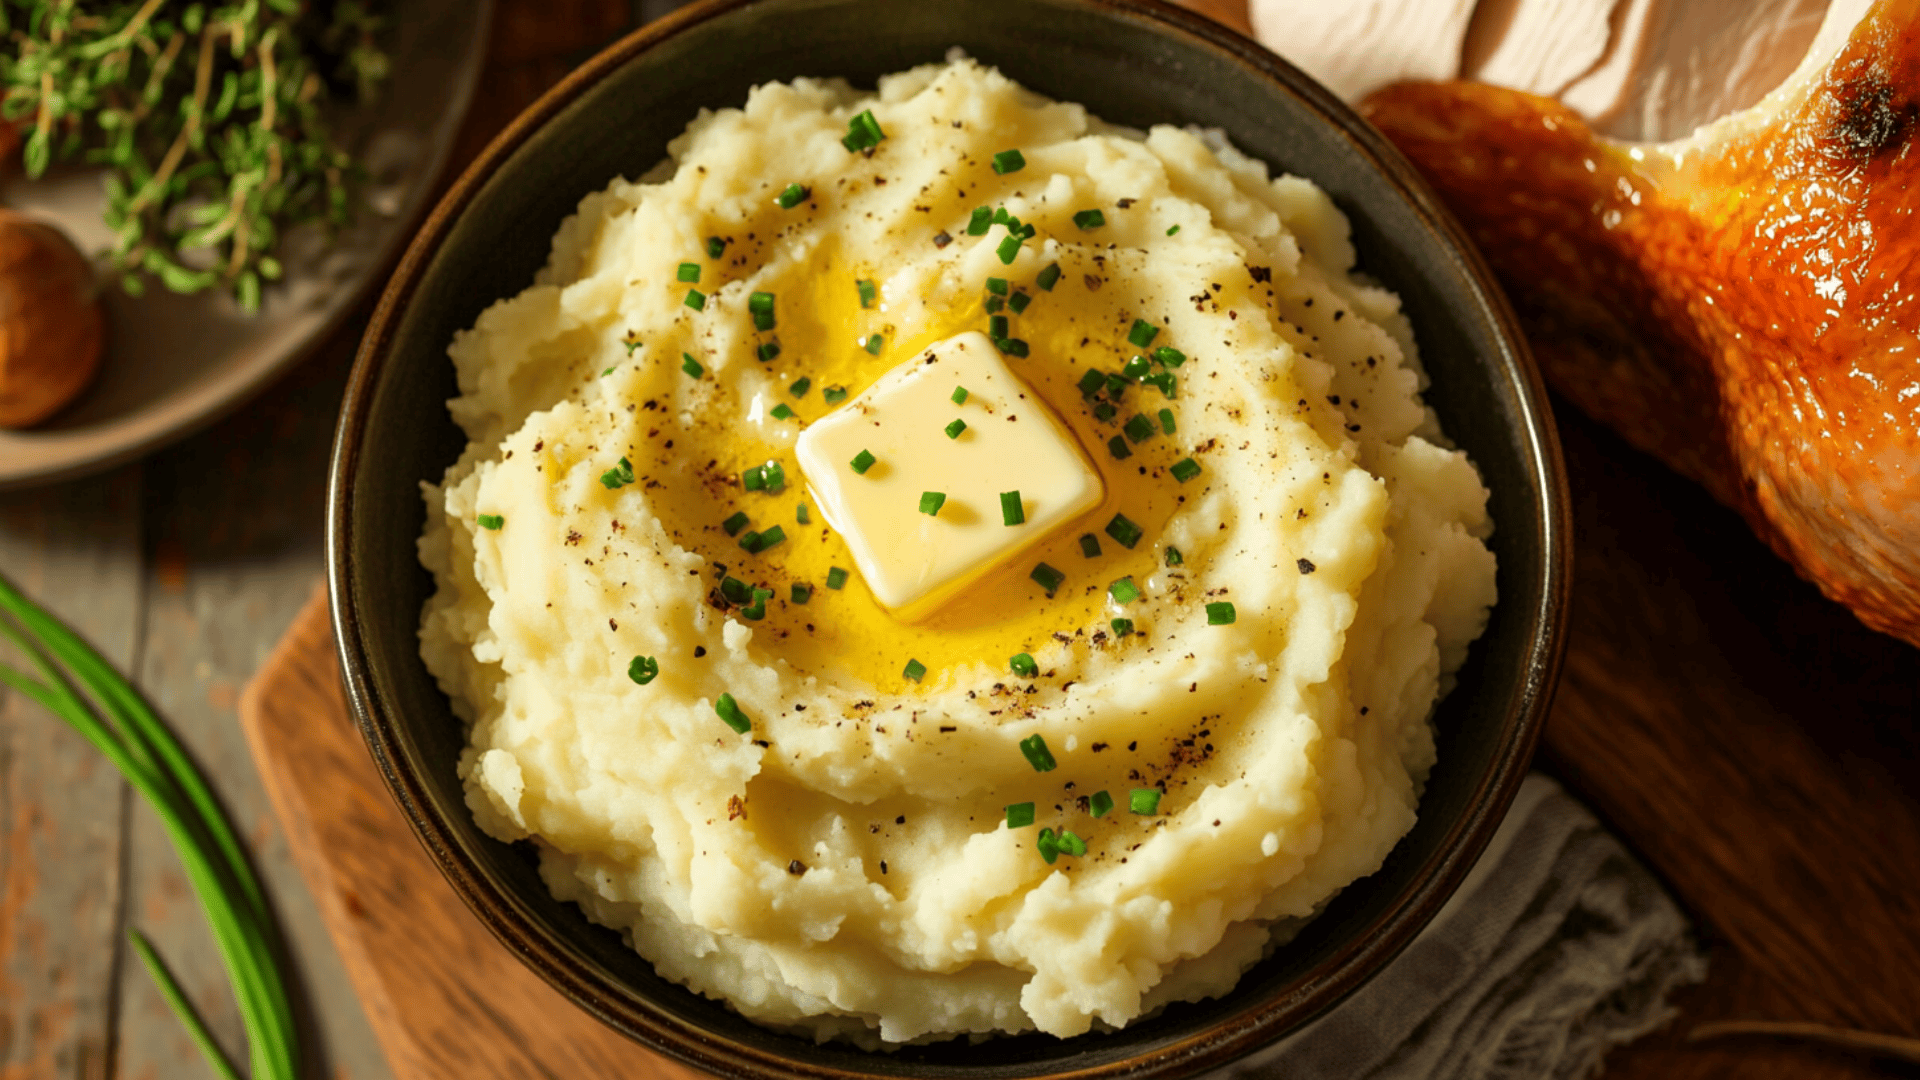
The ultimate comfort food pairing. Creamy, buttery mashed potatoes are perfect for soaking up those turkey drippings.
The mild flavor lets the turkey’s seasoning really shine through. I love making extra just so we have leftovers for turkey sandwiches the next day.
Roasted Root Vegetables
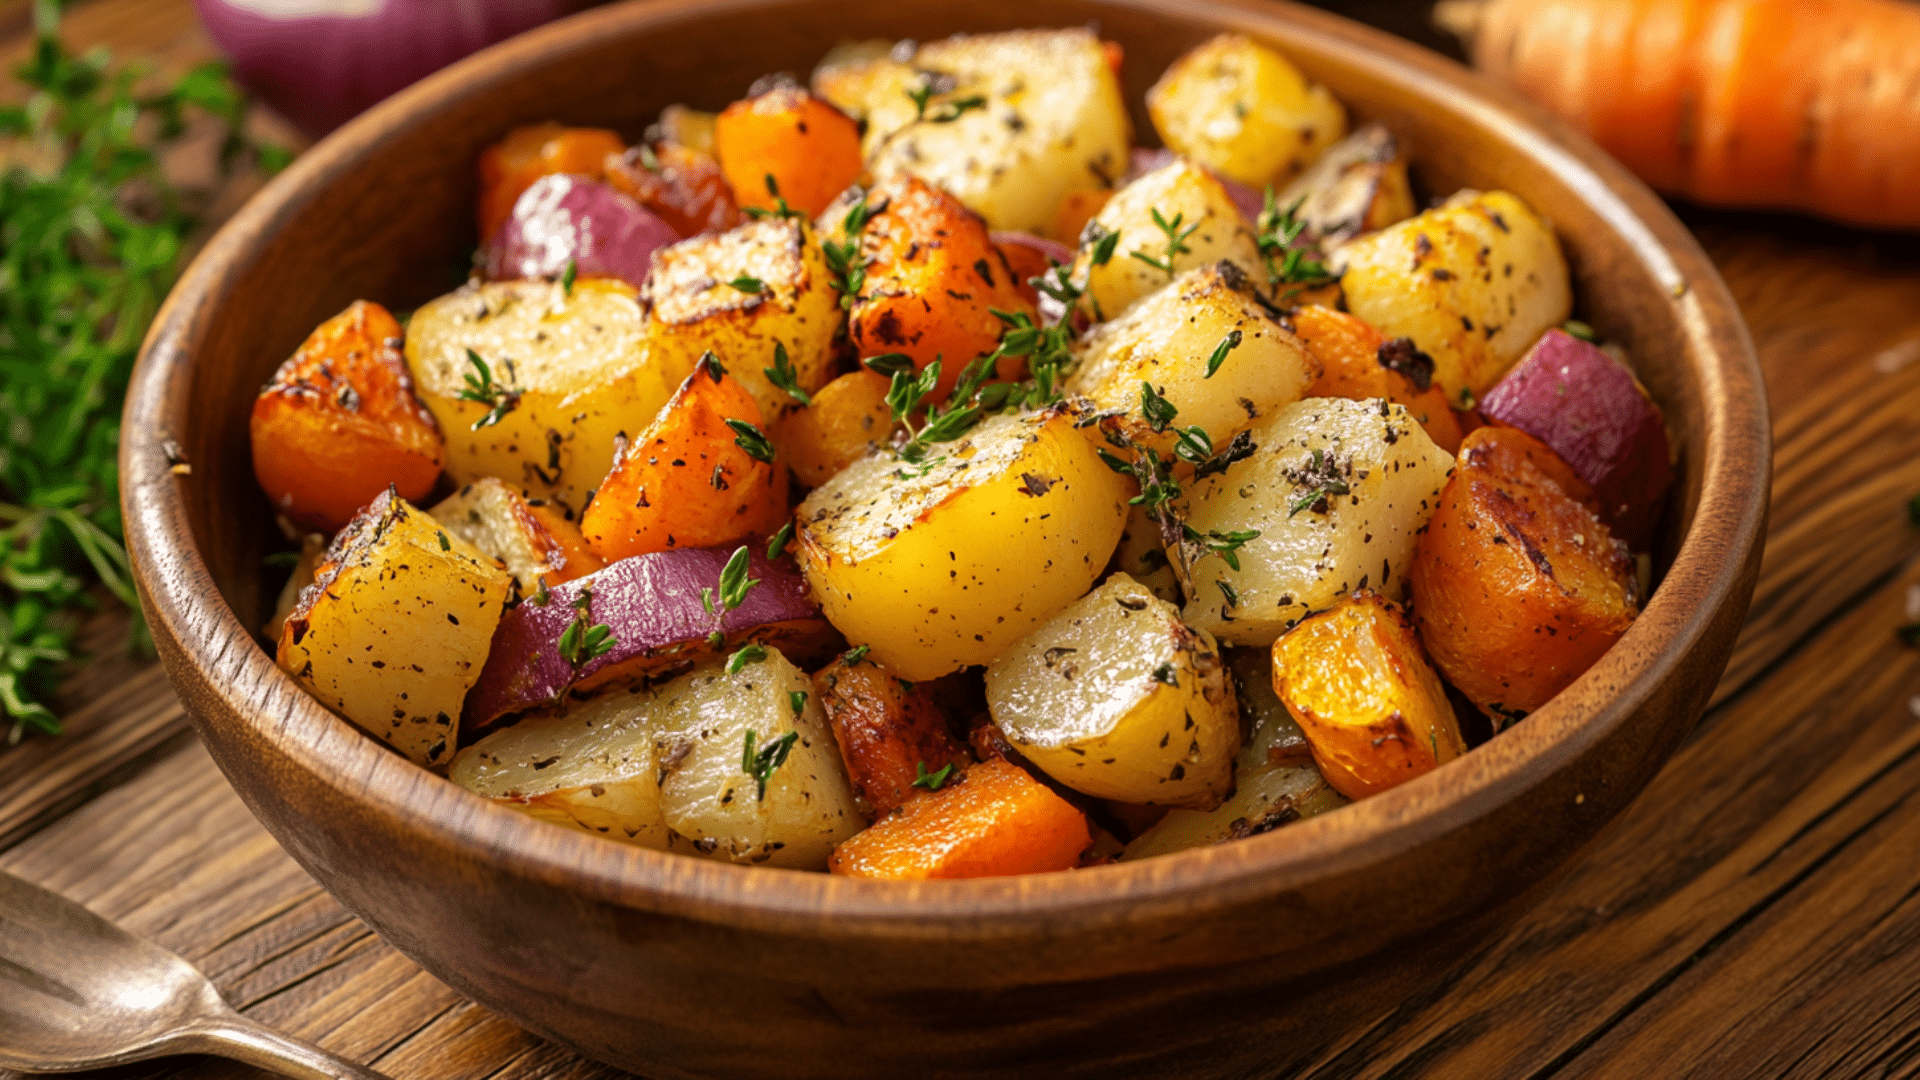
Carrots, parsnips, and Brussels sprouts roasted until caramelized add beautiful color and earthy flavors to your plate.
They cook at the same temperature as your turkey, so you can prep them while the bird is spinning. The slight sweetness complements the savory turkey rub perfectly.
Cranberry Orange Sauce
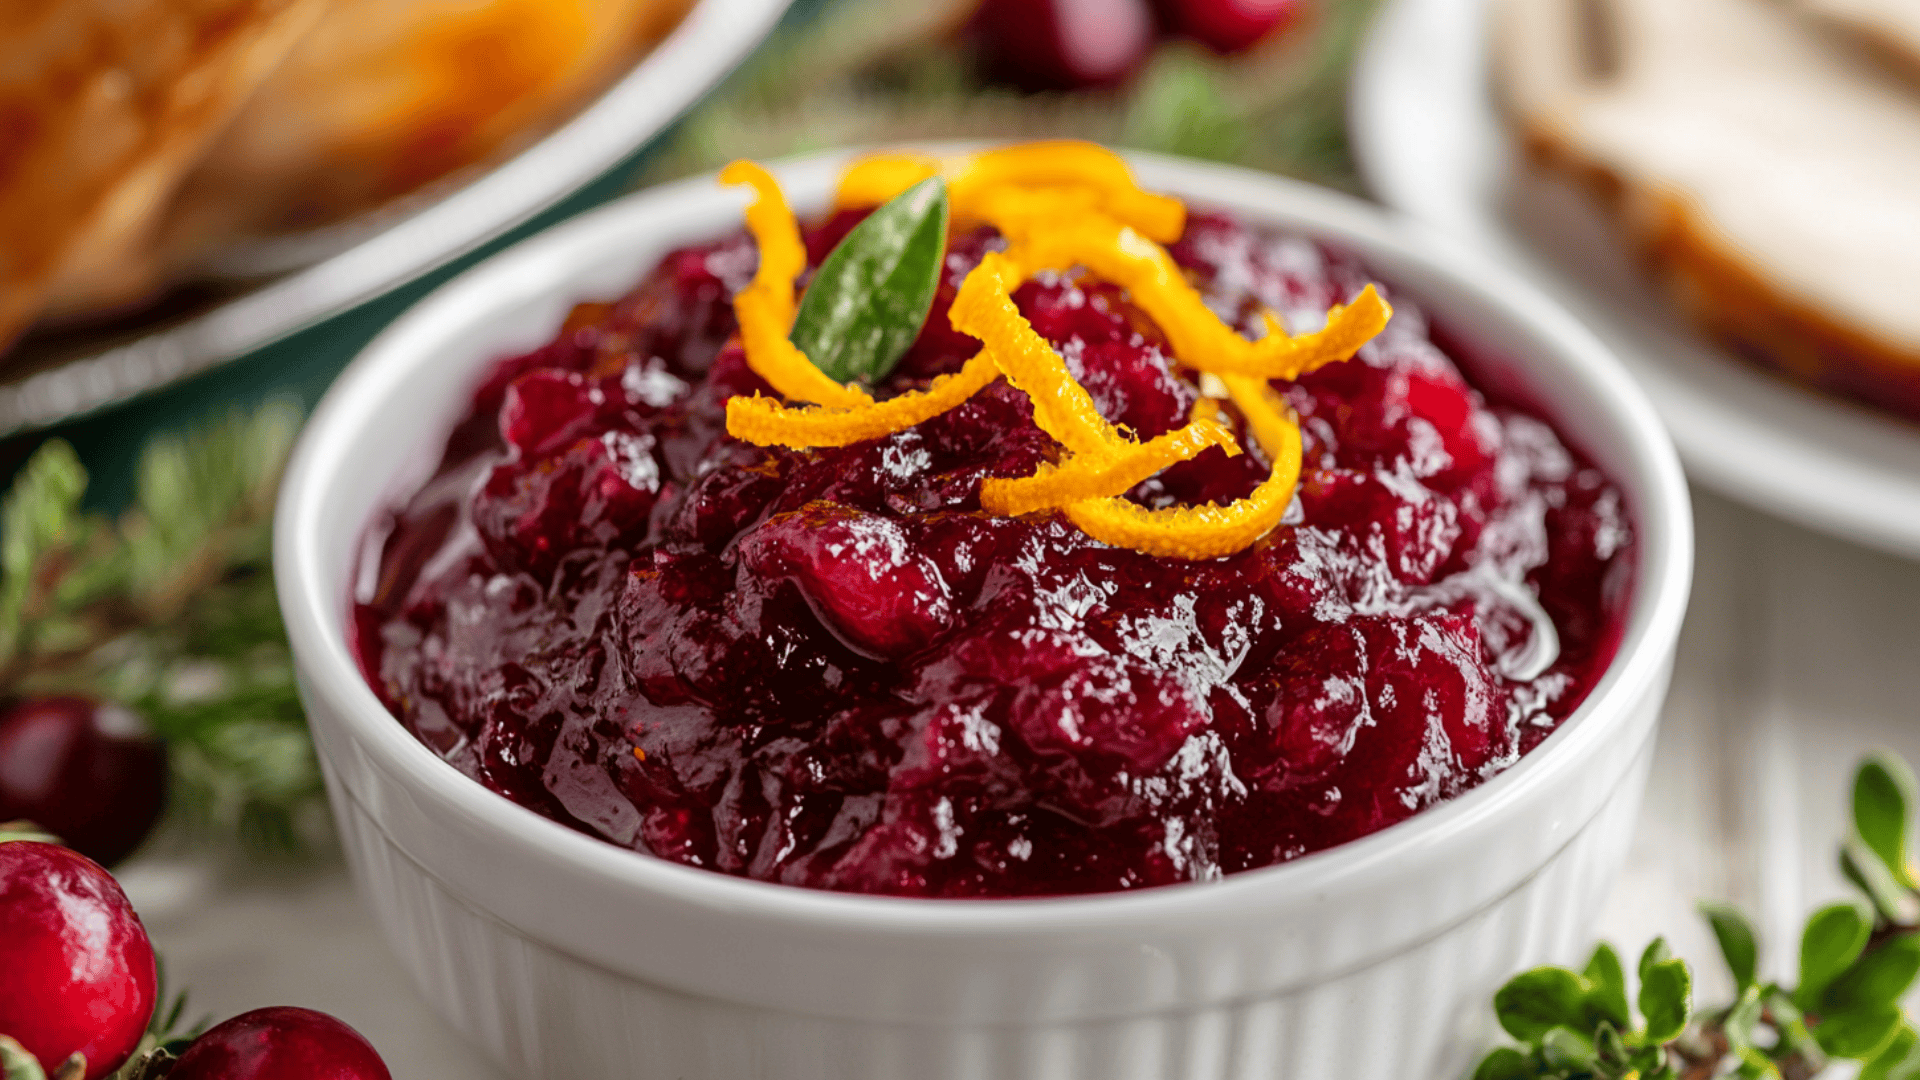
This tangy, sweet sauce cuts through the richness of the turkey beautifully. The bright acidity wakes up your palate between bites of rich, juicy meat. Plus, the vibrant red color makes your holiday table look absolutely gorgeous.
Sage Stuffing
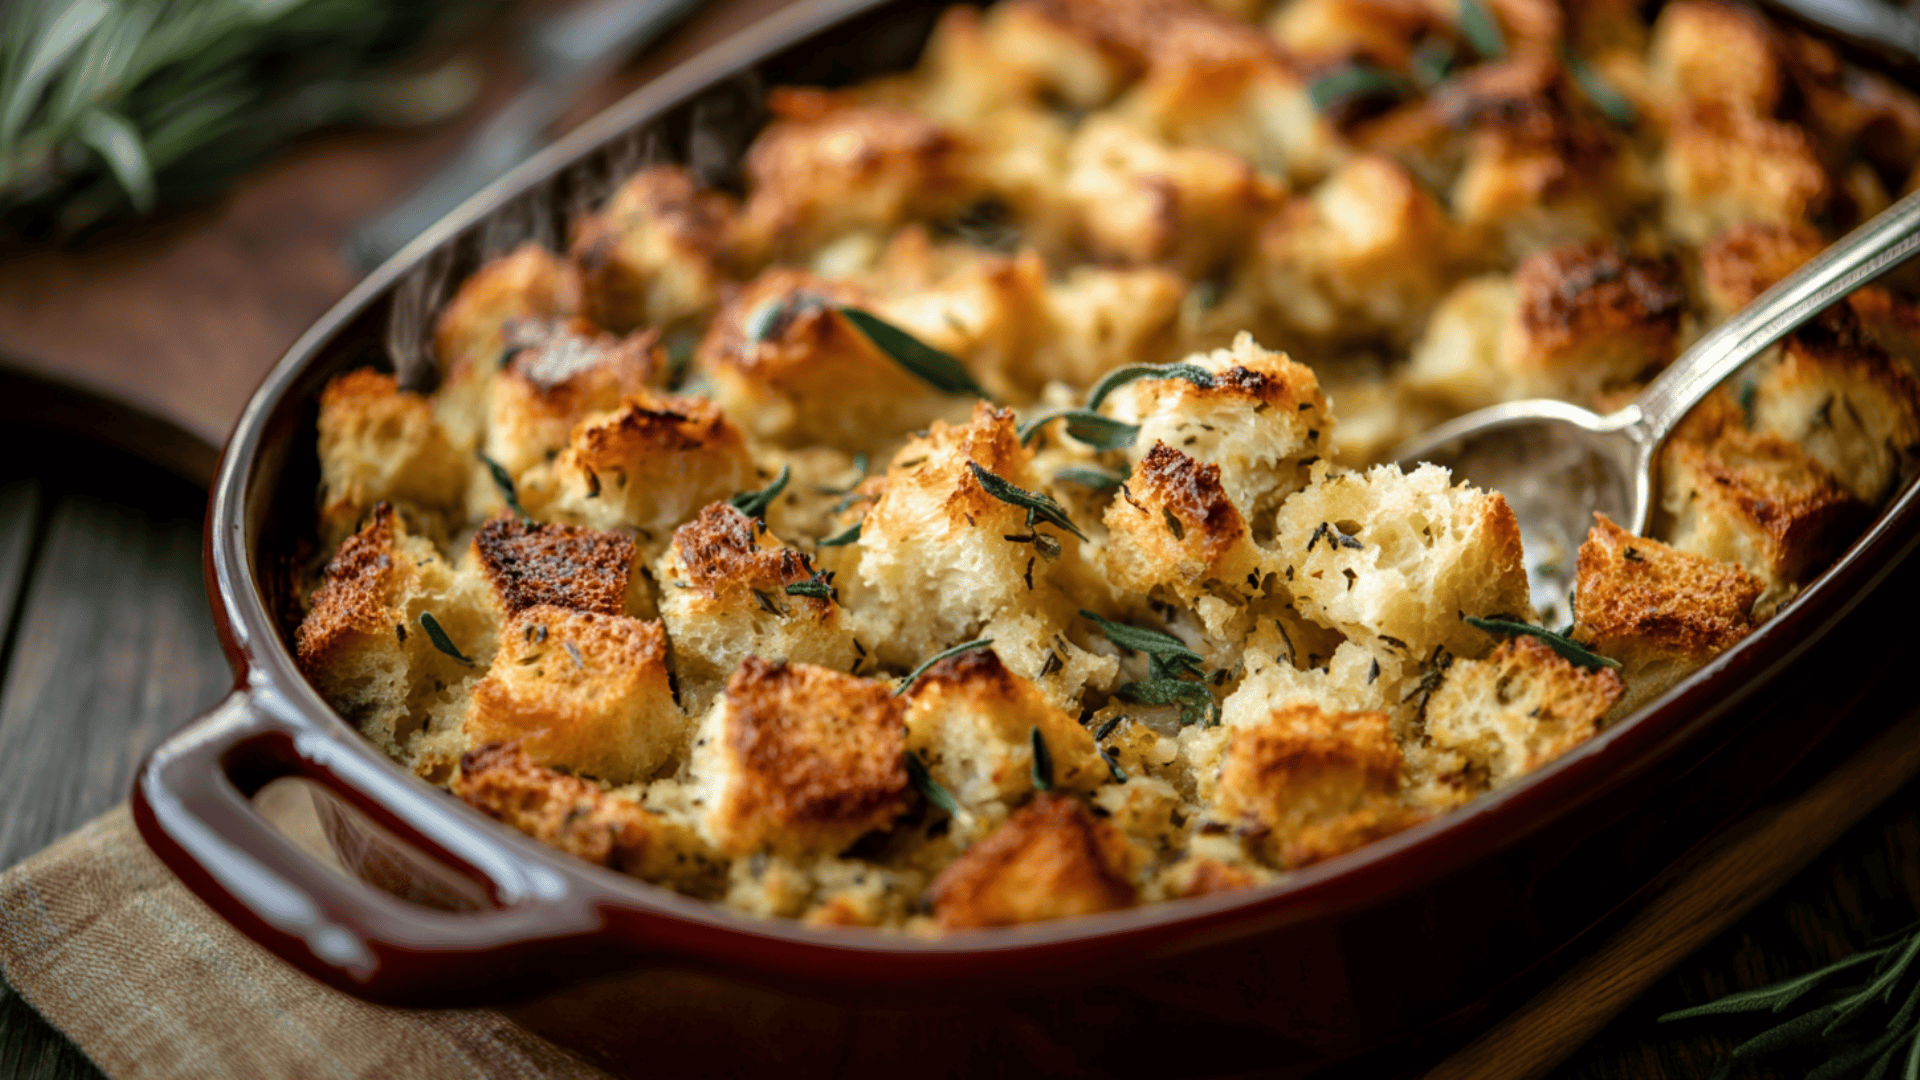
Classic bread stuffing with fresh sage is a must-have alongside rotisserie turkey. The herbs echo what’s inside your turkey cavity, creating a harmonious flavor profile. Make it with the turkey drippings for extra richness that ties everything together.
Ready to Impress Your Family?
There you have it – perfectly juicy rotisserie turkey with crispy skin that’ll make everyone think you’re a holiday cooking expert. The best part? It’s actually one of the easiest ways to cook a turkey.
Your guests will be amazed at how professional this looks spinning on the rotisserie. But we both know the real secret – the rotisserie does most of the work while you relax.
So fire up that rotisserie, get your rub ready, and prepare for some seriously impressive results. Your family will be asking for this turkey every holiday from now on.
Try this recipe for your next gathering and let me know how it turns out! I’d love to hear about your family’s reaction in the comments below.