


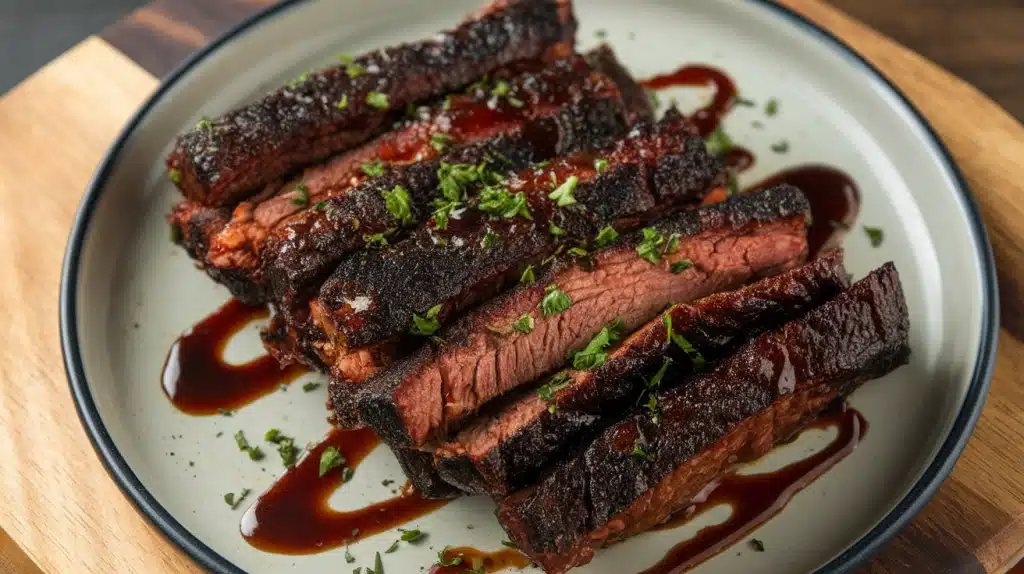

Picture this: You’re at a Kansas City BBQ joint, and you see these magical little cubes of meat that look like pure heaven on a plate – those are brisket burnt ends!
These smoky, caramelized cubes of beef candy are what BBQ dreams are made of.
Fun fact: Burnt ends were originally considered scraps that pitmasters would snack on, but they became so popular that Kansas City legend Arthur Bryant started selling them as a real menu item in the 1970s!
After years of perfecting this recipe, we’ve cracked the code to making restaurant-quality burnt ends at home.
Get ready to create the most delicious, tender, and flavorful BBQ treat that will have everyone begging for your secret!
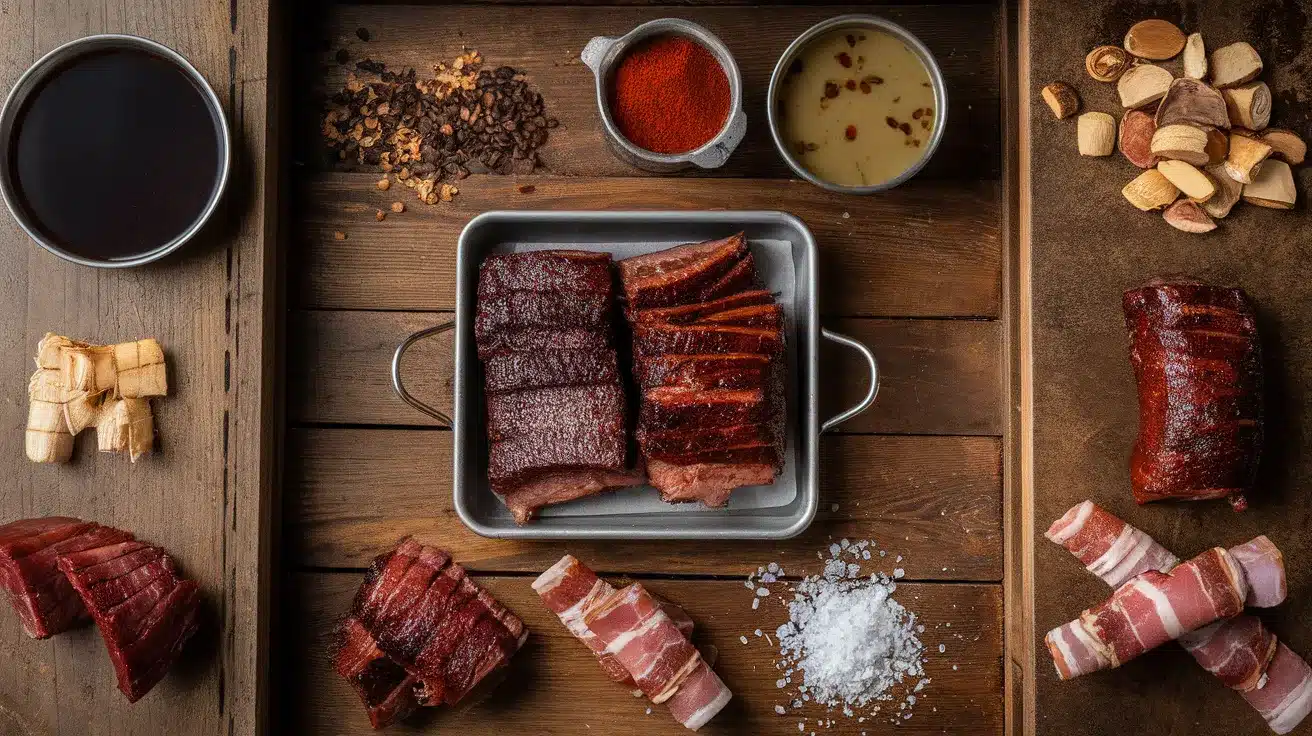
Ingredients You’ll NeedFor the Brisket Point
For the Burnt Ends Sauce
For Finishing
|
Recipe Notes
| Prep Time: 20 minutes | Cook Time: 6-8 hours | Rest Time: 1 hour |
| Method: Smoking/Grilling | Category: Main Dish | Cuisine: American BBQ |
Let’s Get Smoking – Step by Step!
Creating perfect burnt ends requires time and patience, but the results are well worth the wait.
No fancy equipment needed beyond a smoker or grill, some wood chips, and a love for amazing BBQ. Time to turn your backyard into a Kansas City pitmaster’s paradise!
1. Choose the Perfect Brisket Point
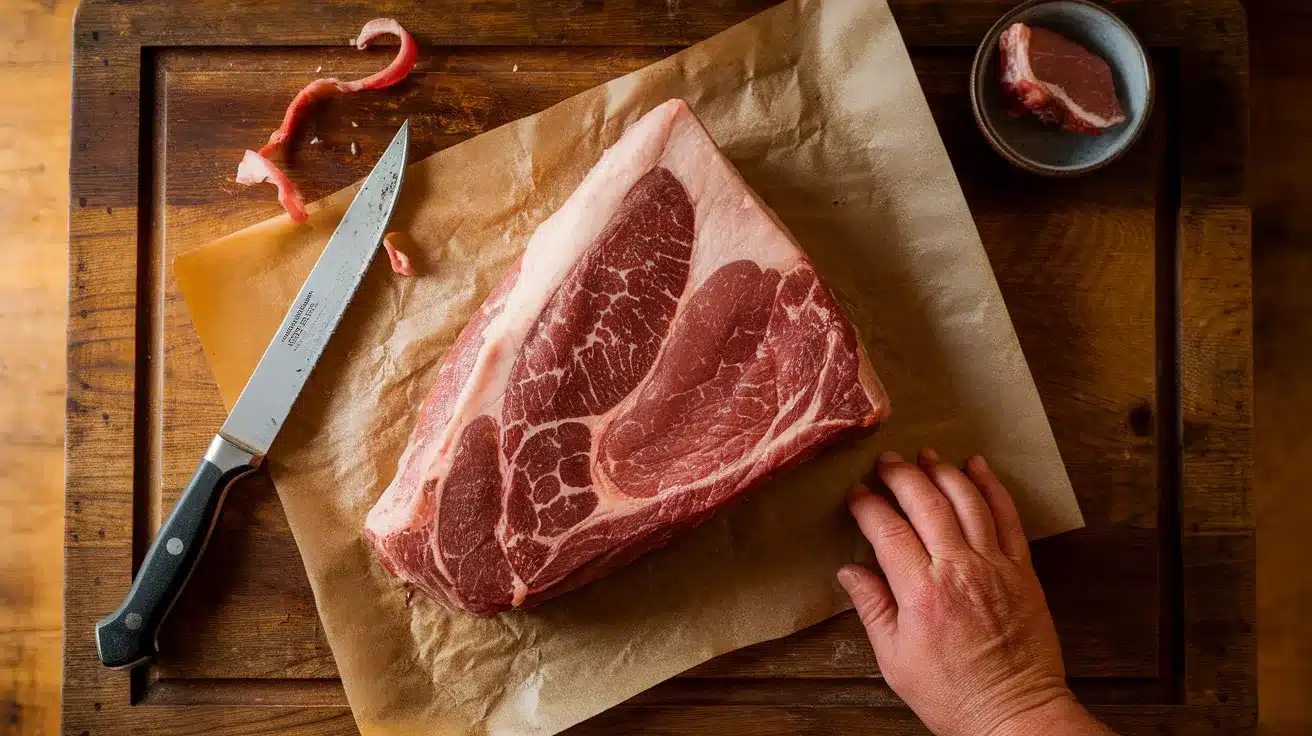
Start by selecting a good brisket point – this is the fatty, triangular end of the whole brisket. Look for one with nice marbling and a thick, fat cap on top.
Trim any excess fat, leaving about ¼ inch of fat cap. This fat will render down during cooking, keeping everything moist and flavorful.
Pro Tip: Ask your butcher to separate the point from the flat if you can’t find just the point. You’ll use the flat for sliced brisket!
2. Create the Magic Rub
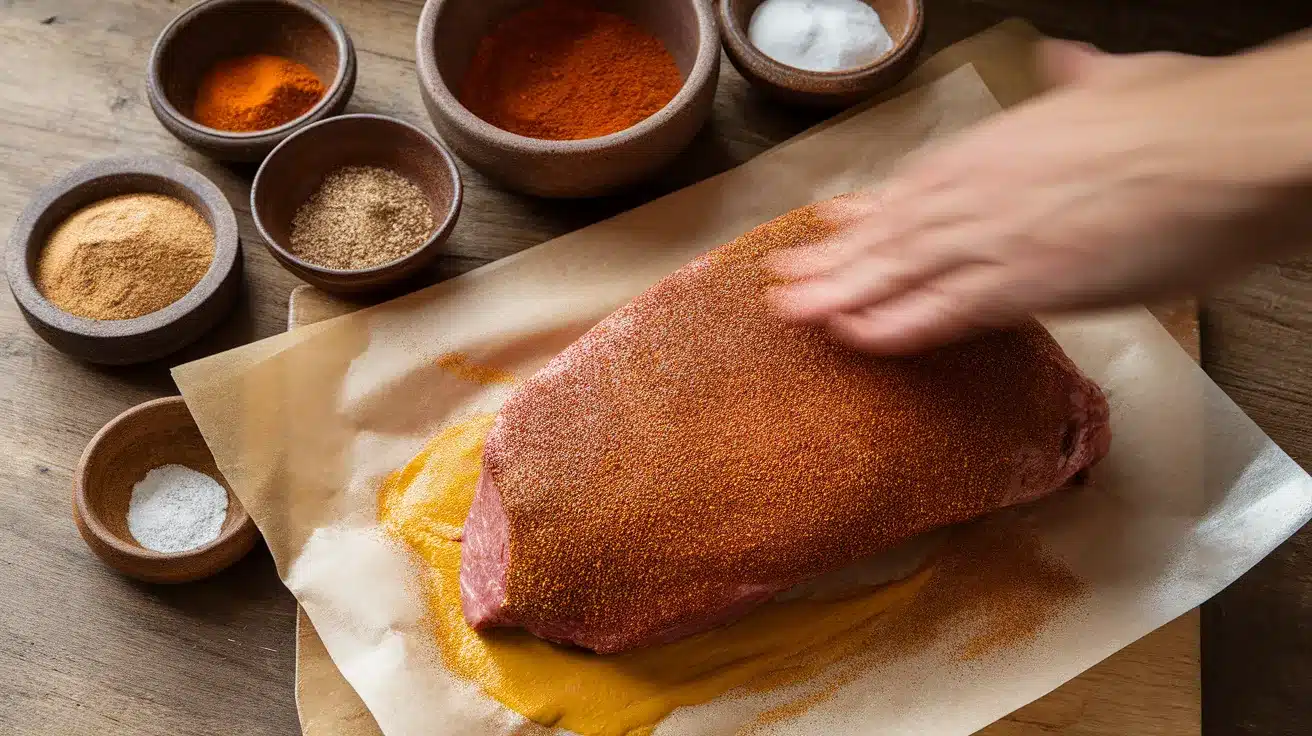
Mix all the dry rub ingredients in a bowl until well combined. The brown sugar adds sweetness that will caramelize beautifully, while the spices create that perfect BBQ flavor.
Coat the brisket point with yellow mustard; this helps the rub stick and adds a slight tang. Then, massage the rub all over the meat, ensuring that every surface is covered.
Pro Tip: Let the rubbed brisket sit at room temperature for 30 minutes before smoking. This helps it cook more evenly!
3. Fire Up the Smoker
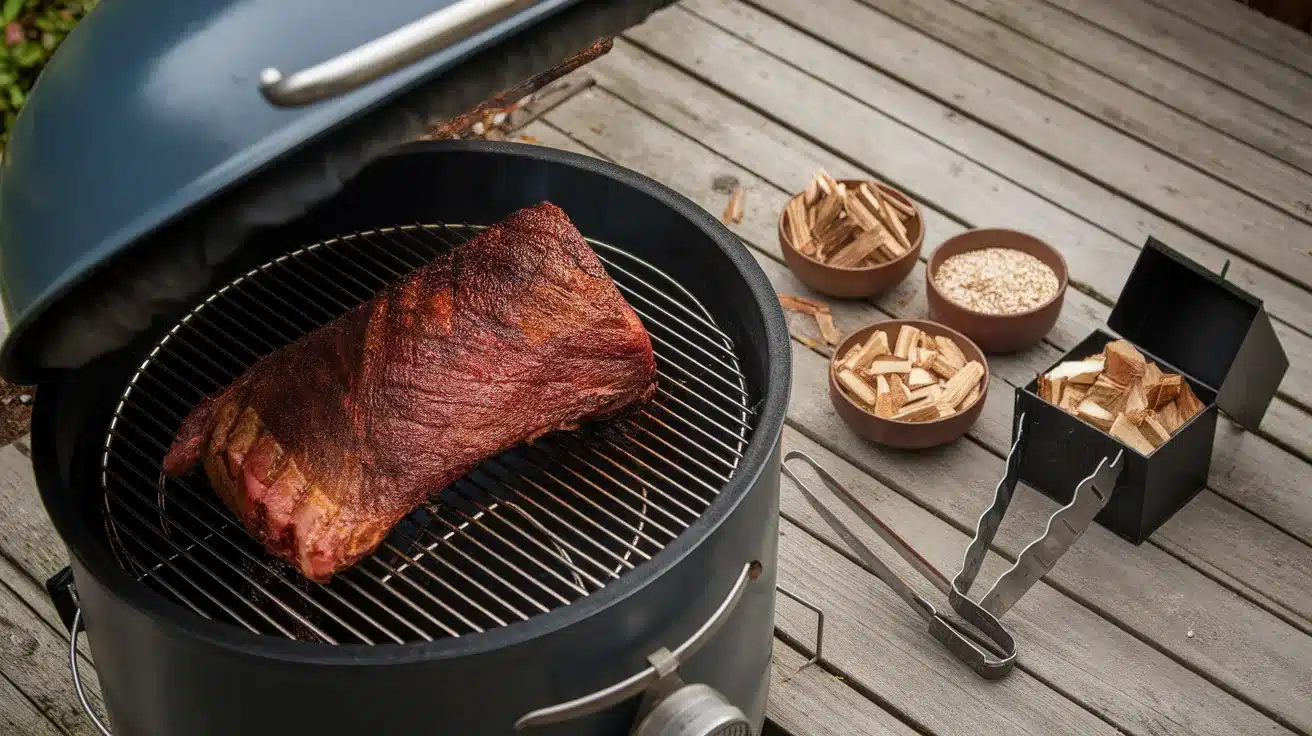
Preheat your smoker to 225°F. Add your favorite wood chips – hickory, oak, or apple, all work great with beef.
Place the brisket, point-side up, on the smoker. The fat will slowly render and baste the meat as it cooks, creating incredible flavor.
Pro Tip: Keep the temperature steady! Big temperature swings can make the meat tough and dry.
4. The Long Wait (The Best Part!)
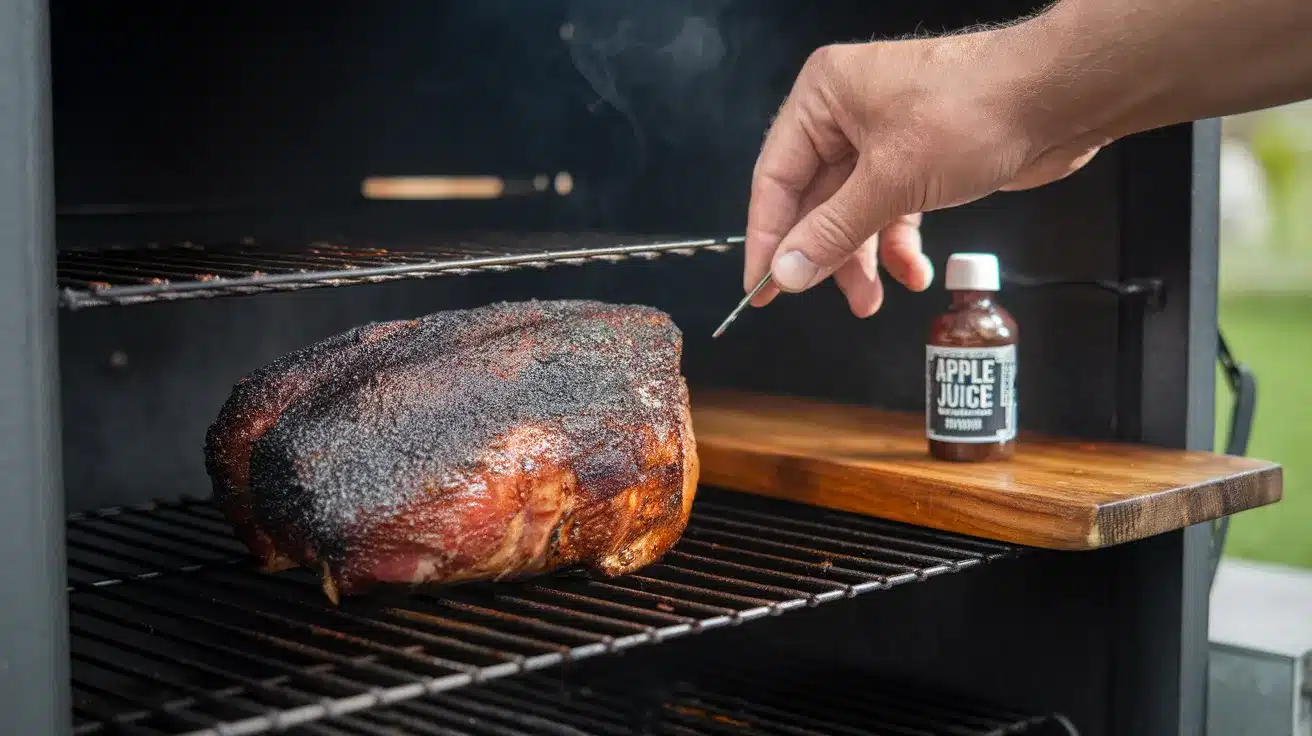
Smoke the brisket point for about 6 hours, or until it reaches an internal temperature of 195-200°F. This low-and-slow cooking method breaks down all the tough connective tissue.
Spritz with apple juice or beef broth every 2 hours to keep the outside from getting too dark. The meat is done when it jiggles like jello and a probe slides in like butter.
Pro Tip: Don’t rush this step! Good burnt ends can’t be hurried – they need time to become tender and flavorful.
5. Rest and Cube Time
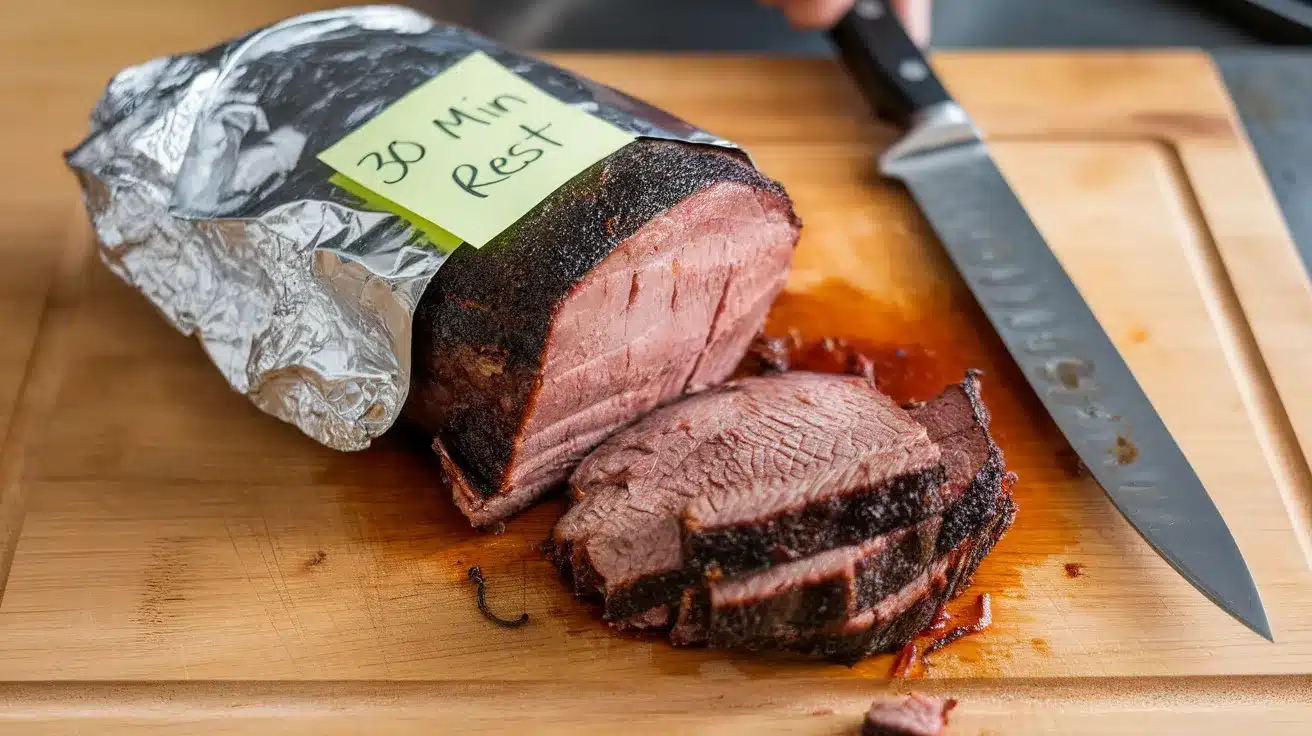
Remove the brisket point and let it rest for at least 30 minutes. This lets the juices redistribute throughout the meat.
Cut the brisket point into 1-inch cubes, removing any large pieces of fat. Each cube should have some bark (the crispy outside) and tender meat inside.
Pro Tip: Use a sharp knife and cut against the grain for the most tender burnt ends!
6. The Second Cook Magic
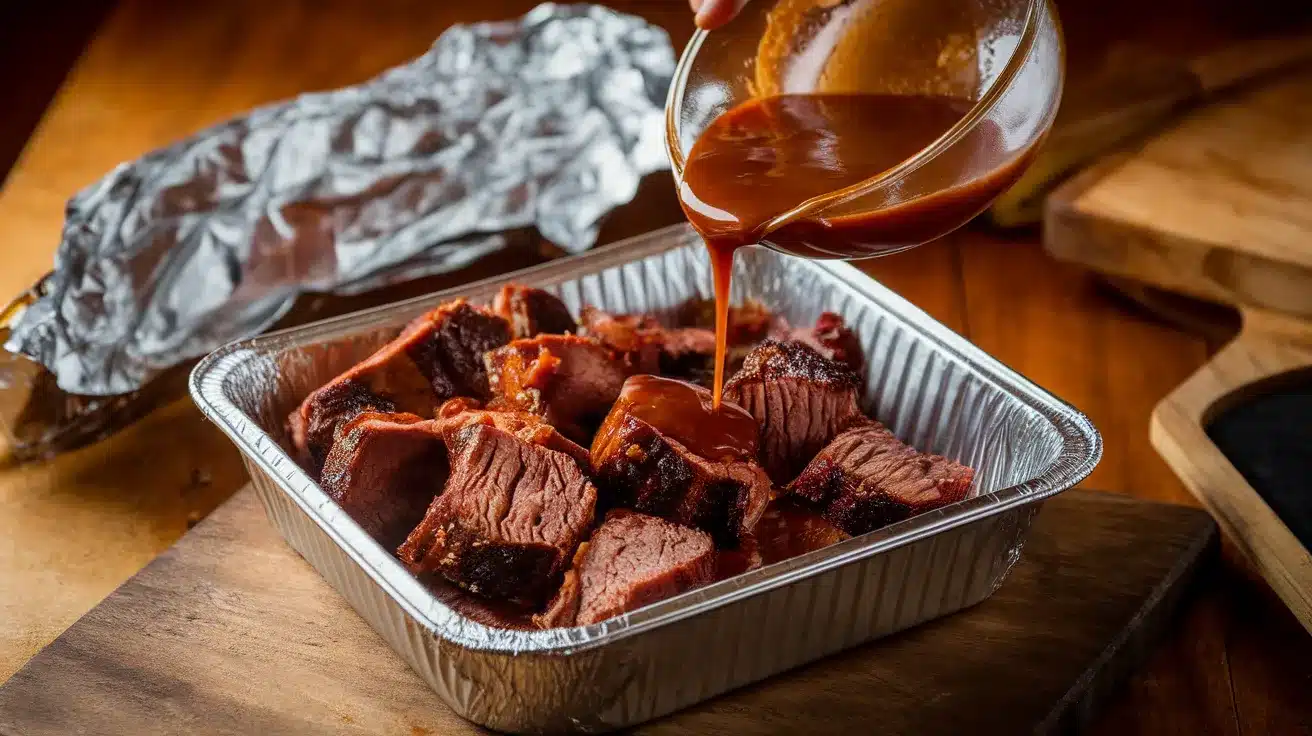
Place the cubed meat in a disposable aluminum pan. Mix the BBQ sauce, butter, brown sugar, honey, and Worcestershire sauce, then pour it over the cubes.
Toss everything together so each piece is coated in that sweet, sticky goodness. Cover the pan with foil and return to the smoker.
Pro Tip: This second cook is what chnages good brisket into amazing burnt ends – don’t skip it!
7. The Final Finish
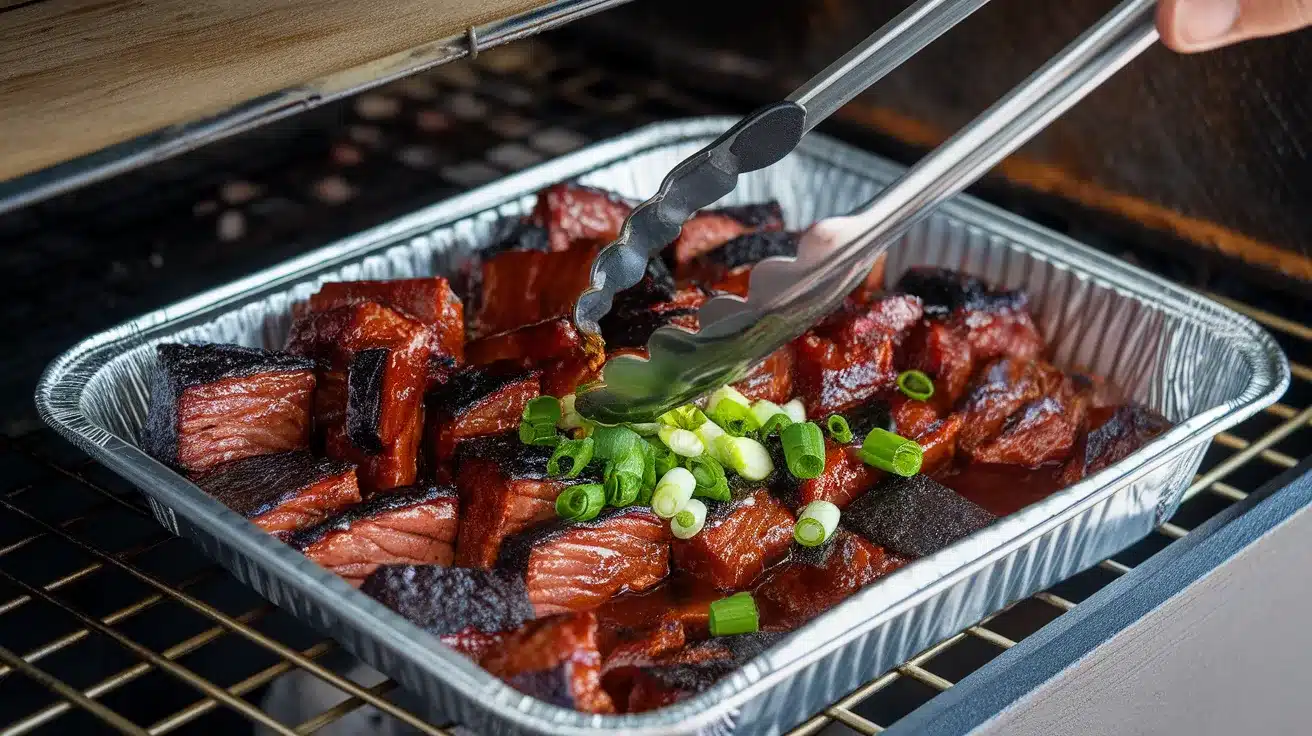
Cook for an additional 1-2 hours at 225°F, removing the foil for the last 30 minutes to allow the sauce to caramelize. The burnt ends are done when they’re sticky, glossy, and incredibly tender.
Please give them a final toss and sprinkle with chopped green onions for a fresh pop of color and flavor.
Pro Tip: Taste one before serving (you deserve it!) and adjust seasoning if needed.
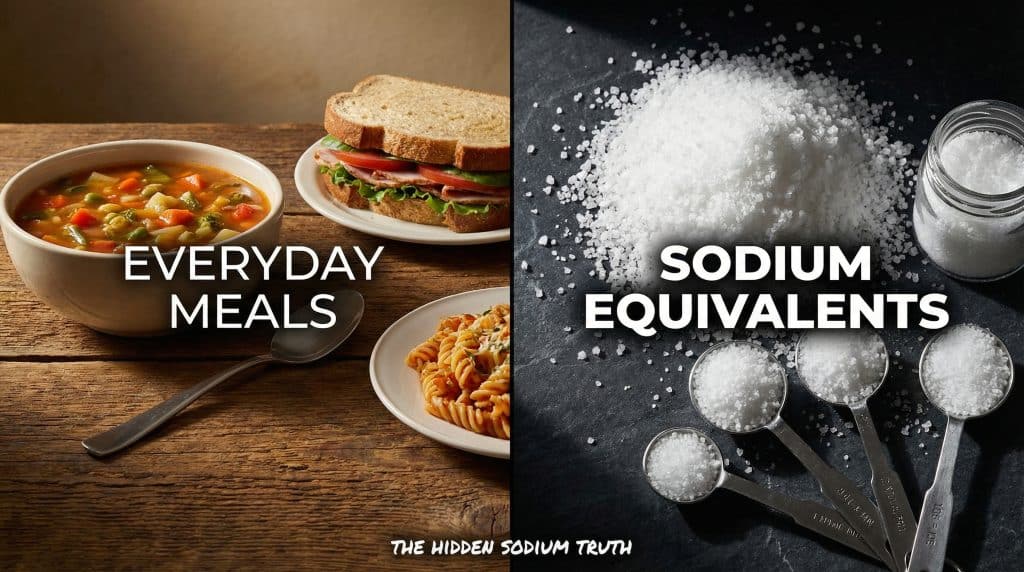
Nutrition Facts
These smoky beef cubes pack a serious punch in terms of flavor and protein power!
| Nutrition Information | Per 3 oz Serving |
|---|---|
| Calories | 285 |
| Protein | 22g |
| Fat | 18g |
| Carbs | 8g |
| Sodium | 420mg |
| Sugar | 7g |
Note: These values are approximate and based on standard ingredients. Actual nutrition may vary depending on your specific ingredients and serving size.
Storage & Serving Secrets
Keep these delicious burnt ends fresh and ready to enjoy!
- Storing: Keep leftover burnt ends in the fridge for up to 4 days in an airtight container.
- Reheating: Warm gently in a 250°F oven for 10-15 minutes to maintain tenderness.
- Make-ahead magic: You can smoke the brisket point a day ahead, then cube and finish the next day.
- Serving size: This recipe yields approximately 2 pounds of burnt ends, which is perfect for feeding 6-8 people.
Make It Your Own: Creative Twists!
Experiment with these variations to create your signature burnt ends:
Sauce Variations
- Kansas City style with molasses-heavy sauce
- Carolina style with vinegar-based sauce
- Texas style with minimal sauce, maximum smoke
Spice Tales
- Add coffee grounds to the rub for earthy depth
- Use smoked paprika for extra smokiness
- Try different wood chips like cherry or mesquite
Flavor Boosters
- Wrap in bacon for extra richness
- Add a splash of bourbon to the finishing sauce
- Sprinkle with coarse sea salt before serving
Perfect Pairings for Your Burnt Ends
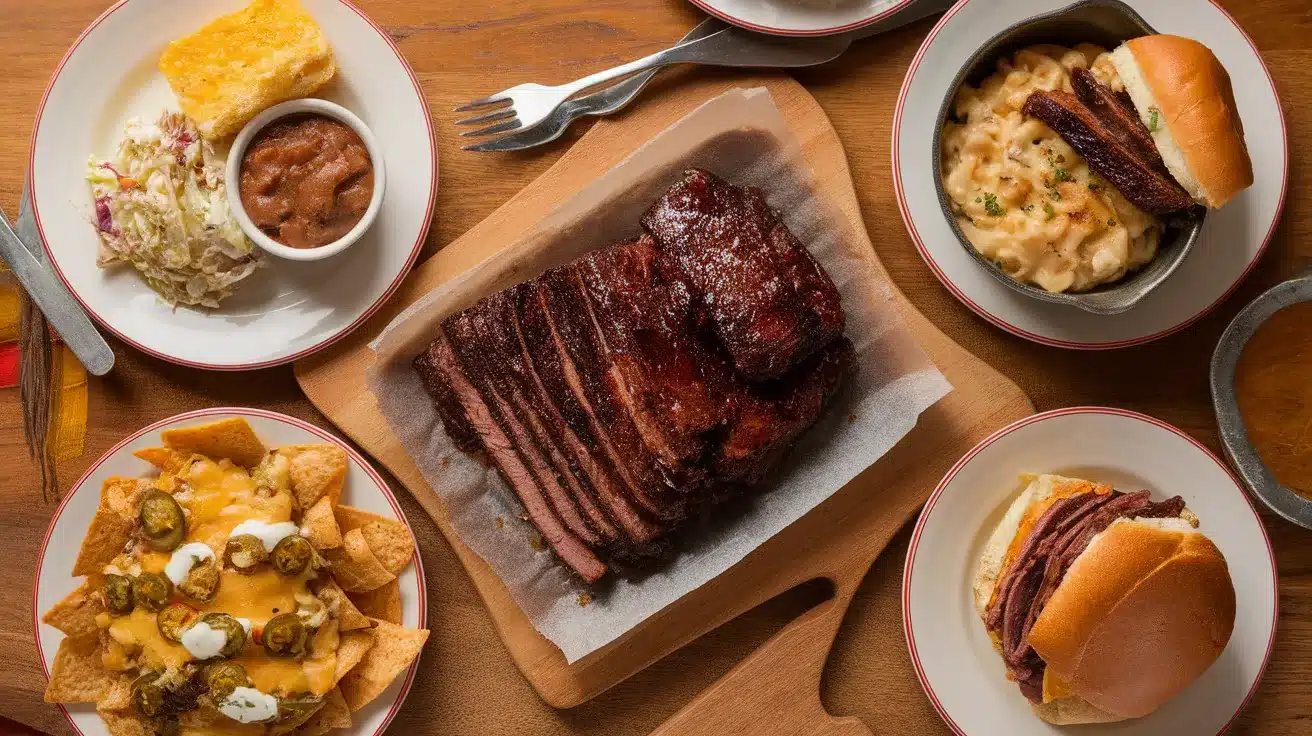
Create the ultimate BBQ feast with these amazing combinations:
1. Classic Sides
Pair burnt ends with creamy coleslaw, baked beans, and cornbread for a traditional Kansas City experience. The cool, crisp slaw perfectly balances the rich, smoky meat.
2. Mac and Cheese
Nothing beats burnt ends over creamy, cheesy mac and cheese. The combination of smoky beef and comfort food creates pure BBQ bliss.
3. Loaded Nachos
Use burnt ends as a topping for loaded nachos with cheese, jalapeños, and sour cream. It’s like having a BBQ party in every bite!
4. Sandwich Style
Pile burnt ends high on a brioche bun with pickles and extra sauce for the ultimate BBQ sandwich. Add some crispy onions for extra crunch!
Change Your BBQ Game Today!
What started as pitmaster scraps has become one of the most beloved BBQ dishes in America, and now you can make them at home!
These burnt ends represent everything great about BBQ – patience, smoke, and incredible flavor all coming together in perfect harmony.
The tender meat, caramelized edges, and sticky-sweet glaze create an unforgettable taste experience.
From your first bite, you’ll understand why burnt ends have such a devoted following. They’re not just food – they’re edible proof that good things do come to those who wait!
Ready to become the burnt ends hero of your neighborhood? Fire up that smoker and let us know in the comments which wood you’re using and what sides you’re planning to serve alongside these smoky beef cubes!