
Looking for an ancient superfood that’ll make your taste buds dance and your friends ask for seconds?
I was wandering through the farmer’s market last weekend when I spotted these stunning purple and white spotted beans that looked like tiny works of art.
The vendor told me they were Anasazi beans – an ancient variety that has been nourishing people for over 1,000 years.
Let me tell you that moment of finding changed my bean game forever! I grabbed a bag, rushed home, and cooked up the most incredible, nutty-flavored beans that even my picky eaters came back for seconds.
The secret? These beautiful heirloom beans have an amazing, earthy, sweet flavor that’s unlike any regular bean, plus they’re packed with protein and cook faster than you’d expect.
Trust me, these aren’t just beans – they’re edible history that tastes incredible and turns any meal into something special. Ready to cook like the ancient ones? Let’s create some magic!
What Makes Anasazi Beans So Special?
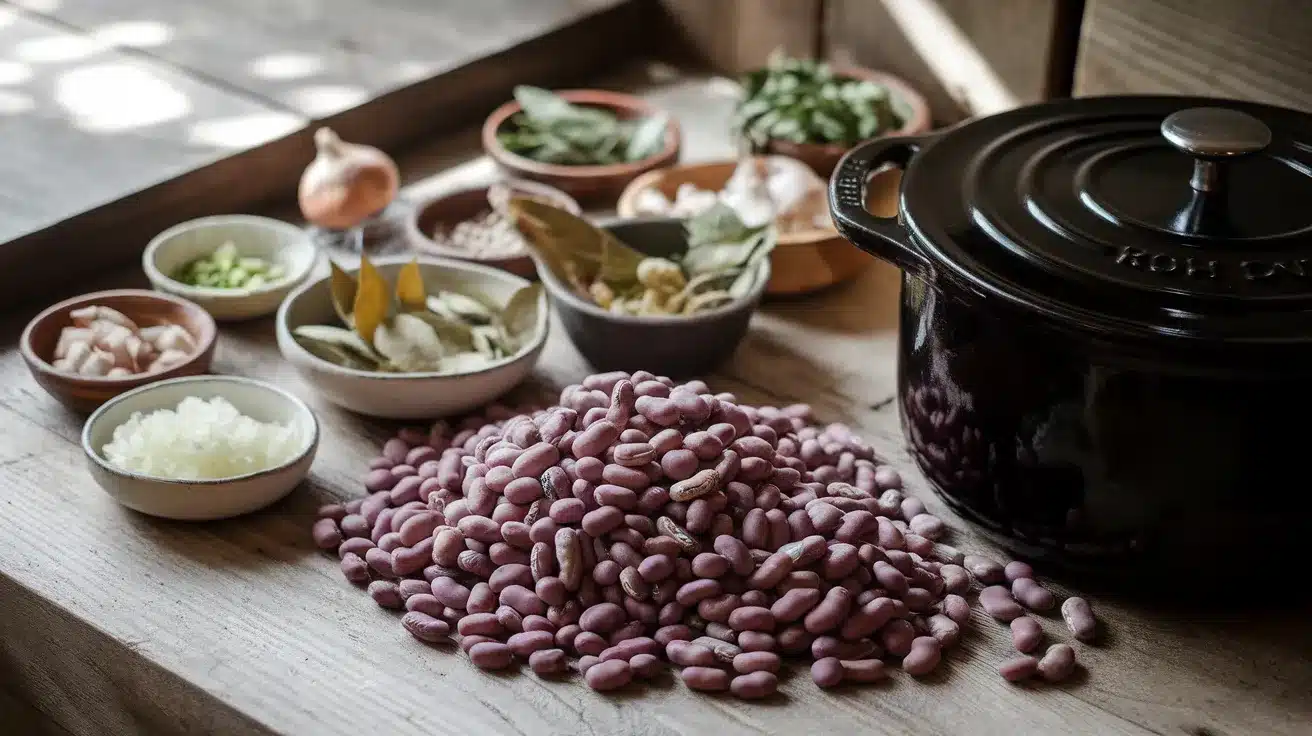
Before I dive into cooking, let me share what makes these beans amazing! Anasazi beans (also known as Cave beans or New Mexico Appaloosa beans) are heirloom varieties that Native American tribes cultivated in the Southwest for centuries.
These gorgeous beans feature beautiful purple and white speckled patterns that resemble tiny painted stones.
But here’s the best part – they taste incredible! They have this rich, sweet, almost chocolatey flavor that’s way more interesting than regular pinto or black beans.
Plus, they’re nutritional powerhouses packed with protein, fiber, and iron. I love knowing that I’m feeding my family the same superfood that sustained ancient civilizations!
Ingredients You’ll NeedFor Basic Cooked Anasazi Beans:
For Extra Flavor (My Favorite Additions):
|
Recipe Notes
|
Prep Time: 8-12 hours (soaking) + 15 minutes active prep |
Cook Time: 1-2 hours |
Method: Stovetop or slow cooker |
|
Category: Side dish, protein |
Cuisine: Southwestern American |
Let’s Get Cooking – Step by Step!
I’ve perfected this method through numerous delicious experiments. No fancy equipment needed – just a big pot, some patience, and your taste buds ready for something amazing.
Let’s turn your kitchen into an ancient cooking sanctuary!
1. The Essential Soak
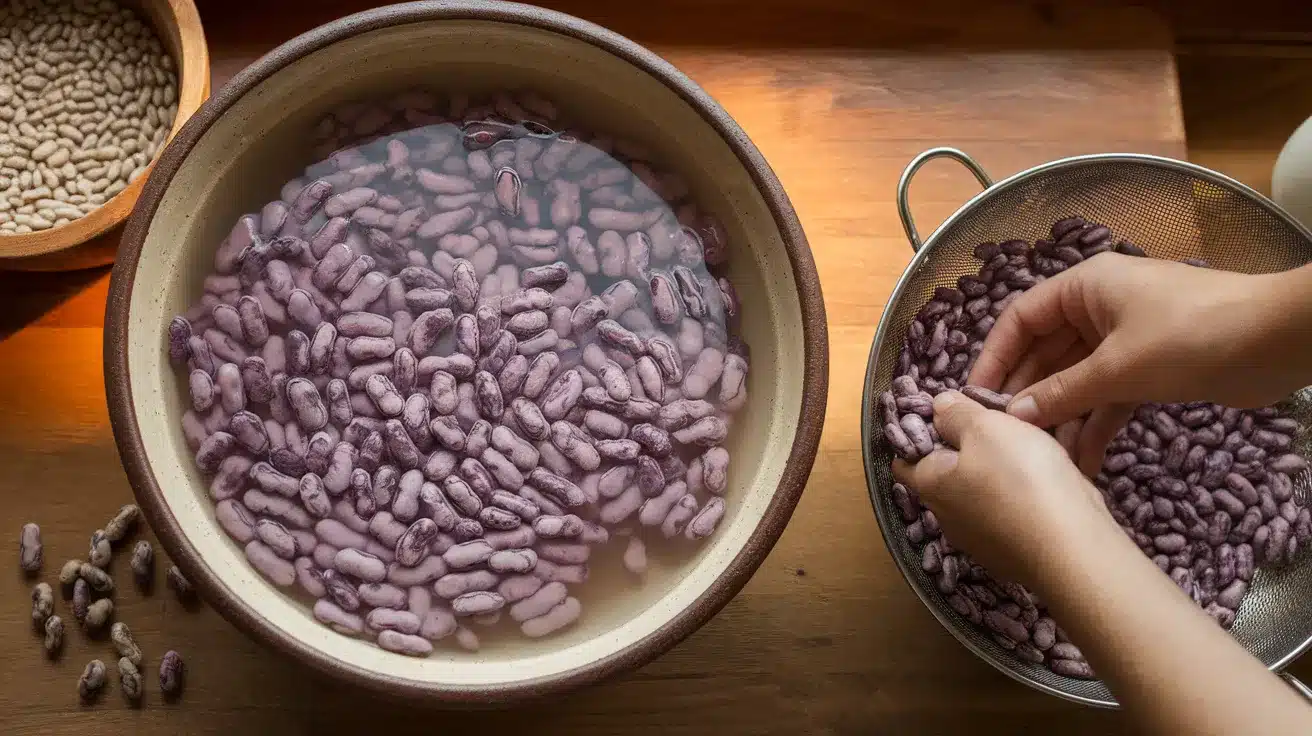
The night before I plan to cook, I sort through my beans to remove any stones or damaged beans. Then I rinse them in cold water until the water runs clear.
I place the clean beans in a large bowl and cover them with at least 3 inches of cool water. They’ll double in size overnight, so I make sure to use a big bowl!
Pro Tip: The cook should soak the beans for 8-12 hours. This softens them and cuts cooking time in half. Quick soaks work in a pinch, but overnight soaking gives the best texture.
2. Getting Ready to Cook
After soaking, I drain and rinse my plump, beautiful beans. They’ve already started to lose some of their purple color – that’s normal and means they’re ready to cook!
I grab my heaviest pot (my Dutch oven is perfect) and prepare all my aromatics. Having everything prepped makes the cooking process so much smoother.
Pro Tip: The cook should use a heavy-bottomed pot to prevent burning. Cast iron or enameled Dutch ovens work best for even heat distribution.
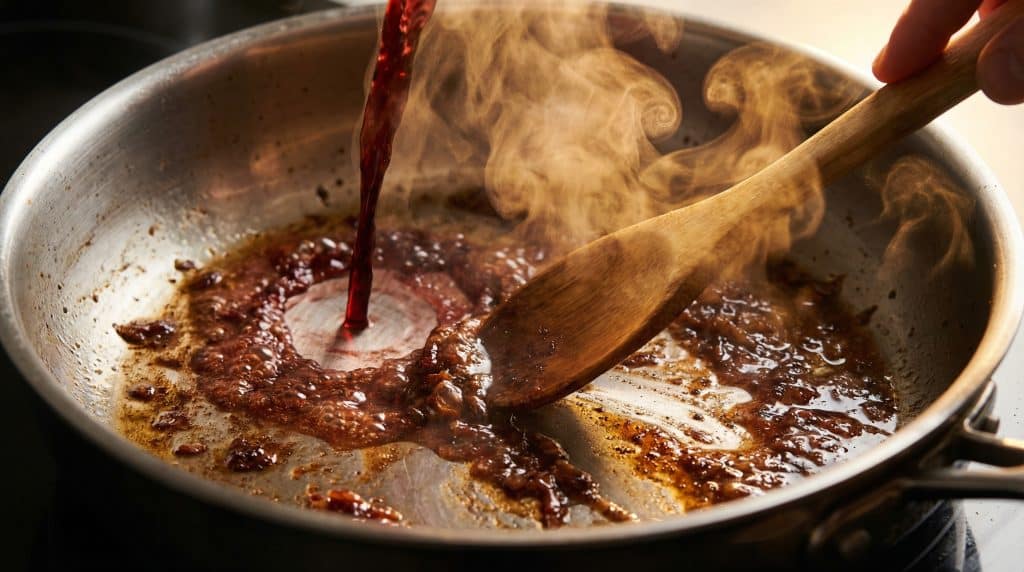
3. Building the Flavor Base
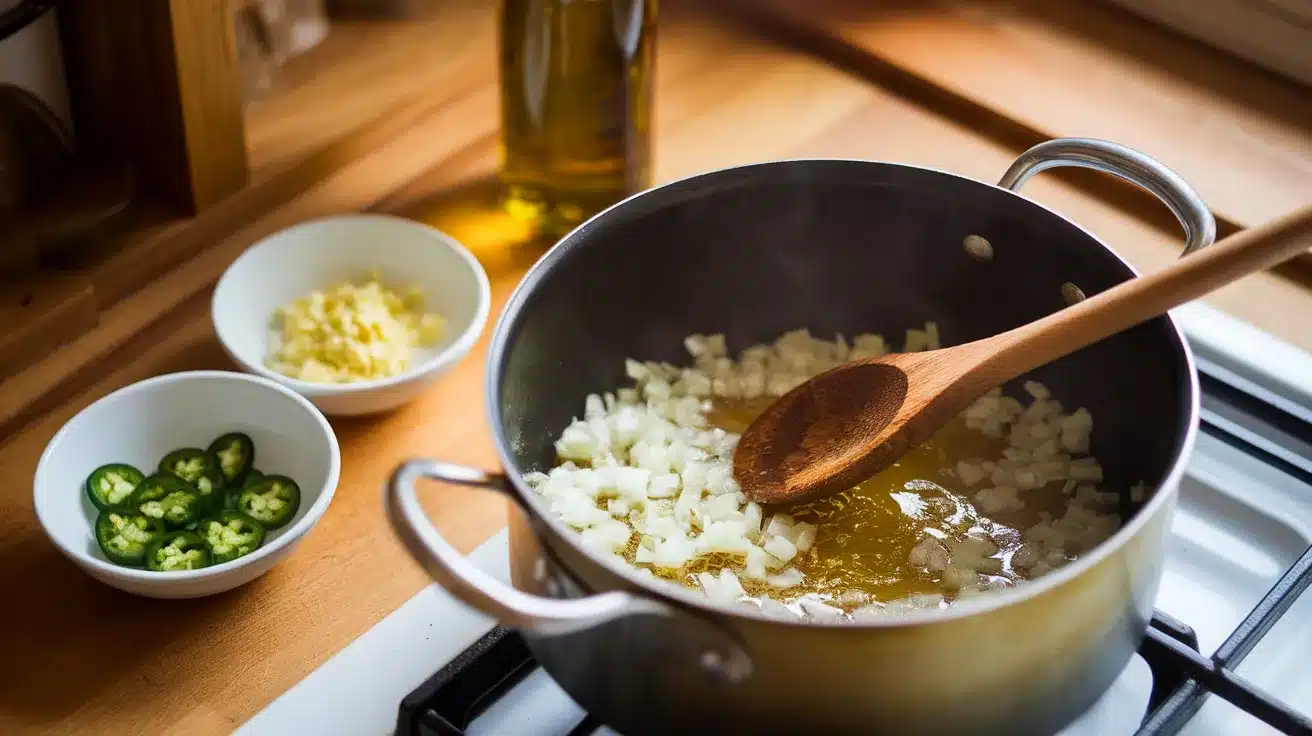
This is where I make my beans extra special! I heat olive oil in my pot over medium heat, then add the diced onion. I cook it until it’s soft and golden, about 5 minutes.
Next, I add the minced garlic and cook for another minute until it smells incredible. If I’m using jalapeño, I add that now too. The kitchen starts smelling like magic!
Pro Tip: The cook should avoid adding salt or acidic ingredients like tomatoes until the beans are tender. Acid can make bean skins tough and slow down cooking.
4. Adding the Stars

Now I add my soaked beans to the pot along with enough fresh water to cover them by about 2 inches. I toss in those bay leaves, they add such a wonderful, earthy note!
I bring everything to a boil, then reduce the heat to maintain a gentle simmer. Too hard of a boil can make the beans fall apart, and we want them to hold their beautiful shape.
Pro Tip: The cook should skim off any foam that rises to the surface during the first 10 minutes of cooking. This keeps the cooking liquid clear and clean-tasting.
5. The Patient Simmer

Here comes the part that requires patience, but it’s so worth it! I let my beans simmer gently, partially covered, for 1 to 2 hours. I check on them every 30 minutes, adding more hot water if needed to keep them covered.
I test for doneness by taking out a bean and biting into it. It should be creamy all the way through with no chalky center. Anasazi beans usually cook faster than other varieties!
Pro Tip: The cook should keep the cooking liquid at a gentle simmer, not a rolling boil. Aggressive boiling can cause the bean skins to split and create mushy beans.
6. Seasoning Perfection
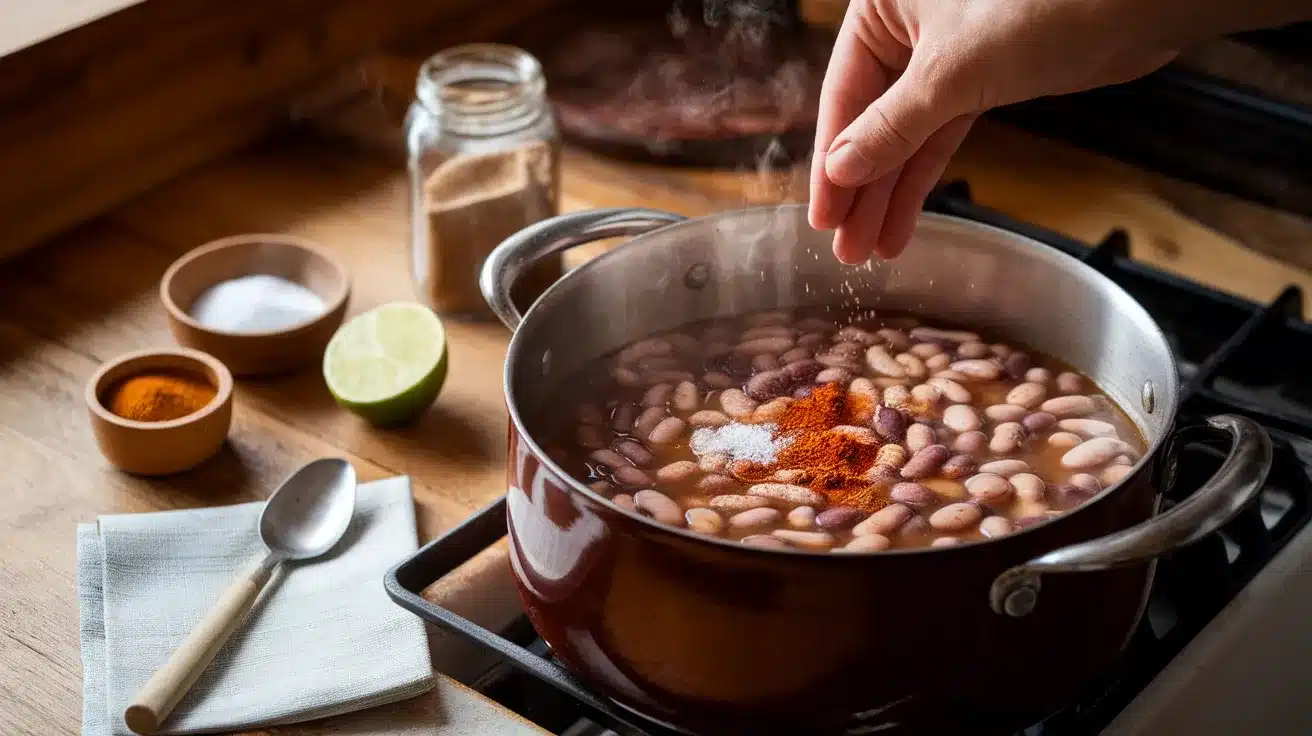
Once my beans are tender, I add the salt, cumin, and smoked paprika. I let them simmer for another 10 minutes to allow the flavors to absorb.
This is my favorite part – tasting and adjusting! I might add more salt, a squeeze of lime juice, or even a pinch of brown sugar to balance the flavors.
Pro Tip: The cook should season the beans gradually and taste frequently. Different batches of beans absorb salt differently, so adjusting by taste is key.
Nutrition Facts
These ancient beans are nutritional superstars that make me feel good about every bite!
| Nutrition Information | Per ½ Cup Serving |
|---|---|
| Calories | 115 |
| Protein | 8g |
| Fiber | 7g |
| Iron | 2mg |
| Folate | 115mcg |
| Magnesium | 45mg |
| Fat | 0.5g |
| Carbs | 21g |
Note: These values are for plain cooked beans. Adding olive oil and other ingredients will alter the nutritional profile, but you’ll still receive incredible plant-based nutrition!
Storage & Serving Secrets
These beautiful beans stay delicious for days when stored properly, and they actually taste better the next day!
- Storing: I keep cooked beans in the fridge for up to 5 days in their cooking liquid. This keeps them moist and flavorful.
- Freezing magic: I freeze portions in freezer bags for up to 6 months. I always include some cooking liquid to prevent them from drying out.
- Reheating hack: For the best texture, gently reheat the beans on the stovetop with a splash of water or broth. Microwaving works in a pinch, but can make them mushy.
- Make-ahead tip: I love cooking a big batch on Sunday and using it throughout the week in various dishes. They’re like having a secret weapon in my fridge!
Make It Your Own: Creative Twists!
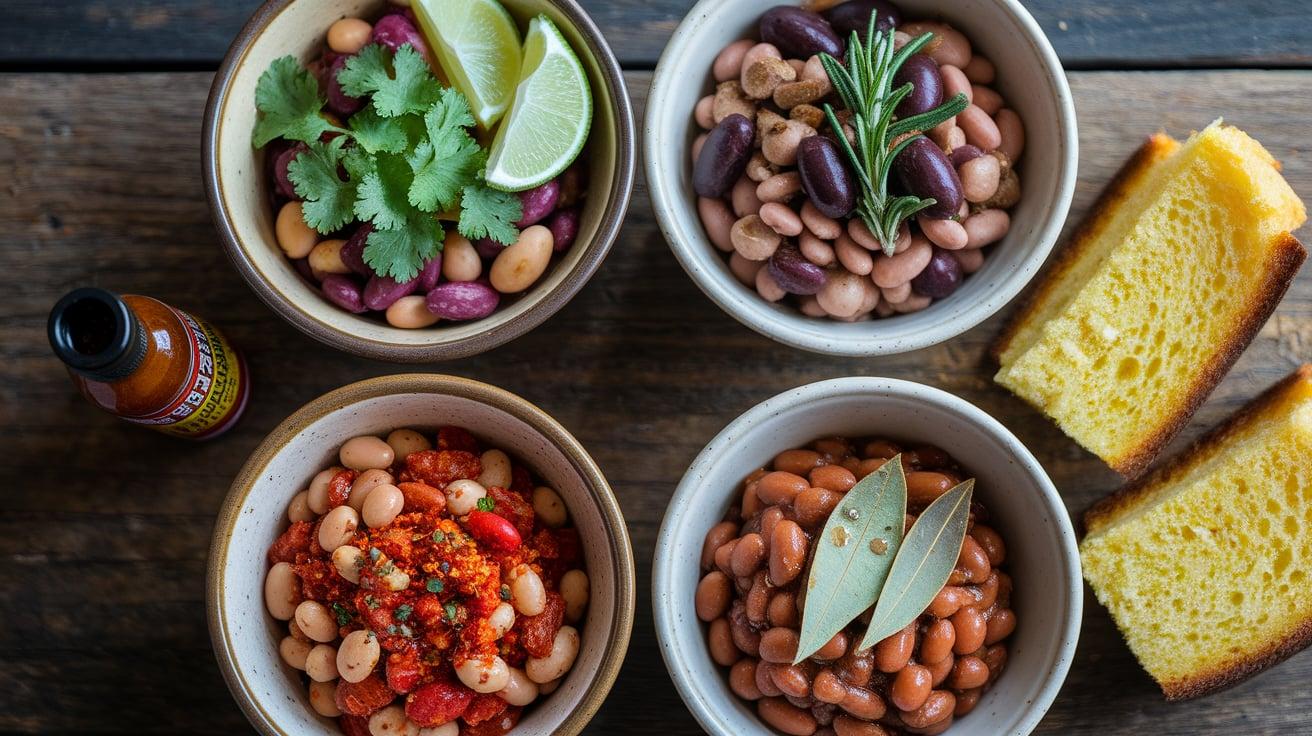
I love experimenting with these versatile beans when I want to surprise my family with something different:
Southwestern Style
- Add diced green chiles and cilantro
- Finish with lime juice and cumin
- Serve with cornbread and avocado
Mediterranean Twist
- Cook with rosemary and oregano
- Add diced tomatoes and olives
- Drizzle with good olive oil
Spicy Version
- Include chipotle peppers in adobo sauce
- Add extra garlic and onion powder
- Finish with hot sauce and lime
Sweet and Smoky
- Add a touch of maple syrup
- Include smoked paprika and bay leaves
- Perfect for BBQ side dishes
Perfect Ways to Serve Your Anasazi Beans

When I serve these gorgeous beans, I love creating complete, satisfying meals that showcase their incredible flavor!
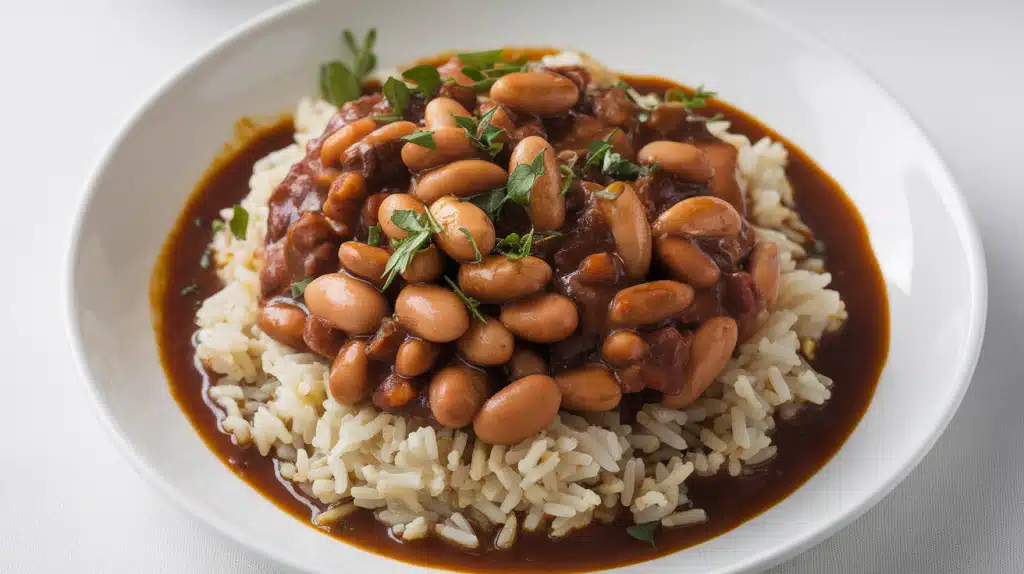
1. Classic Southwest Bowl
I serve my beans over brown rice with diced avocado, fresh salsa, and a dollop of Greek yogurt. It’s like having a burrito bowl at home that’s way healthier and more delicious than any restaurant version!
2. Hearty Soup Base
These beans make the most incredible soup! I add diced tomatoes, corn, and green chiles for a Southwest soup that warms you from the inside out.
3. Protein-Packed Salads
I toss cooled beans into green salads for extra protein and fiber. They’re especially good with spinach, corn, and a lime vinaigrette.
4. Side Dish Superstar
I serve them alongside grilled chicken, pork, or fish. The earthy, sweet flavor complements grilled meats perfectly, making any meal feel more complete.
Slow Cooker Method (My Lazy Day Secret!)
Sometimes I want amazing beans without watching the stove, so here’s my foolproof slow cooker method:
- I add soaked beans, aromatics, and water to my slow cooker
- Cook on low for 6-8 hours or high for 3-4 hours
- Add salt and seasonings in the last hour
- Perfect beans with zero babysitting required!
Pro Tip: When using a slow cooker, the cook should avoid lifting the lid too often. Each peek adds 15-20 minutes to the cooking time.
When Beans Misbehave: Quick Fixes That Work
Even experienced cooks sometimes have bean disasters! Here’s how I fix the most common issues:
- Beans won’t soften: Old beans or hard water can cause this. I add a pinch of baking soda to the cooking water, which helps soften stubborn beans.
- Beans are falling apart: The heat was too high, or they cooked too long. Next time, Iwill keep the simmer gentler and check for doneness more frequently.
- Bland flavor: I didn’t season enough, or added salt too early. I fix this by simmering with more aromatics and seasoning at the end.
- Too watery: I remove the lid and simmer uncovered for the last 15 minutes to evaporate excess liquid.
Turn Tonight Into a Flavorful Experience!
I started with curiosity about these beautiful spotted beans and ended up with a cooking method that makes every batch taste like it came from an ancient kitchen filled with love and tradition.
These Anasazi beans have become my go-to protein for everything from casual weeknight dinners to impressive dinner parties. The rich, complex flavor and stunning appearance make every meal feel special.
The best part? Knowing that I’m cooking the same nutritious food that sustained civilizations for centuries adds such meaning to every bite.
Ready to connect with culinary history while creating something delicious for your family?
Give this ancient treasure a try tonight, take a photo of your beautiful spotted beans before they disappear, and tell me in the comments what creative way you served them! Your taste buds are about to thank you for this trip back in time.