


You know that moment when takeout costs more than your grocery budget? Time to make teriyaki bowls at home.
Making teriyaki bowls is easier than you think. No fancy ingredients needed. Just tender chicken glazed in sweet and savory sauce over fluffy rice with your favorite toppings.
These bowls are perfect for busy weeknights. Everything comes together in one pan. The sauce takes five minutes to whisk up. Your kitchen will smell wonderful.
The best part? You control what goes in. Try adding extra veggies, reducing sodium, or swapping chicken for tofu. Make it yours.
Whether you’re cooking for one or feeding the whole family, homemade teriyaki bowls deliver restaurant flavor without the price tag. Plus, leftovers taste even better.
Ready to ditch expensive takeout?
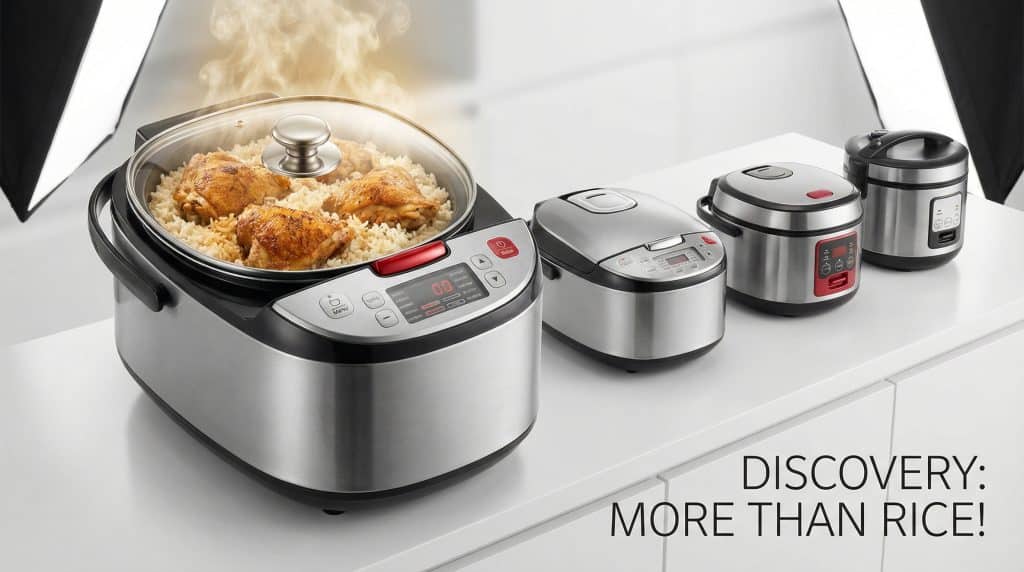
Why Make Teriyaki Bowls at Home?
Making teriyaki bowls at home gives you complete control over ingredients. You choose fresh food without mystery additives or extra sodium that restaurants often use.
The cost savings are big compared to restaurants. Homemade versions cost about $4 per serving versus $12 to $15 at restaurants.
You can customize each bowl exactly how you want it. Love extra sauce, add more. Want more vegetables? Load them up with your favorites.
Great for different diets and preferences, too. Use tamari for gluten-free, tofu for vegetarian, or cauliflower rice for low-carb options.
Making multiple servings takes the same time as one. Prep once and have lunch ready for the whole week ahead.
Key Ingredients You’ll NeedFor the Teriyaki Chicken
For the Teriyaki Sauce
For the Bowl Base and Vegetables
For Garnishes and Finishing
|
Pro Tip: Use chicken thighs for juicier meat, mix cornstarch with cold water to prevent lumps, and toast sesame seeds for more flavor.
Recipe Notes & Prep Information
| Category | Details |
|---|---|
| Gluten-Free | Use tamari instead of soy sauce |
| Vegetarian | Use tofu or tempeh |
| Low-Sodium | Use low-sodium soy sauce |
| Tools | Skillet, saucepan, knife |
| Time | 35 minutes total |
| Prep Tips | Marinate the chicken for 30 minutes |
| Storage | Sauce keeps for 1 week in the fridge |
Let’s Get Cooking – Step by Step!
Ready to turn simple ingredients into something special? This step-by-step guide walks you through each part of the process. Take your time and enjoy the cooking experience.
1. Prepare Your Bowl Base
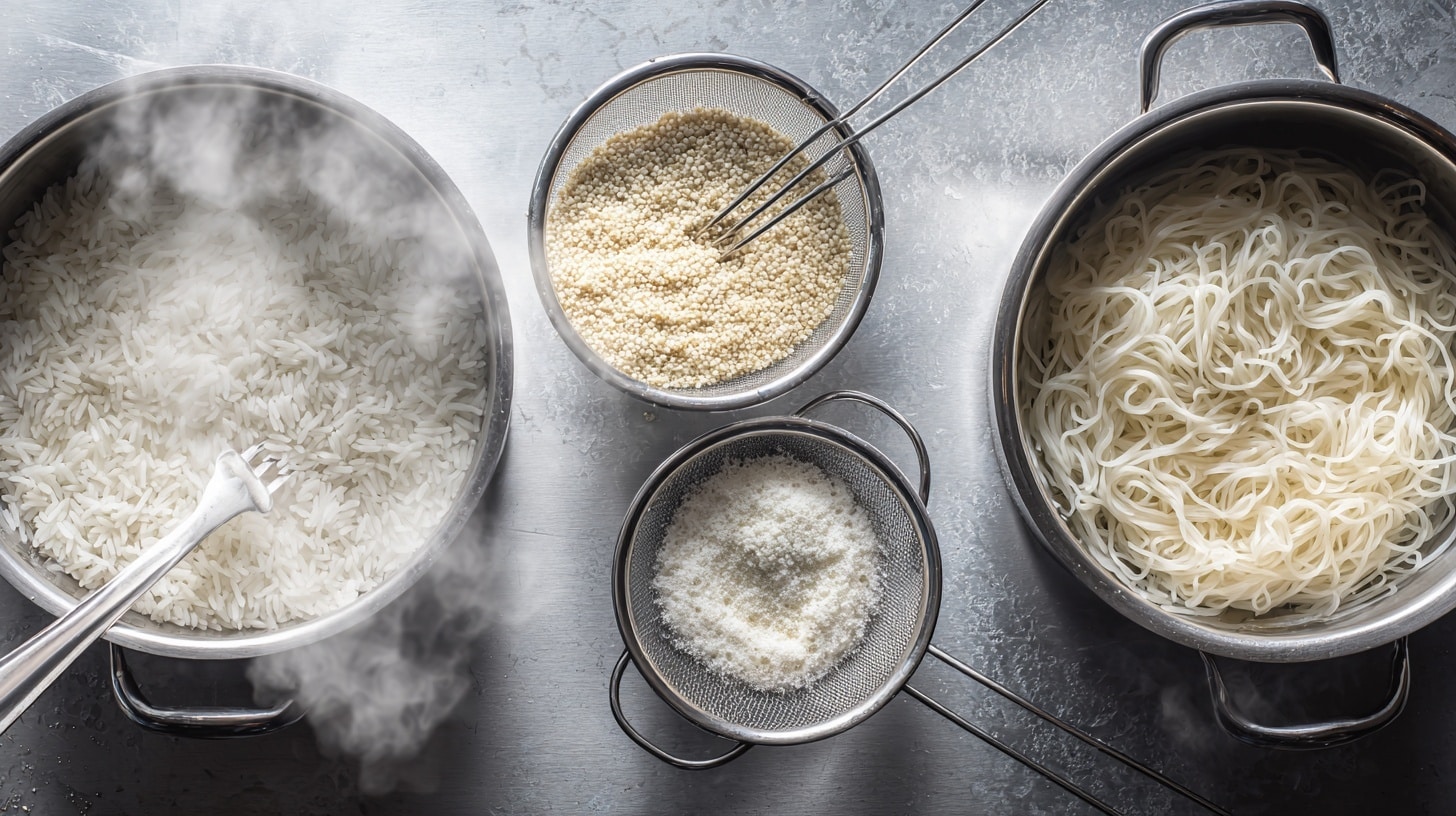
Start your rice in a rice cooker or pot with a 1:1 water ratio. For quinoa, use 2:1 water and simmer 15 minutes until fluffy. Rice noodles cook fast in boiling water.
Let the base rest for 5 minutes after cooking. This helps the grains separate and prevents a mushy texture. Fluff rice with a fork before serving.
Pro Tip: Rinse rice until water runs clear to remove excess starch and prevent stickiness.
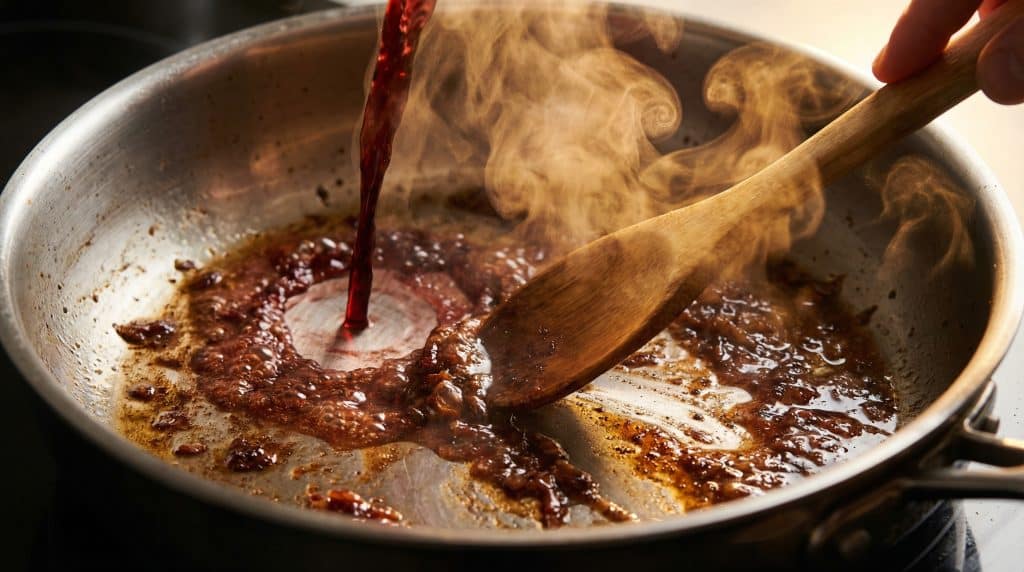
2. Make the Teriyaki Sauce
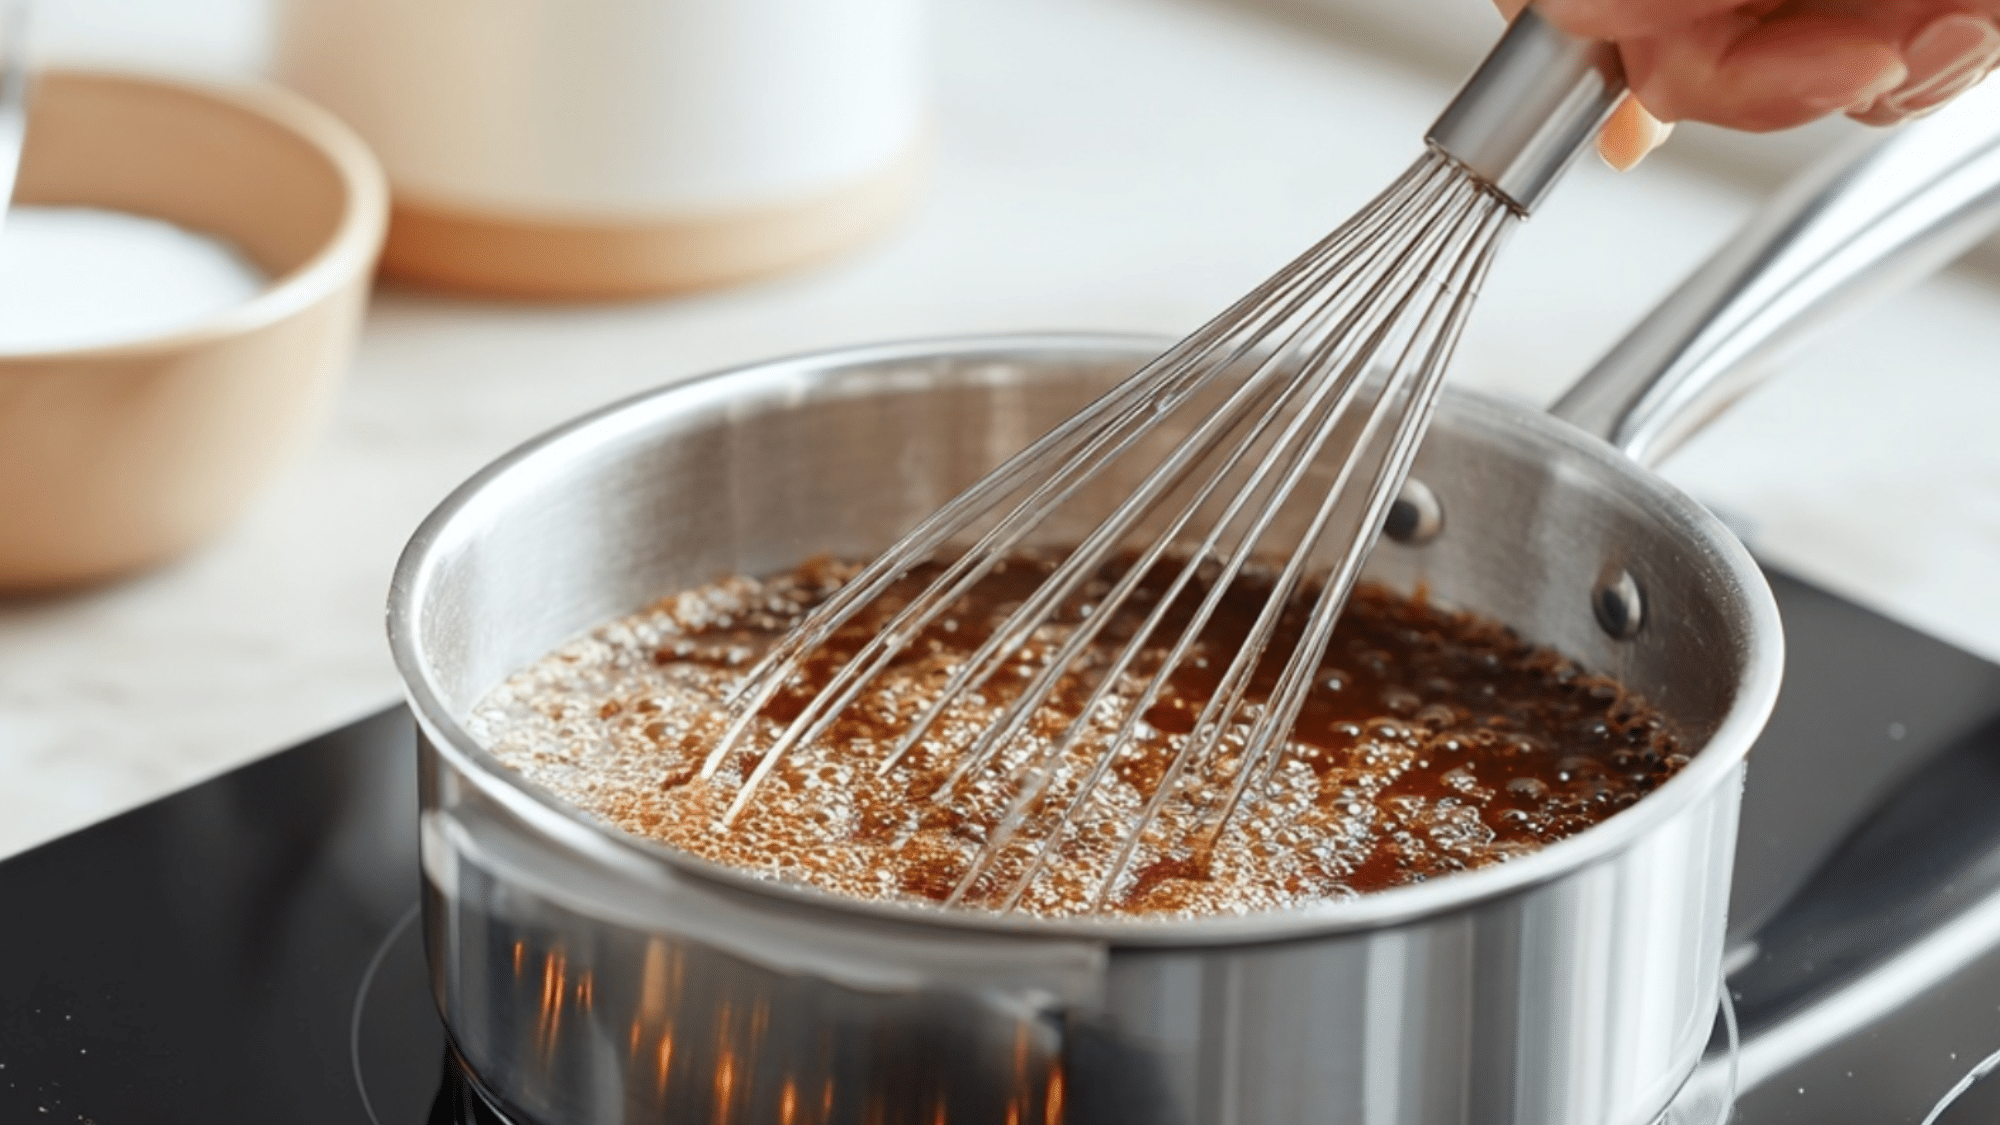
Whisk all sauce ingredients except the cornstarch mixture in a small saucepan. Bring to a gentle simmer over medium heat. The sauce will start to bubble lightly.
Mix cornstarch with cold water in a small bowl until smooth. Pour into the simmering sauce while whisking. Cook 2-3 minutes until thick enough to coat a spoon.
Pro Tip: Make double the sauce recipe and store half for quick meals later in the week.
3. Cook the Chicken to Completion
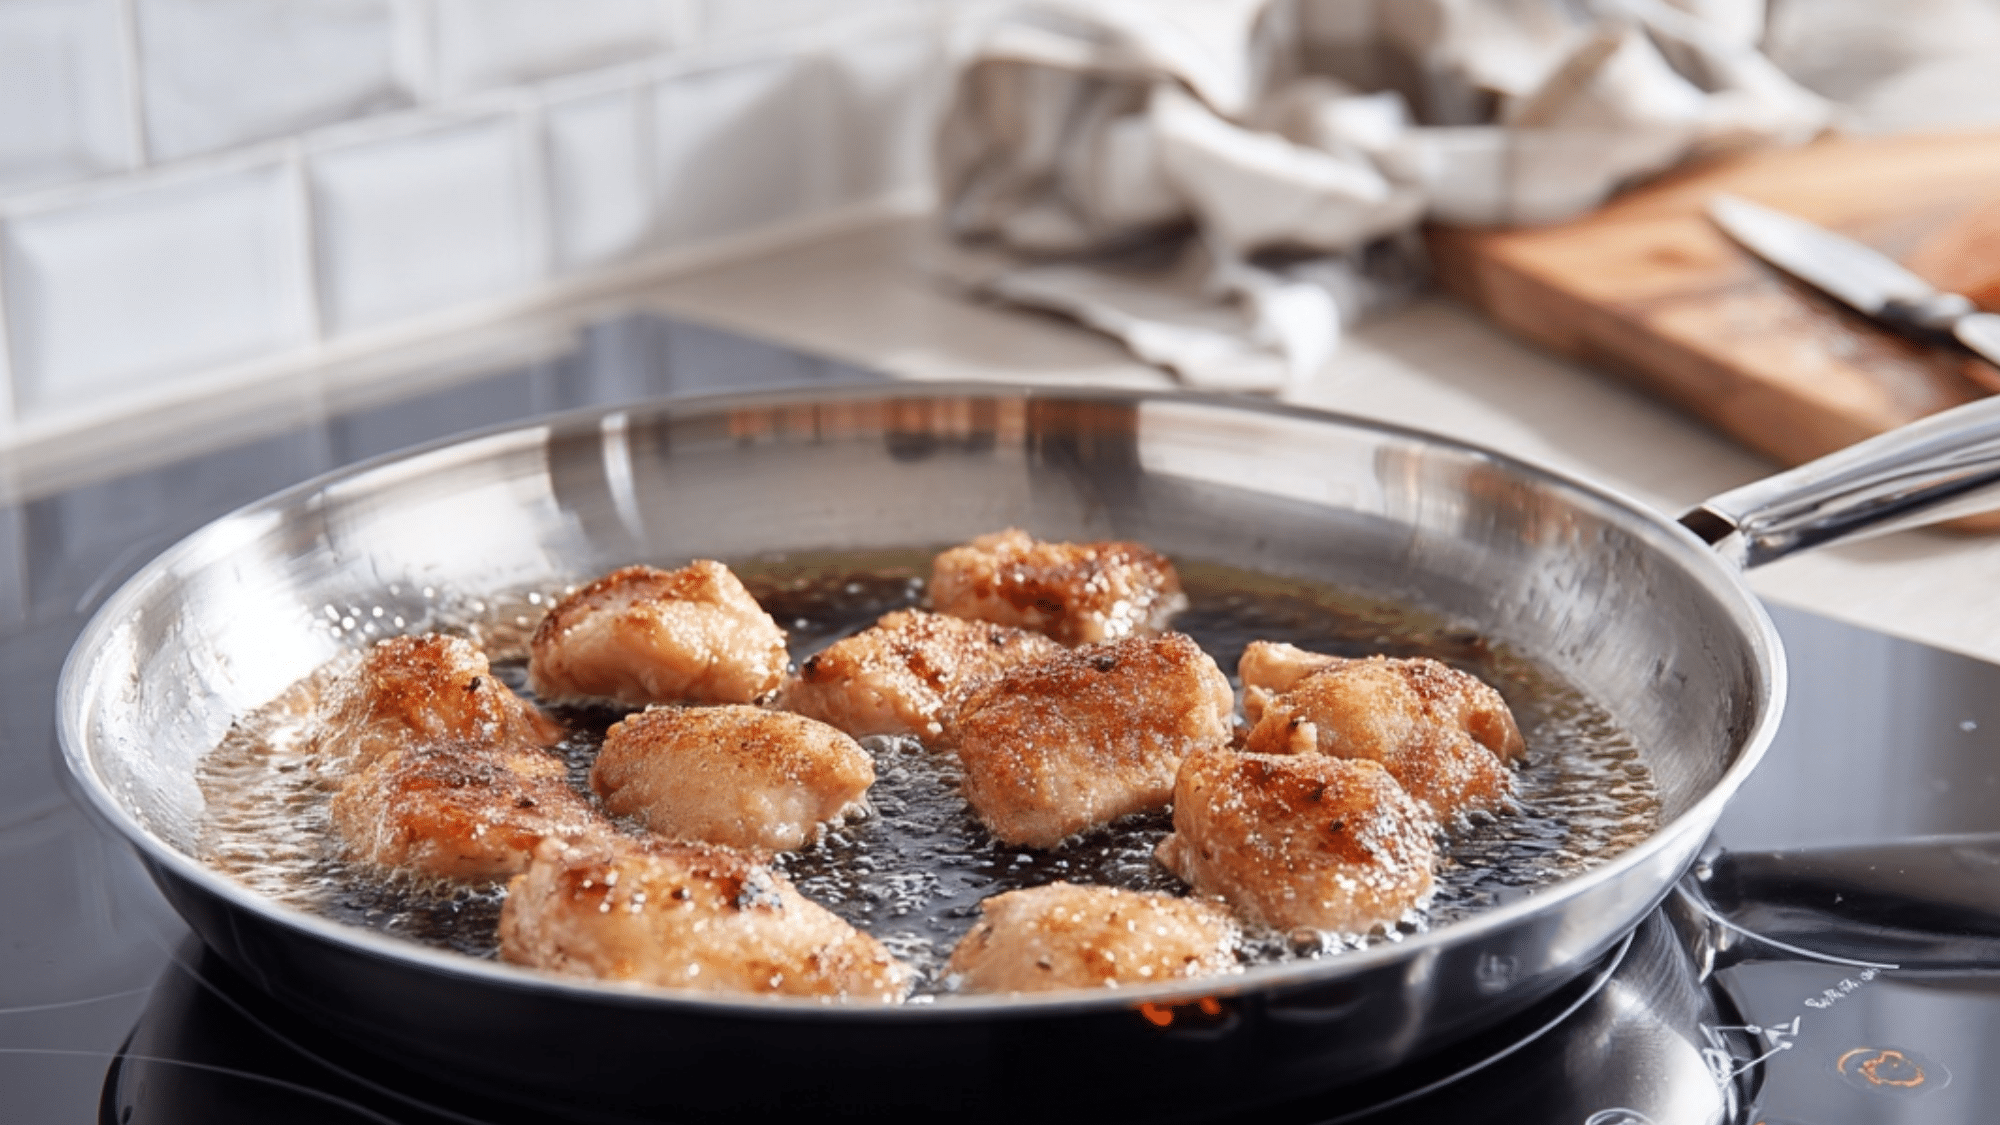
Heat oil in a large skillet over medium-high heat until it shimmers. Season chicken pieces with salt and pepper on both sides. Place in a hot pan without crowding.
Cook chicken 6-7 minutes per side until golden brown and cooked through. Internal temperature should reach 165°F. Let the meat rest 3 minutes before slicing.
Pro Tip: Don’t move the chicken too early. Let it develop a golden crust for better flavor.
4. Stir-Fry the Vegetables

Add vegetables to the same pan you used for chicken. Start with harder vegetables like carrots first. They need more cooking time than softer ones.
Add bell peppers and broccoli next, then snap peas last. Cook everything 3-4 minutes total. Vegetables should be bright in color and still have some crunch.
Pro Tip: Keep vegetables moving in the pan to prevent burning and ensure even cooking.
5. Bring Everything Together
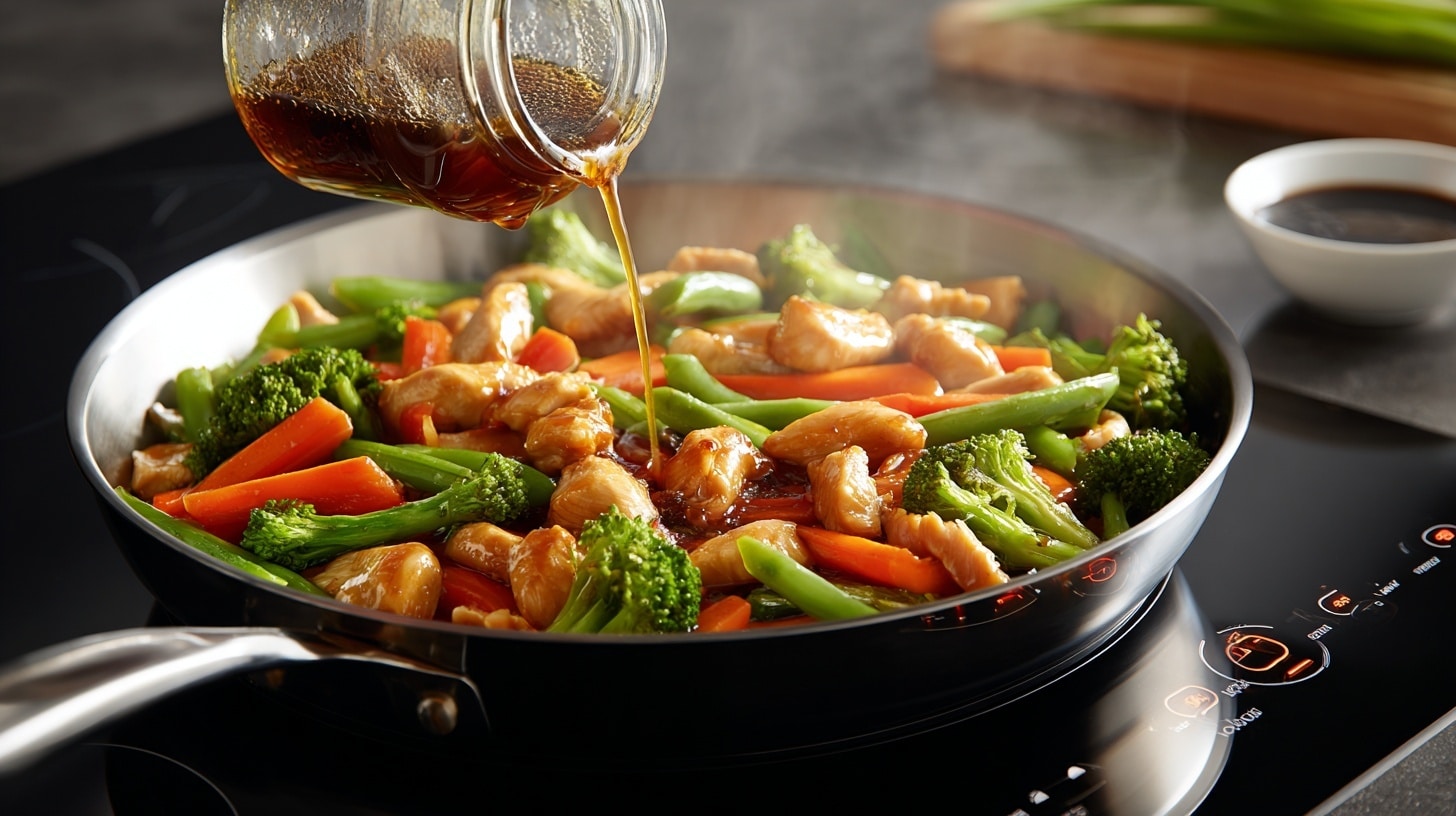
Return sliced chicken to the pan with the cooked vegetables. Pour half the teriyaki sauce over everything. Use tongs to toss and coat all ingredients evenly.
Cook for 1 more minute to heat everything through. The sauce should cling to the chicken and vegetables. Turn off the heat and taste for seasoning.
Pro Tip: Save some sauce for drizzling on top. It makes the bowls look restaurant-quality.
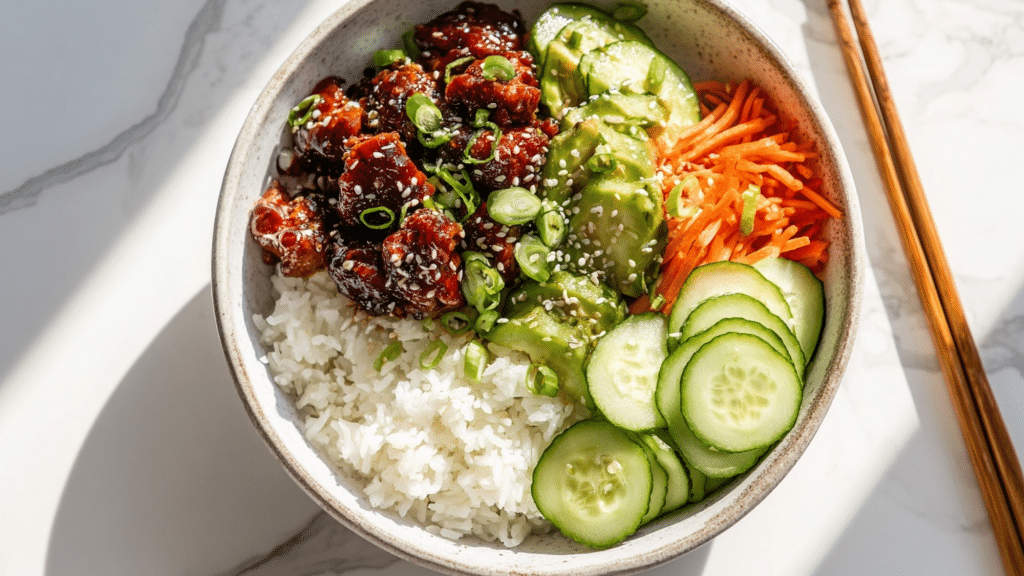
6. Build Your Bowl
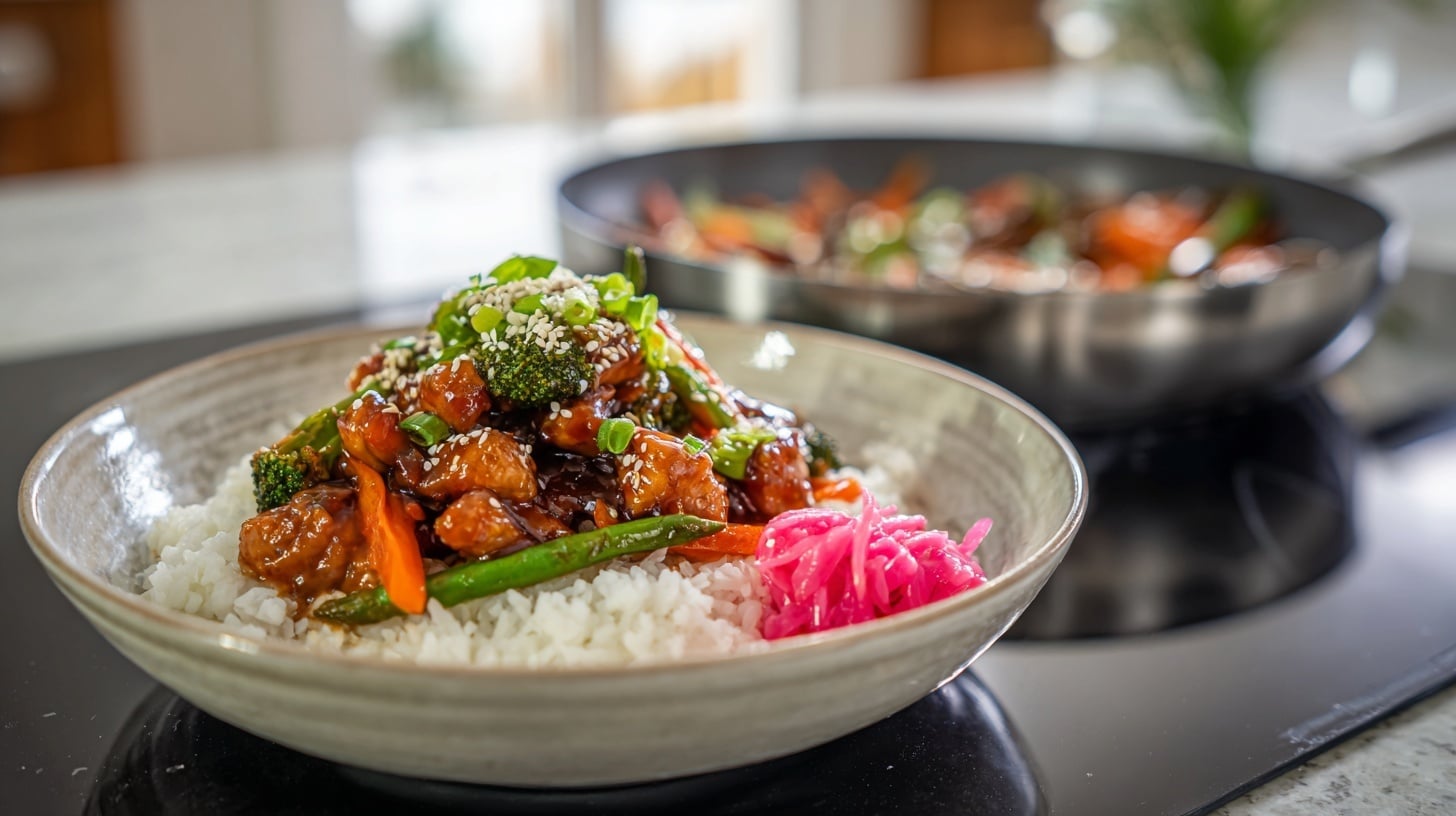
Divide warm rice between serving bowls. Create a small well in the center for the chicken and vegetables. This helps with presentation and keeps ingredients separate.
Top with the sauced chicken and vegetable mixture. Sprinkle sesame seeds and chopped green onions over everything. Add pickled ginger on the side if using.
Pro Tip: Warm your serving bowls in a 200°F oven for 2 minutes to keep food hotter longer.
Variations on the Teriyaki Bowl
Once you learn the basic teriyaki bowl, the fun really begins. These variations keep dinner interesting and work with whatever you have in your fridge. Each version brings its own flavors and textures to the table.
1. Teriyaki Beef Bowl
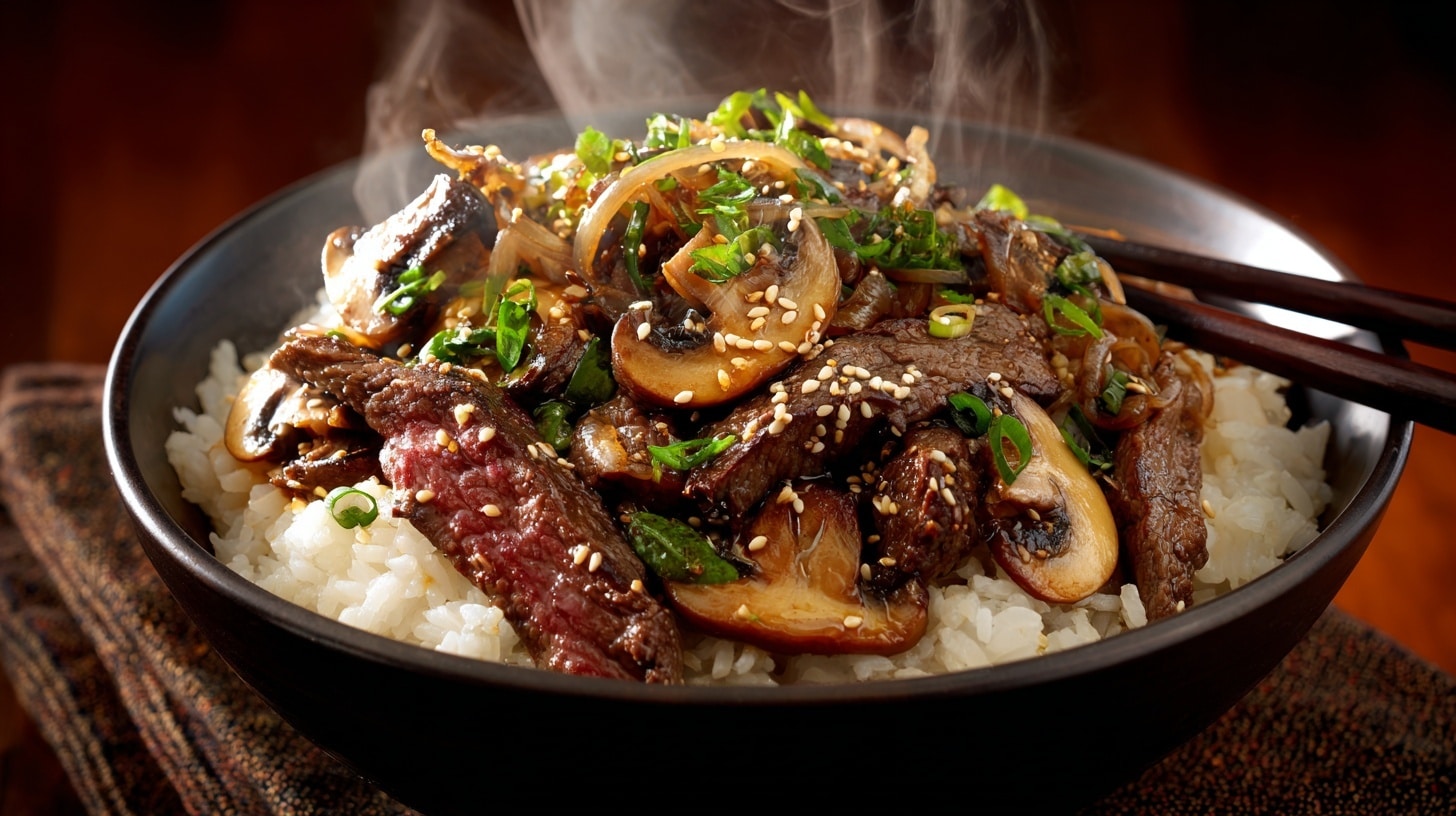
Swap chicken for thinly sliced sirloin or flank steak. Cut against the grain and cook 2-3 minutes per side for medium doneness. Add mushrooms and onions for extra richness and earthy flavors. Beef pairs beautifully with the sweet teriyaki sauce and creates a more hearty meal.
2. Teriyaki Tofu Bowl (vegetarian)
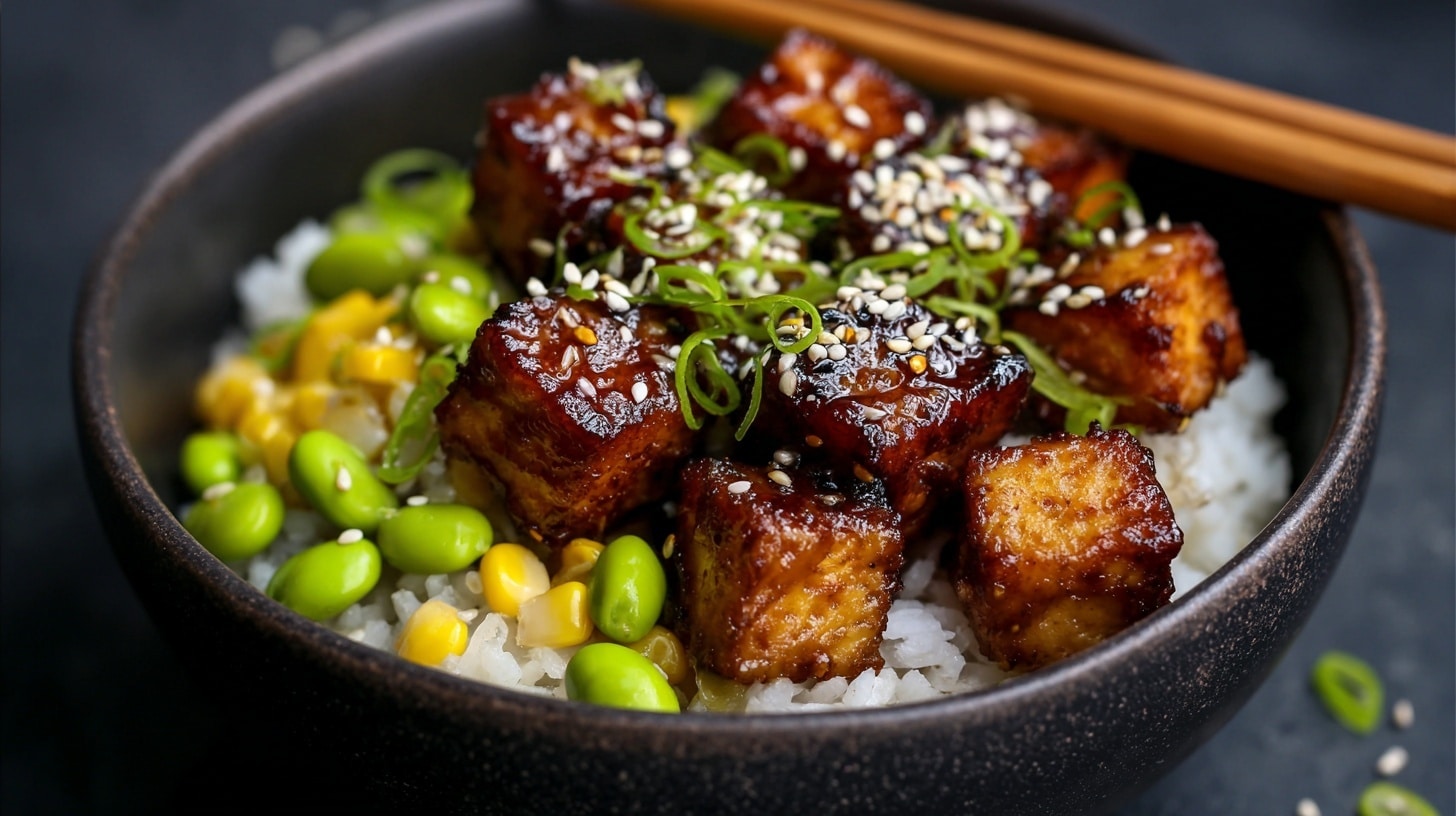
Press extra-firm tofu for 15 minutes to remove water, then cube and pan-fry until golden on all sides. Add edamame or corn kernels for more substance and color. Tofu absorbs the sauce wonderfully and provides plant-based goodness. This version works great for vegetarians and meat-eaters alike.
3. Teriyaki Shrimp Bowl
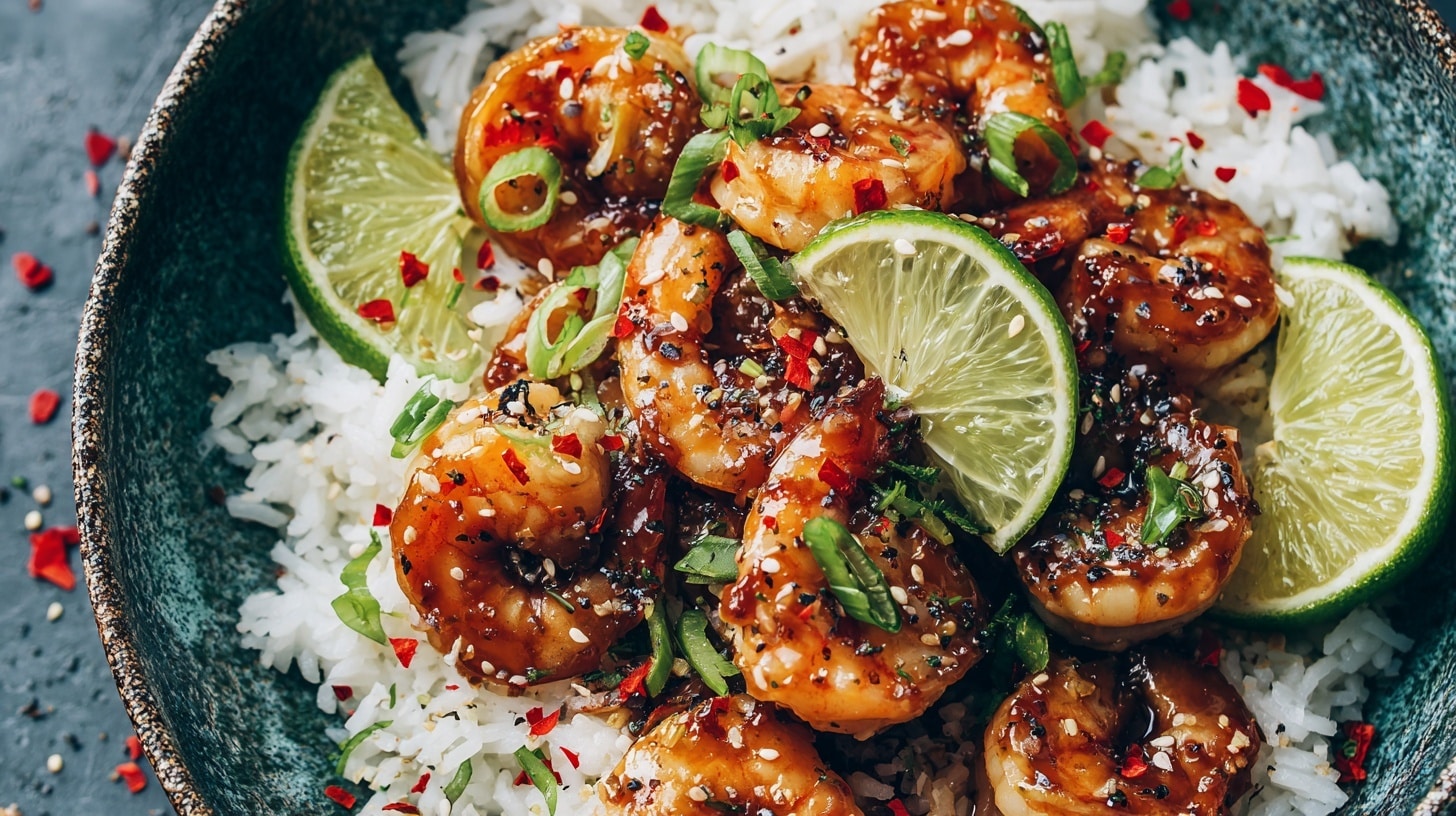
Use large shrimp, peeled and deveined, and cook them just 2 minutes per side until pink and curled. Add fresh lime juice and red pepper flakes for brightness. Quick cooking keeps shrimp tender and prevents them from becoming rubbery. This lighter option cooks faster than chicken or beef.
4. Spicy Teriyaki Bowl
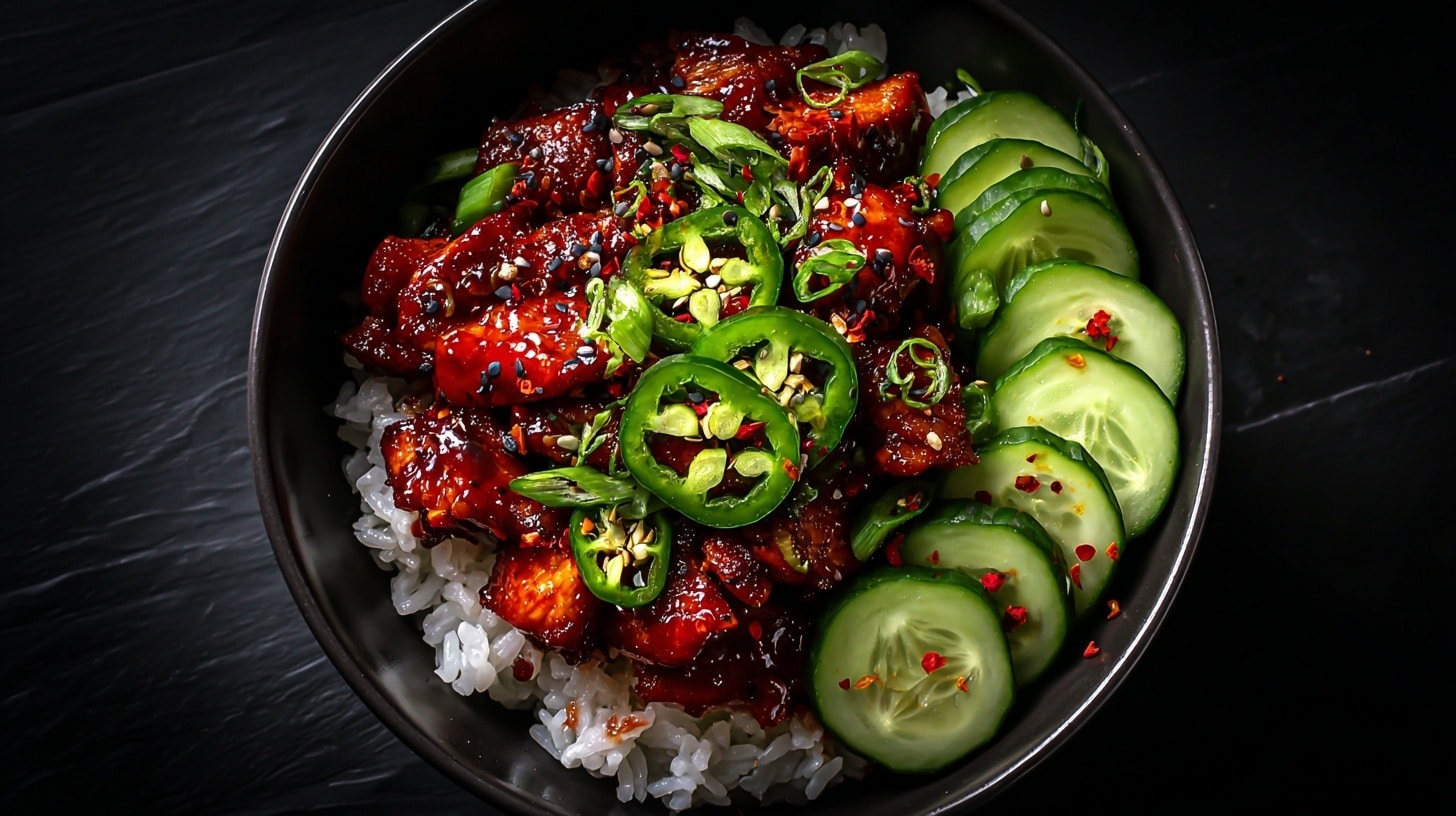
Mix 1-2 teaspoons sriracha or chili garlic sauce into your regular teriyaki sauce. Top with thinly sliced jalapeño and red pepper flakes for heat. Serve cooling cucumber slices on the side to balance the spice. Adjust the heat level to match your tolerance.
5. Teriyaki Noodle Bowl
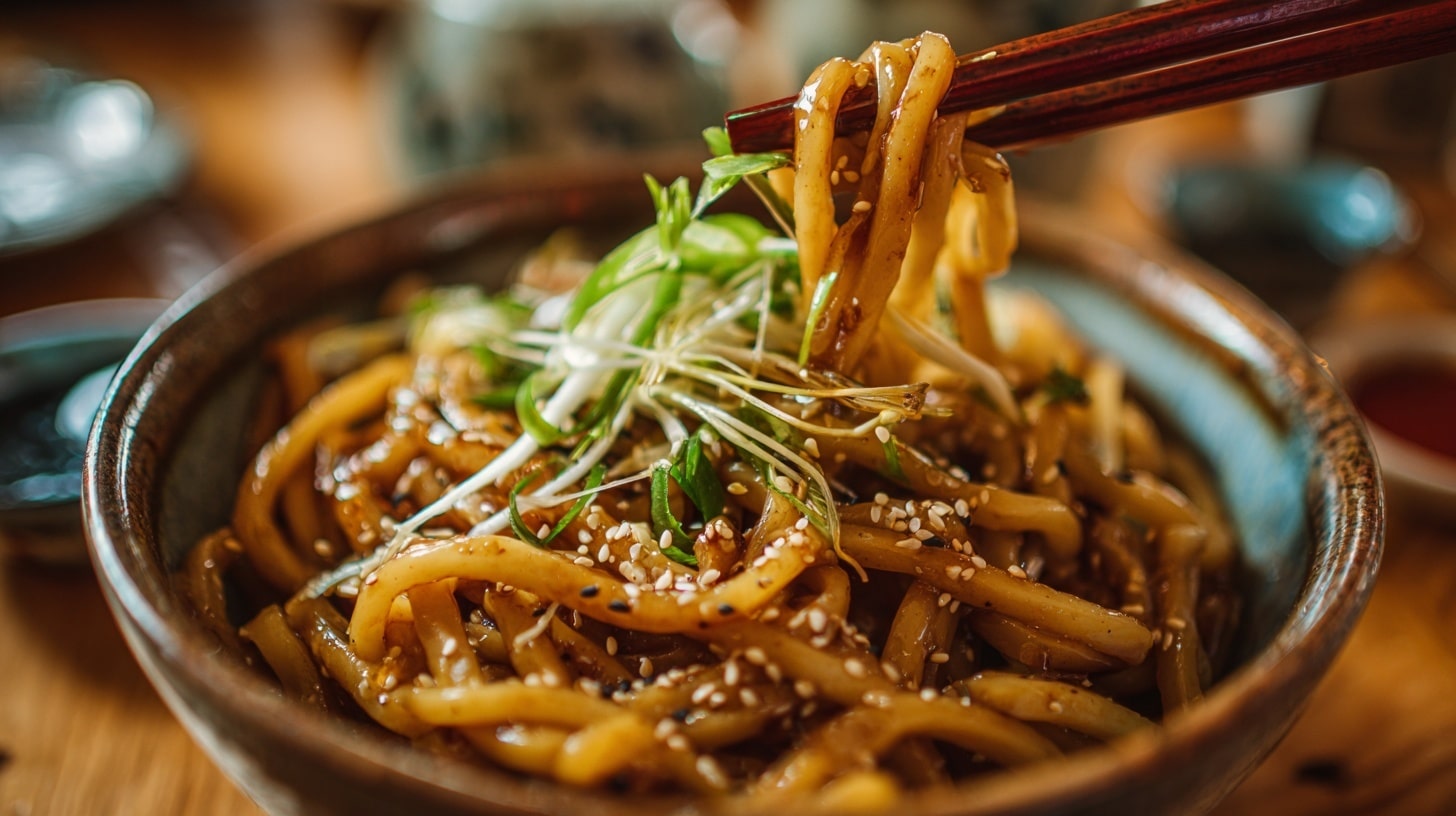
Replace rice with thick udon noodles, ramen, or rice noodles for a different texture experience. Toss hot noodles with a drizzle of sesame oil to prevent sticking. Add fresh bean sprouts for crunch and brightness. The sauce coats noodles differently from rice, creating new flavor combinations.
How to Serve
The right serving approach makes your homemade teriyaki bowls look and taste restaurant-quality. These simple tips turn a good meal into a great one.
| Serving Style | Details |
|---|---|
| Temperature | Serve immediately while the hot and warm bowls are first |
| Presentation | Arrange in colorful sections and garnish on top |
| Side Dishes | Miso soup, edamame, or cucumber salad |
| Portions | Serves 4 using wide, shallow bowls |
Remember that people eat with their eyes first. Take an extra minute to arrange your ingredients nicely, and your family will think you’re a chef. A good presentation makes even simple meals feel special.
Nutrition Facts
Here’s what you’re getting in each homemade teriyaki bowl. These numbers are based on the basic chicken and rice recipe.
| Nutrient | Per Serving (Approximate) |
|---|---|
| Calories | 485 calories |
| Protein | 28g |
| Carbohydrates | 65g |
| Fat | 12g |
| Fiber | 4g |
| Sodium | 1,240mg |
| Sugars | 18g |
Note: Values may vary based on ingredients and portion sizes used.
Tips for the Best Homemade Teriyaki Sauce
Getting the sauce right is what makes or breaks your teriyaki bowl. These tips help you create that sweet and savory balance every time.
-
Balancing sweet, salty, and umami flavors – Start with equal parts soy sauce and mirin, then add brown sugar to taste. Fresh garlic and ginger add depth without overpowering.
-
How to thicken the sauce properly – Mix cornstarch with cold water first to prevent lumps. Add slowly while stirring and simmer until it coats a spoon.
-
Make-ahead and storage tips – Double the recipe and store in the fridge for one week. Thin with water when reheating since it thickens when cold.
Learn this sauce and you’ll never want store-bought teriyaki again. The homemade version tastes fresher, and you can adjust the sweetness to your liking.
Ready to Make Your First Teriyaki Bowl?
Now you have everything you need to make restaurant-quality teriyaki bowls at home. Start with the classic chicken version, then experiment with your own twists.
The beauty of teriyaki bowls is how easily you can change them up. Swap proteins, try different vegetables, or adjust spice levels. Each person can build their bowl exactly how they like it.
Your wallet will thank you too. No more spending $15 per person on takeout when you can feed the whole family for the same price. Plus, you control the ingredients and know exactly what goes into every bite.
We’d love to hear about your teriyaki bowl creations. What’s your favorite protein or topping? Share your results and inspire other home cooks to try something new.