


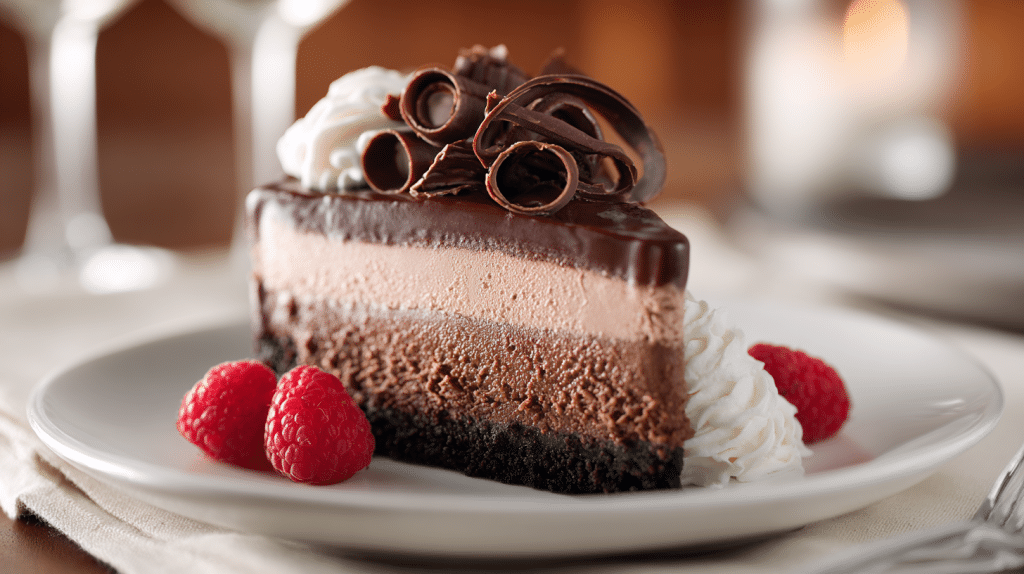

Three layers of pure chocolate indulgence combine into one show-stopping dessert that delivers rich cheesecake, airy mousse, and silky ganache in every perfect bite.
This ultimate chocolate mousse cheesecake recipe turns simple ingredients into bakery-quality results using straightforward techniques that create the perfect balance of creamy textures and intense chocolate flavor.
No complicated pastry skills, no special equipment – just simple methods that layer rich cream cheese filling, fluffy chocolate mousse, and glossy ganache on a crunchy Oreo crust foundation.
The secret lies in proper chilling time between layers, allowing flavors to develop while creating distinct textures that complement each other perfectly.
This chocolate mousse cheesecake proves that impressive desserts can be achievable at home while delivering restaurant-quality presentation and unforgettable taste.
Ingredients You’ll NeedFor the Oreo Crust:
For the Cheesecake Layer:
For the Chocolate Mousse:
For the Ganache:
|
Pro tip: Use high-quality chocolate throughout this recipe – it makes a noticeable difference in the final flavor and creates the smooth, professional texture that sets this cheesecake apart.
Let’s Create This Chocolate Masterpiece – Step by Step!
This chocolate mousse cheesecake is built through careful layering techniques that create distinct textures. The key is proper cooling and setting time between each layer.
1. Build the Foundation Crust
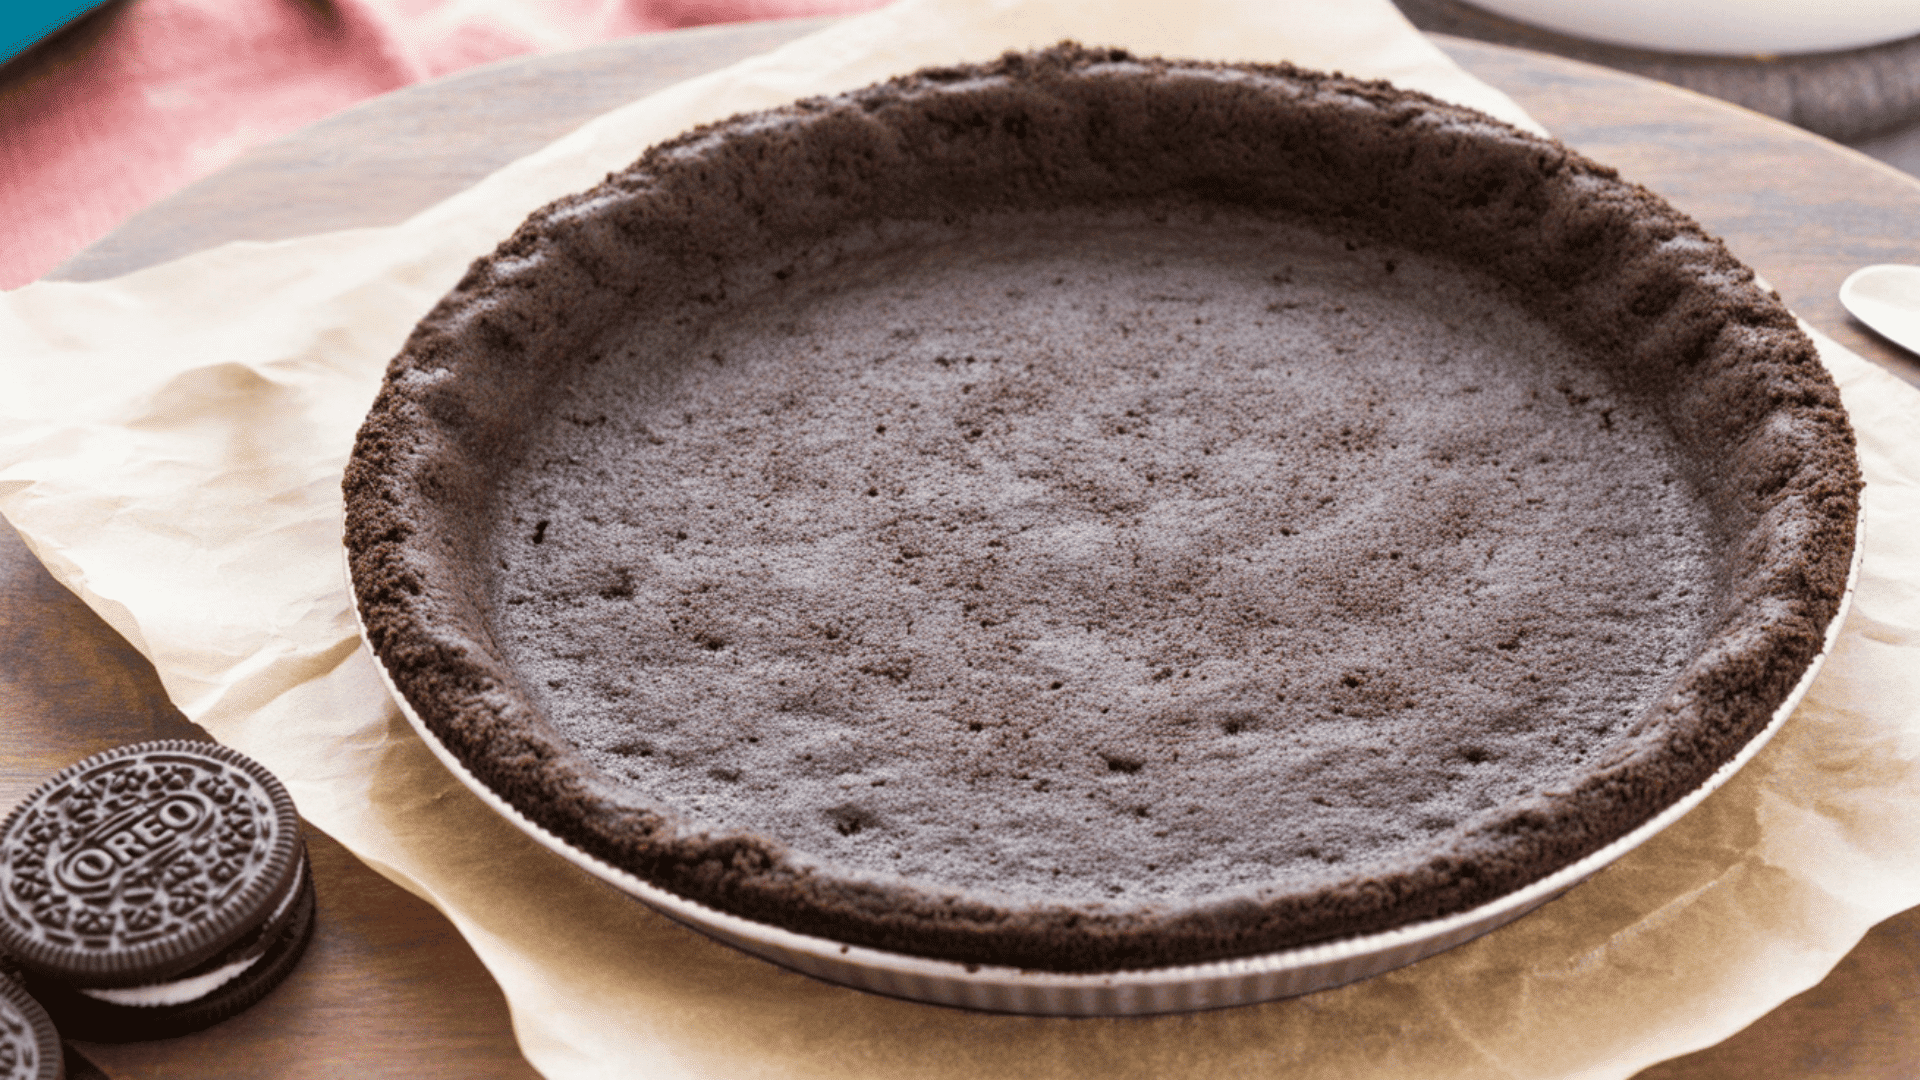
Preheat your oven to 325°F and line a 9-inch springform pan with parchment paper on the bottom. Crush Oreo cookies completely until they form fine crumbs, then combine with melted butter until evenly moistened.
Press the mixture firmly into the bottom of your prepared pan and slightly up the sides to create an even crust layer. Chill in the refrigerator while preparing the filling.
Pro Tip: Use the bottom of a measuring cup to press the crust evenly for a firm foundation that won’t crumble when slicing.
2. Prepare the Rich Cheesecake Base
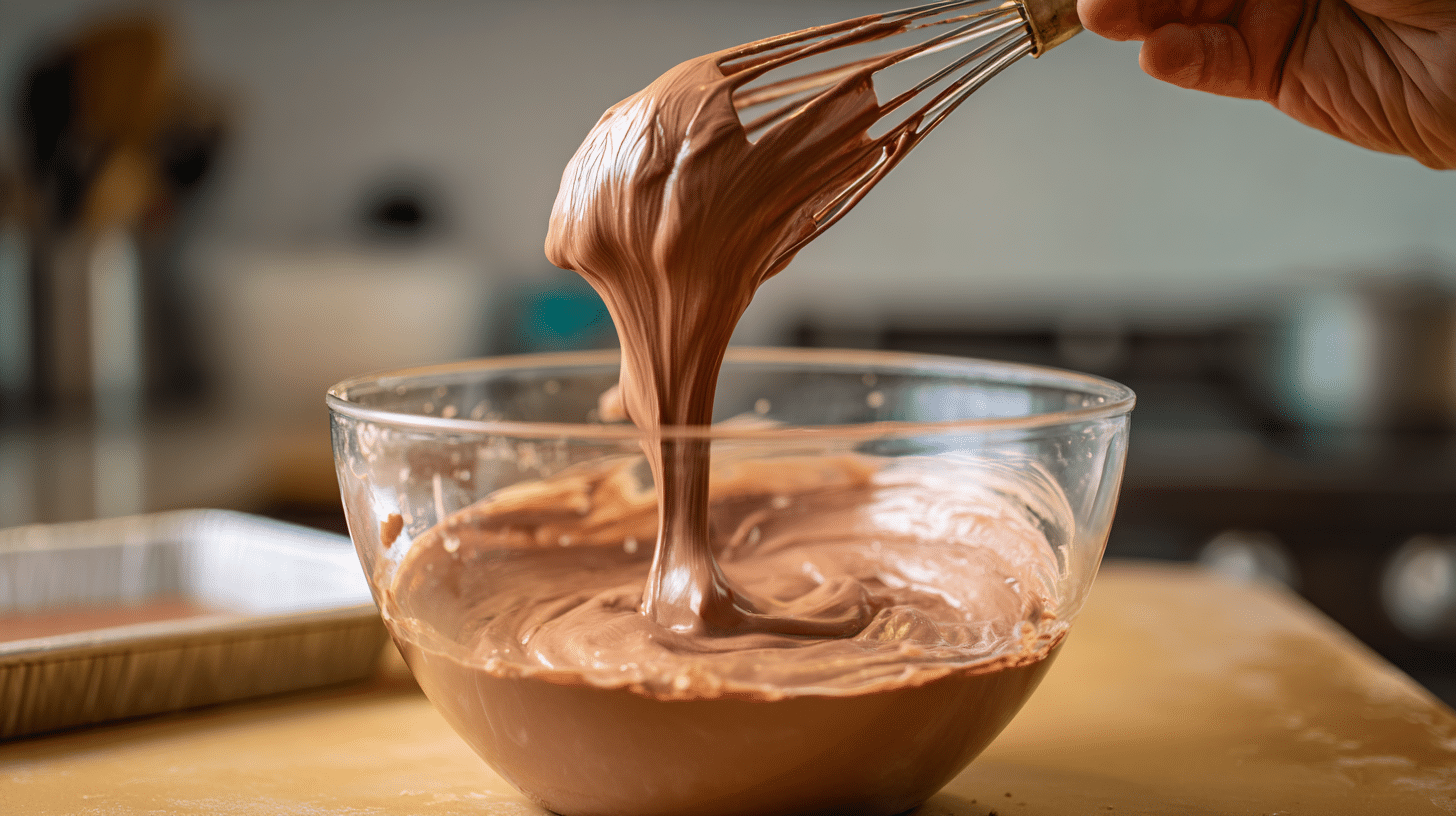
Beat softened cream cheese and granulated sugar until completely smooth. Mix in sour cream, then add eggs, egg yolk, and vanilla extract, beating only until incorporated.
Slowly add the melted and cooled chocolate, mixing until uniform. Pour over the prepared crust and bake at 325°F for 45-55 minutes, until edges are set but center has a slight jiggle.
Pro Tip: Room temperature ingredients blend more easily – take cream cheese and eggs out 2 hours before starting.
3. Create Airy Chocolate Mousse
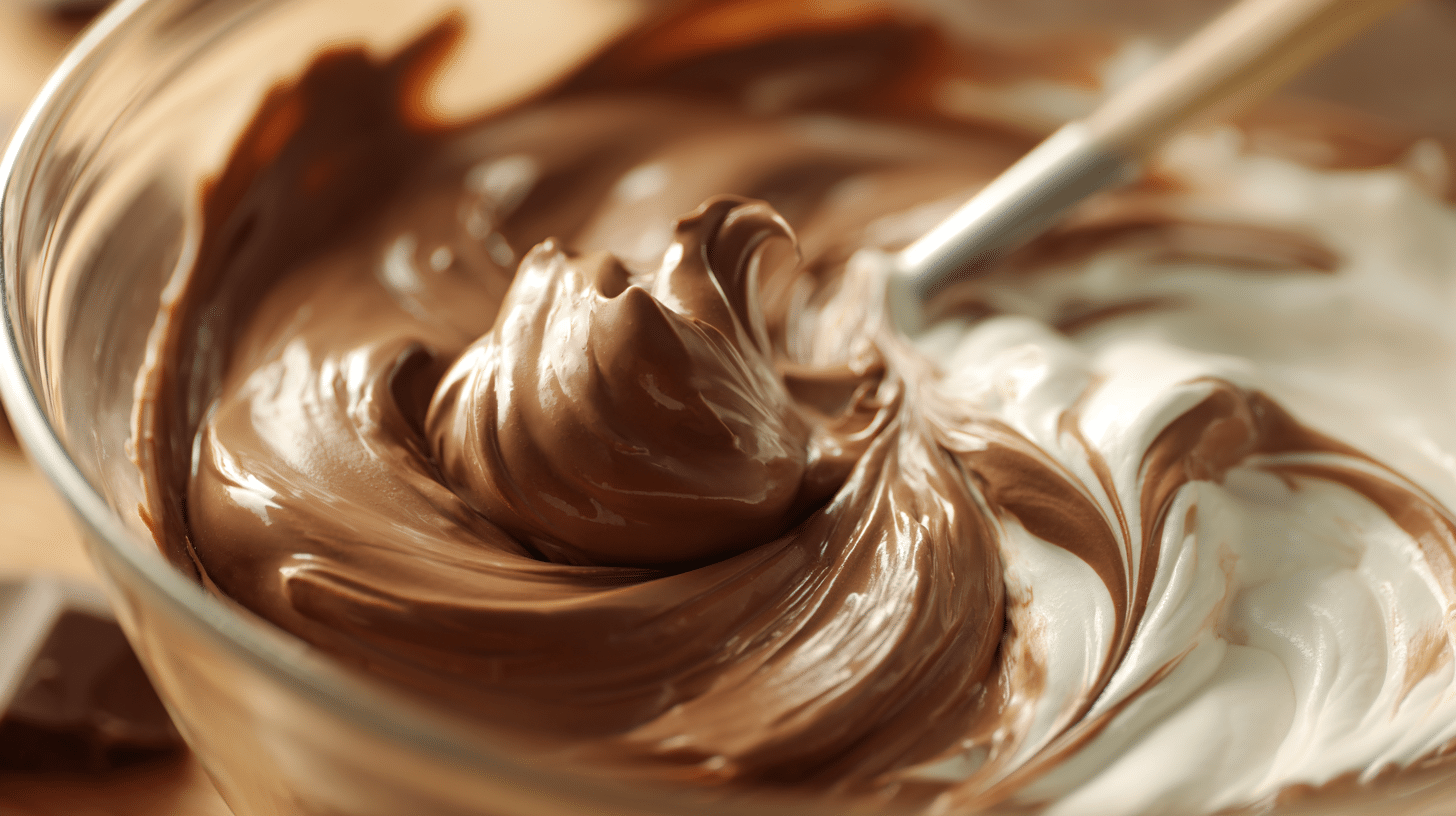
Place the chocolate in a heatproof bowl. Heat 1/2 cup heavy cream until almost boiling, then pour over the chocolate. Let stand 1-2 minutes, then stir until smooth. Cool to room temperature.
Beat the remaining 1/2 cup of cream with vanilla until stiff peaks form. Gently fold whipped cream into cooled chocolate mixture. Spread over chilled cheesecake and chill for 2 hours.
Pro Tip: The chocolate mixture must be completely cooled before folding in whipped cream, or the heat will deflate the mousse.
4. Add the Glossy Ganache Finish
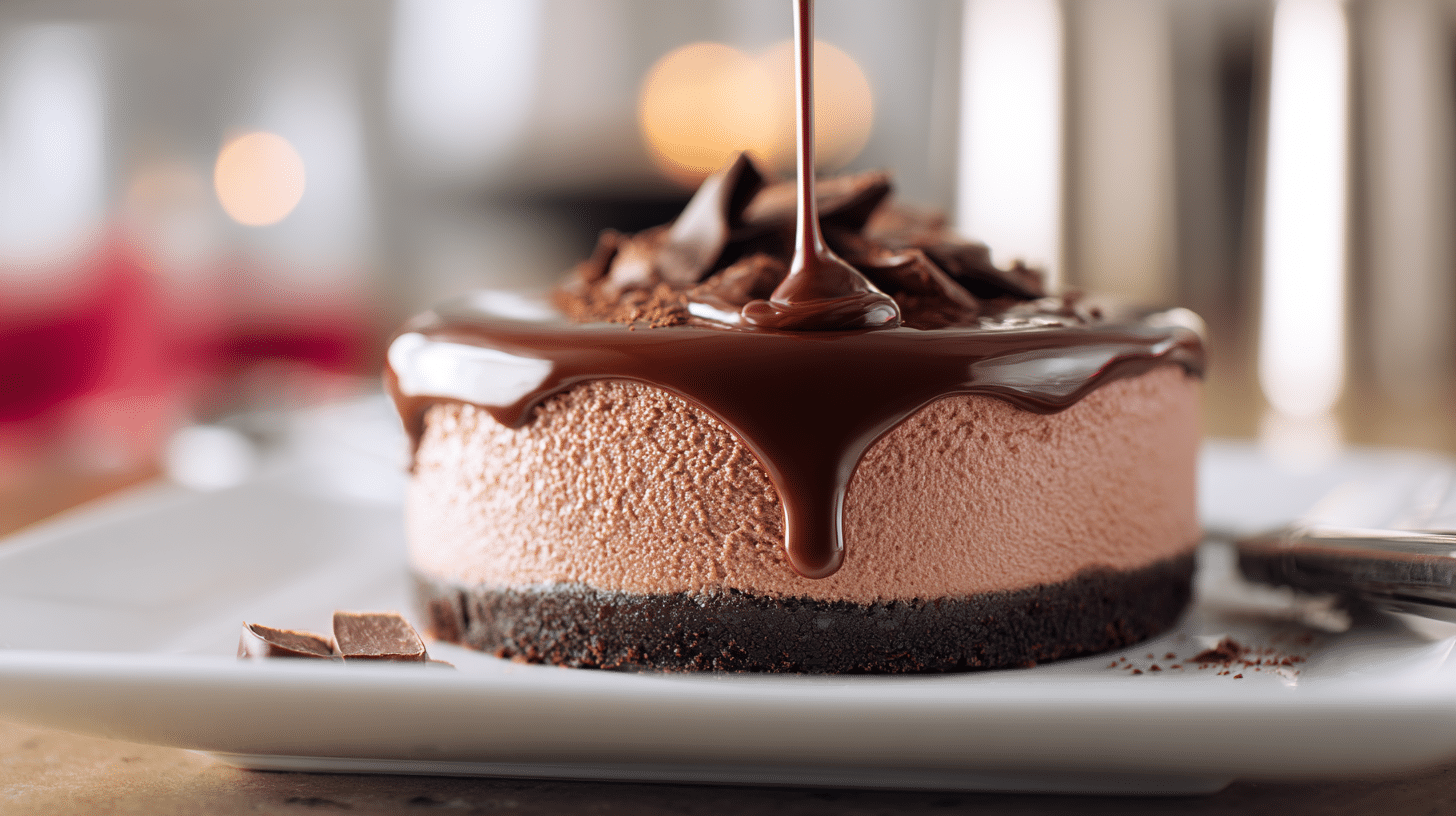
Heat cream until hot but not boiling. Pour over chocolate and let sit 2 minutes, then stir until smooth. Mix in powdered sugar and vanilla extract.
Pour ganache over the mousse layer, tilting the pan to spread evenly. Chill for 1 hour before serving.
Pro Tip: Let ganache cool for 5 minutes before pouring to prevent it from mixing with the mousse layer.
5. Final Presentation
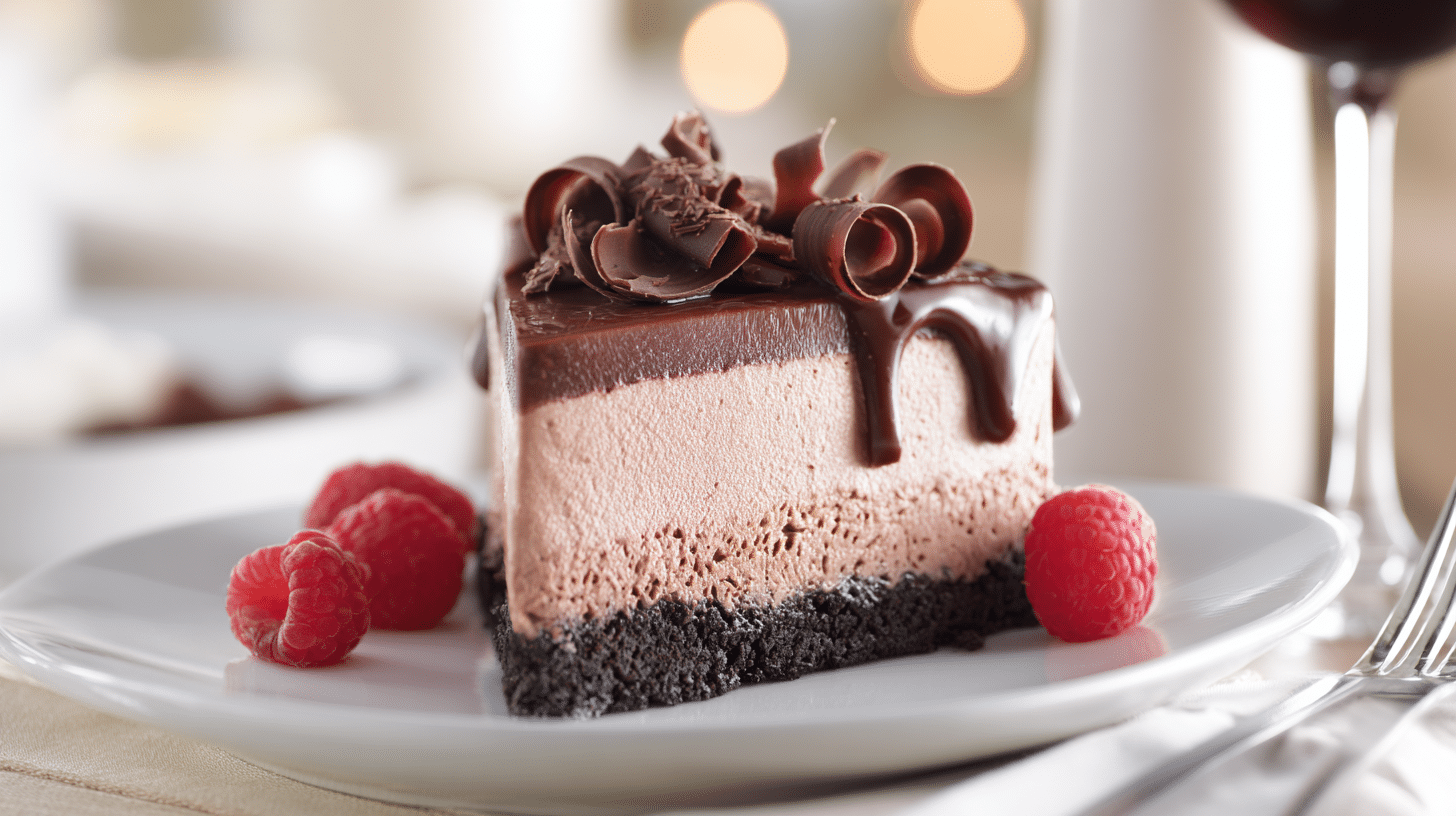
Run a thin knife around the edges before removing the springform ring. Garnish with chocolate curls, fresh berries, or whipped cream for bakery-style presentation.
Pro Tip: Dip your knife in warm water and wipe clean between slices for neat, professional-looking portions with clean layers visible.
Recipe Notes
| Information | Details |
|---|---|
| Prep Time | 45 minutes |
| Bake Time | 50 minutes |
| Chill Time | 7 hours |
| Total Time | 8 hours 35 minutes |
| Category | Dessert |
| Method | Baked |
| Cuisine | American |
| Yield | 12-14 servings |
Note: This recipe requires significant chilling time between layers for proper setting. Plan to start the day before serving for best results and stress-free preparation.
Pairing Options for Your Chocolate Mousse Cheesecake
Complete your dessert experience with these complementary flavors and beverages that improves the rich chocolate layers:
1. Beverage Pairings
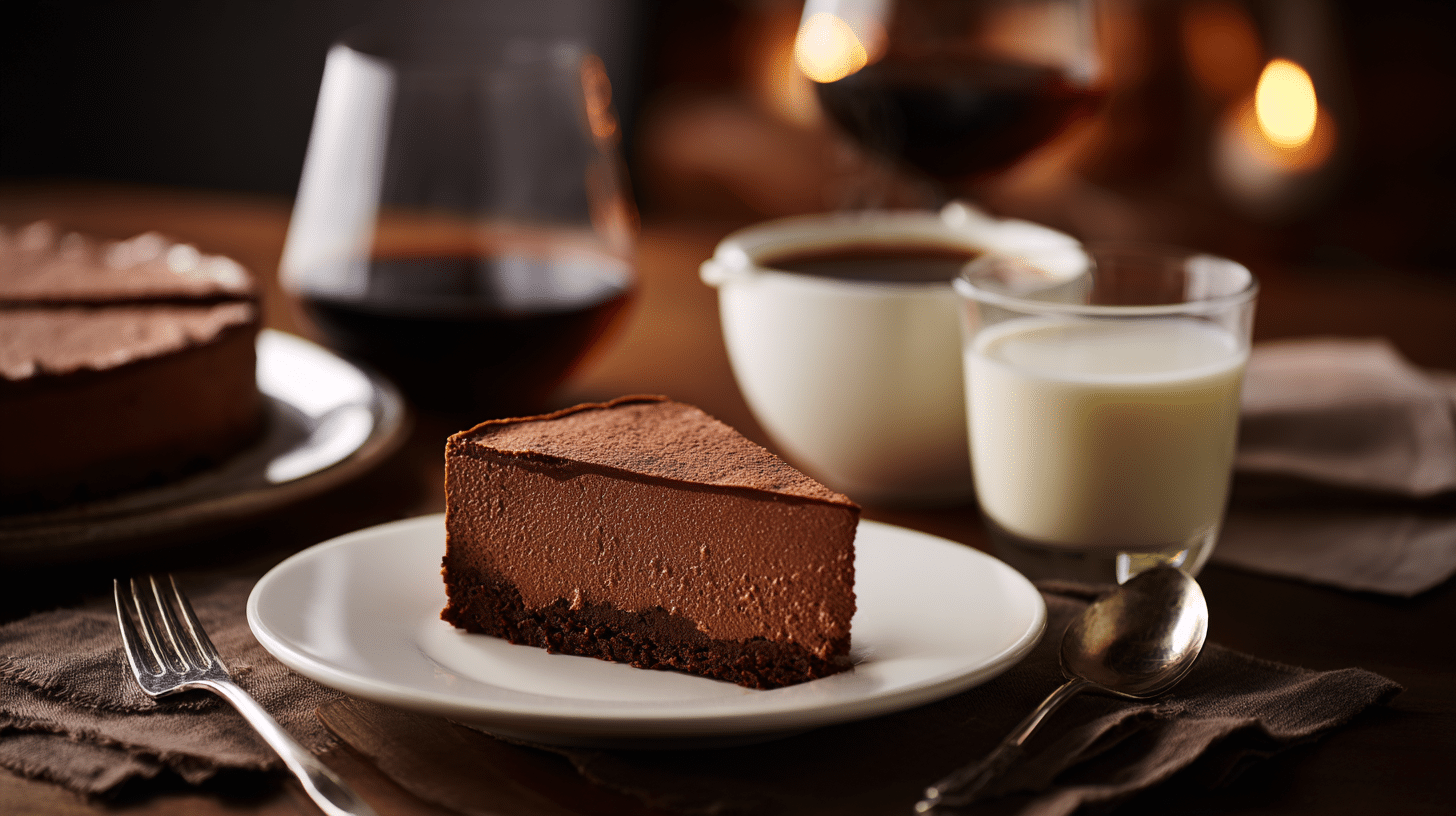
Fresh-brewed coffee provides a bitter contrast that balances the sweet, rich layers while improving the chocolate flavors through complementary roasted notes.
Red wine like Cabernet Sauvignon or Port offers sophisticated pairing with tannins that complement chocolate while adding elegant dinner party appeal.
Cold milk creates a classic comfort pairing that cleanses the palate between bites of the intensely rich, multi-layered dessert.
2. Fresh Fruit Accompaniments

Fresh raspberries add bright acidity that cuts through the richness while providing beautiful color contrast against the dark chocolate layers.
Sliced strawberries offer a sweet-tart balance and classic chocolate pairing that feels familiar and satisfying to most palates.
Orange segments provide citrus brightness that improves chocolate flavors while adding refreshing contrast to the creamy textures throughout.
3. Texture Contrasts
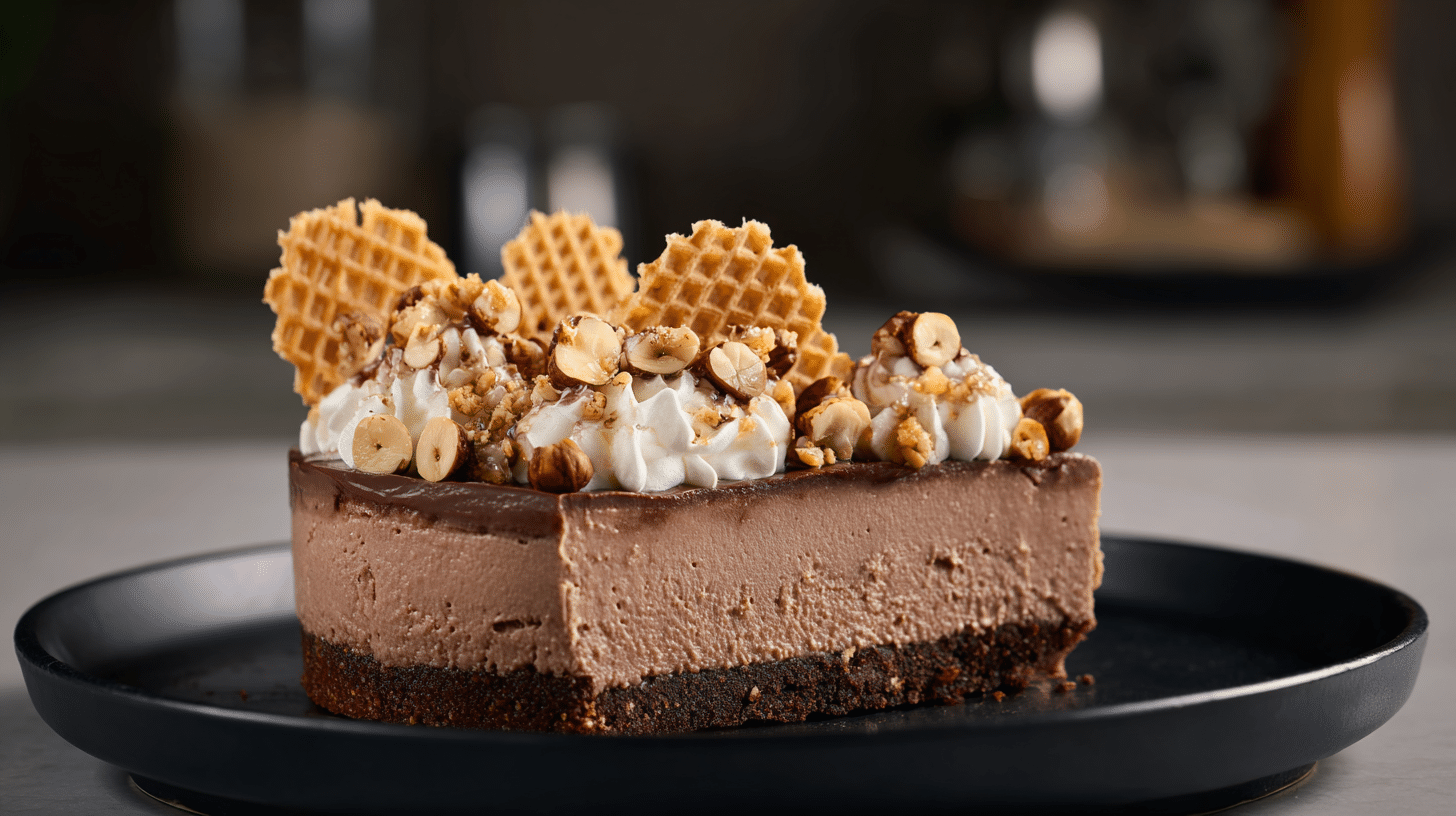
Toasted nuts like hazelnuts or almonds add a satisfying crunch that contrasts beautifully with the smooth, creamy layers of the cheesecake.
Crispy wafer cookies provide a light, crunchy texture that complements rather than competes with the rich chocolate flavors.
Whipped cream dollops add extra lightness and create visual appeal while providing a neutral flavor that lets the chocolate shine.
Storage & Make-Ahead Tips
This chocolate mousse cheesecake actually improves with time and stores beautifully with proper techniques:
- Refrigerator Storage: Keep covered for up to 5 days; the layers meld together and flavors become more complex over time.
- Make-Ahead Strategy: Prepare completely 1-2 days before serving for optimal flavor development and stress-free entertaining.
- Freezing Instructions: Wrap tightly and freeze for up to 2 months; thaw overnight in the refrigerator before serving for best texture.
- Layer Timing: Each layer can be prepared separately over several days, building the final dessert when convenient for your schedule.
- Serving Preparation: Remove from refrigerator 15 minutes before slicing to make cutting easier while maintaining firm texture.
Pro Tip: Cover tightly with plastic wrap pressed directly onto the ganache surface to prevent skin formation and maintain a glossy appearance.
Nutritional Information
| Nutrition Information | Per Slice (1/12 of cake) 225g |
|---|---|
| Calories | 485kcal |
| Protein | 8g |
| Carbs | 38g |
| Fat | 35g |
| Fiber | 3g |
| Sugar | 33g |
| Sodium | 285mg |
Note: Values are approximate and based on 12 servings. This indulgent dessert provides rich satisfaction perfect for special occasions and celebrations.
Creative Variations for Every Preference
The beauty of chocolate mousse cheesecake lies in its adaptability to different flavors and dietary needs while maintaining the signature layered structure:
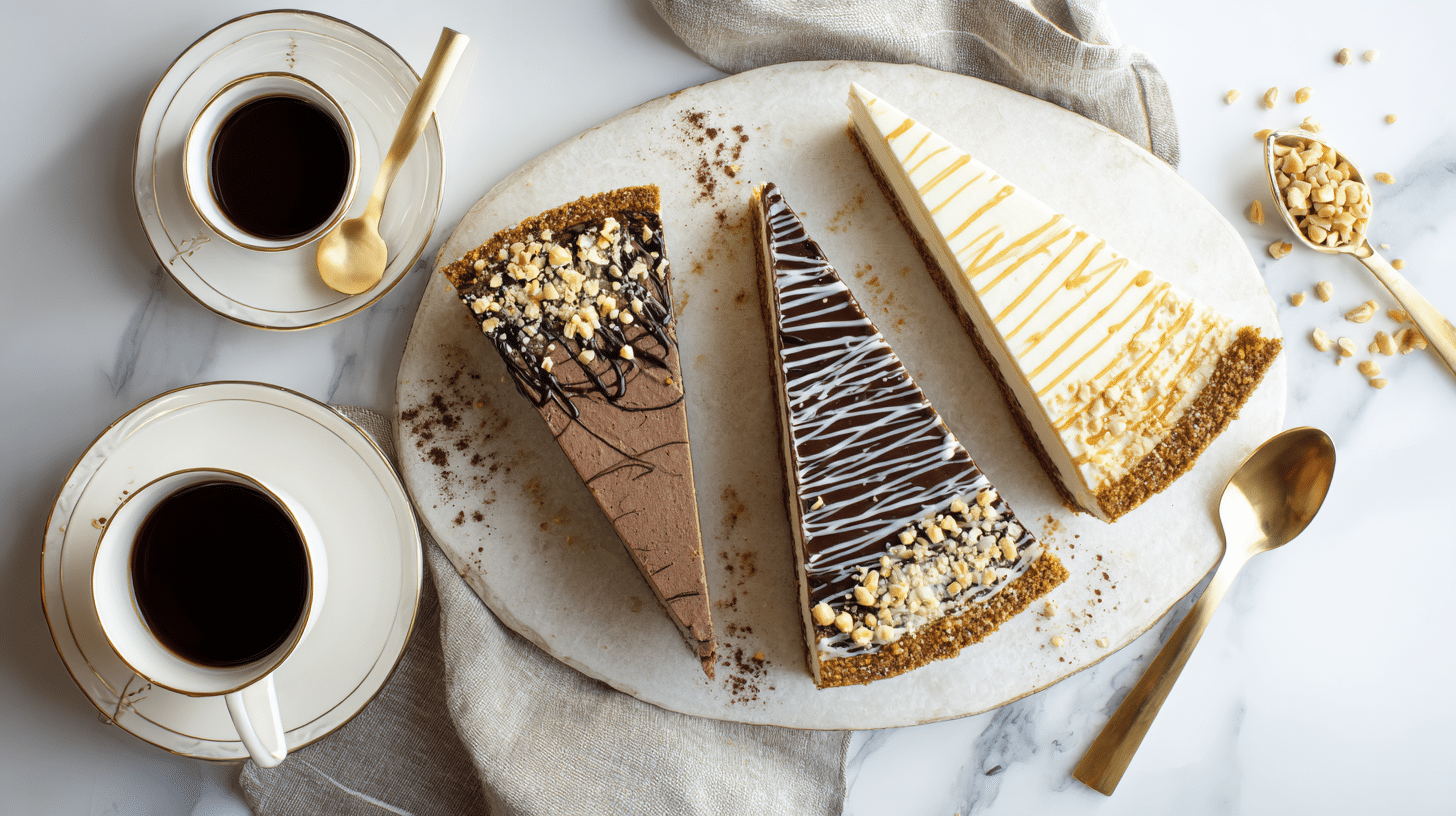
1. Flavor Profile Changes
White chocolate versions substitute white chocolate throughout all layers for a beautiful, sweet alternative that appeals to those who prefer milder chocolate flavors.
Espresso variations add instant coffee powder to each layer for a fancy coffee-chocolate combination that satisfies adult palates perfectly.
Peanut butter swirl versions incorporate peanut butter into the cheesecake layer and garnish with chopped peanuts for a classic flavor combination that everyone loves.
2. Crust Alternatives
Graham cracker crust provides a traditional cheesecake base that works beautifully with chocolate flavors while offering a lighter, less intense foundation.
Chocolate cookie crust uses chocolate wafers instead of Oreos for even more intense chocolate flavor throughout the entire dessert experience.
Nut-based crust combines crushed almonds or pecans with butter for a gluten-free option that adds complementary nutty flavors and satisfying crunch.
3. Dietary Adaptations
No-bake version eliminates eggs and baking time from the cheesecake layer, using extra sour cream for structure and gelatin for setting power.
Lighter version uses reduced-fat cream cheese and Greek yogurt substitutions while maintaining creamy texture and satisfying chocolate flavor.
Individual portions divide the recipe among small ramekins or mason jars for graceful single-serving presentations perfect for dinner parties.
Make Every Occasion Special!
This ultimate chocolate mousse cheesecake proves that impressive desserts can be achievable at home while delivering professional results that create lasting memories.
For special celebrations, dinner parties, or any time you want to create something extraordinary, this layered masterpiece delivers everything you want in a show-stopping dessert.
The make-ahead friendly nature and impressive presentation make it perfect for entertaining, while the rich chocolate layers satisfy even the most demanding sweet tooth.
The combination of familiar techniques and spectacular results means you can always have bakery-quality desserts ready when life calls for celebration.
Have you tried making this chocolate mousse cheesecake? We’d love to hear about your experience and any creative variations you discovered!
Leave a comment below and share your results with fellow chocolate lovers.