


Imagine it’s Tuesday night, you’re tired, and that jar of sourdough starter is giving you the guilt stare from your fridge.
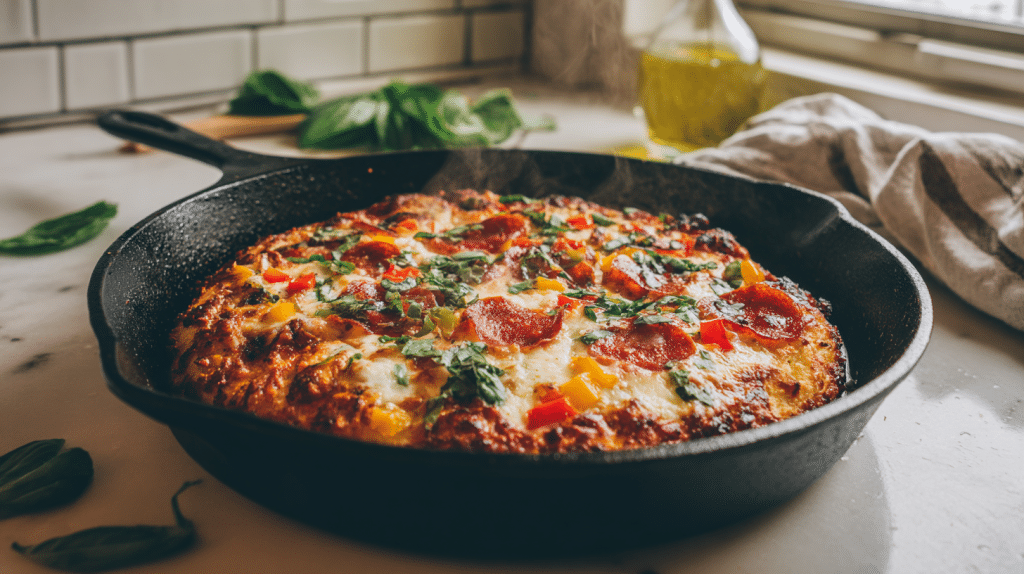
Here’s your solution. This sourdough discard pizza cast iron recipe turns your leftover starter into a crispy, golden pizza base in just 20 minutes.
No fancy pizza stones, no lengthy rise times, no complicated steps.
Just pour your tangy discard into a hot skillet and watch it change into something special.
The cast iron does all the work, creating that perfect crispy bottom while the sourdough adds a subtle tang that makes every bite interesting.
Tonight, you’re not just using up discard-you’re creating dinner magic.
Get to Know Sourdough Discard Pizza Cast Iron
This method uses your extra sourdough starter as a liquid base for pizza making. The hot cast iron skillet creates instant crispiness without any kneading or shaping required.
Sourdough discard pizza cast iron is a simple technique that changes your unfed starter into a thin, crispy pizza base.
Instead of traditional dough rolling, you pour the discard mixture directly into a preheated skillet.
The intense heat from the cast iron creates that restaurant-style crispy bottom, while the sourdough provides a pleasant tang that regular pizza dough can’t match.
Ingredients You’ll NeedFor the Crust
For the Toppings
|
Recipe Notes & Prep Info
This table shows everything you need to know about timing and serving size. Use these details to plan your meal and prep time accordingly.
| Information | Details |
|---|---|
| Prep Time | 5 minutes |
| Cook Time | 15 minutes |
| Category | Main Dish |
| Method | Cast Iron + Oven |
| Cuisine | American/Italian Fusion |
| Yield | 10–12 in pizza (2–3 servings) |
The quick timing makes this perfect for weeknight dinners when you need something fast. You can easily double the recipe if feeding a larger group.
Fun Fact: Sourdough discard isn’t waste – it’s just unfed starter. Its tangy flavor makes it perfect for quick bakes like pancakes, crackers, and yes, pizza!
Simple Steps: Making Cast Iron Sourdough Pizza
Follow these easy steps for perfectly crispy results every single time. The key is to get the skillet hot before adding your discarded mixture.
Step 1: Heat Your Equipment
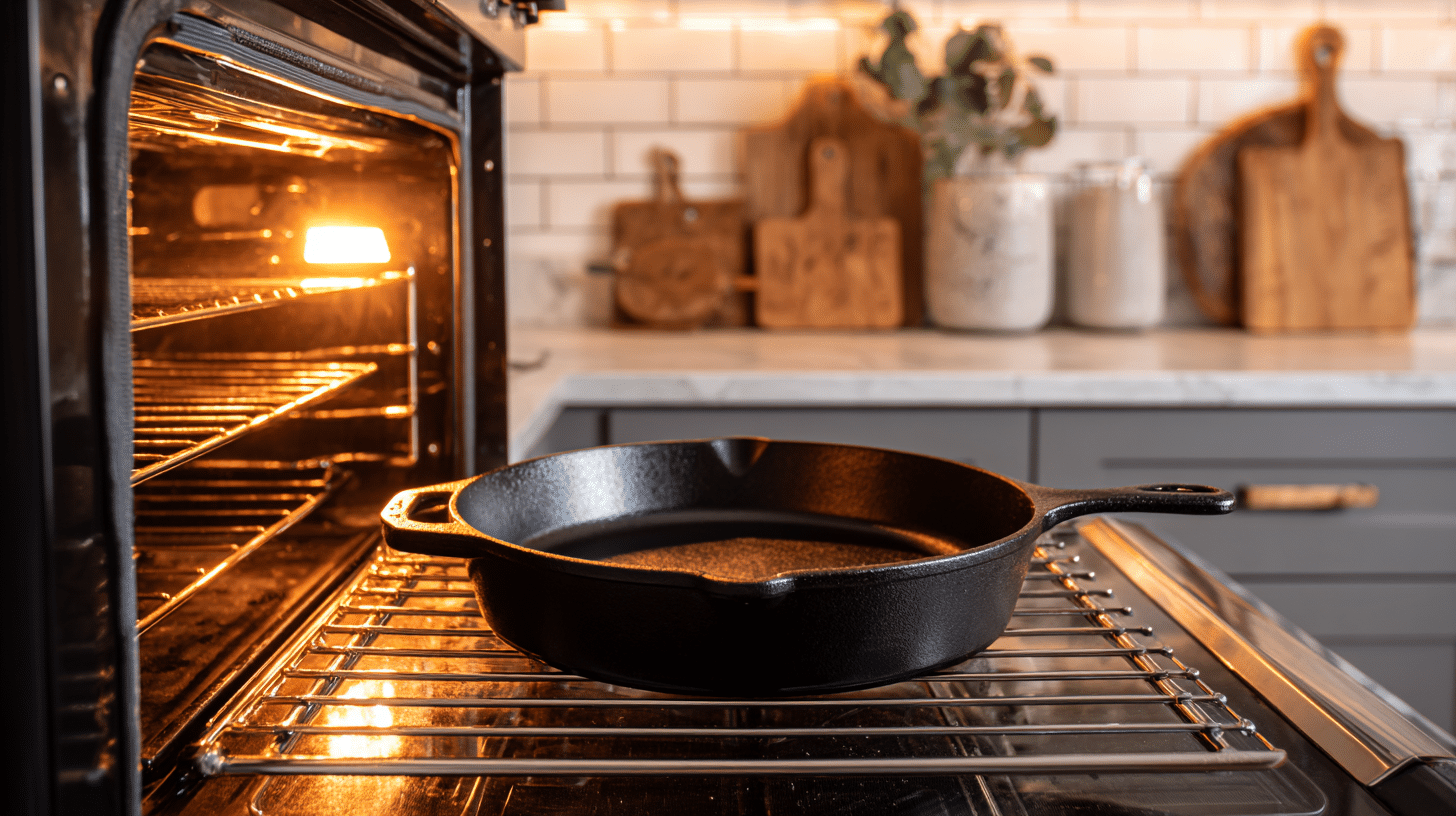
Place a 10–12 in cast iron skillet in the oven and preheat to 450°F (230°C). Leave the skillet inside for 10 minutes after the oven reaches temperature.
This extra heating time ensures maximum heat transfer for a crispy bottom. The hotter your skillet, the better your crust will turn out.
Pro Tip: Use oven mitts when handling the hot skillet and have them nearby throughout the process.
Step 2: Mix Your Base
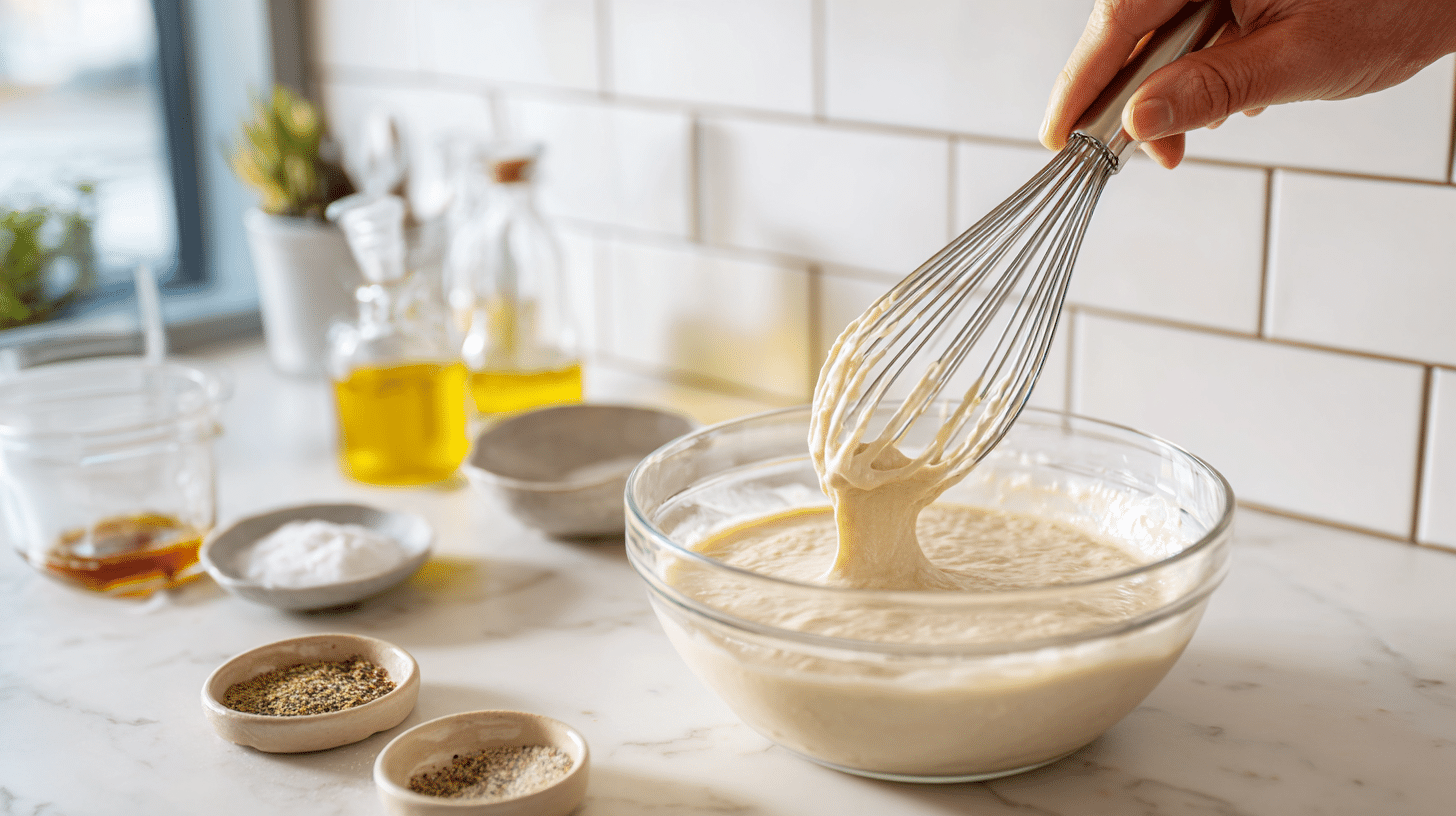
In a bowl, whisk together sourdough discard, baking soda (if using), olive oil, salt, and Italian seasoning until smooth. The mixture should pour easily like thick pancake batter.
If it’s too thick, add a tablespoon of water. If it’s too thin, let it sit for a few minutes to thicken slightly.
Pro Tip: Room temperature discard mixes more easily than cold discard straight from the fridge.
Step 3: Create the Crust

Carefully remove the hot skillet from the oven and add 1–2 tbsp olive oil, swirling to coat completely.
Pour in your discard mixture, tilting the skillet to spread evenly to the edges. The mixture should sizzle when it hits the hot oil. Bake for 8–10 minutes until the surface is set but not browned.
Pro Tip: Work quickly when adding the mixture to maintain the skillet’s heat for maximum crispiness.
Step 4: Add Your Toppings
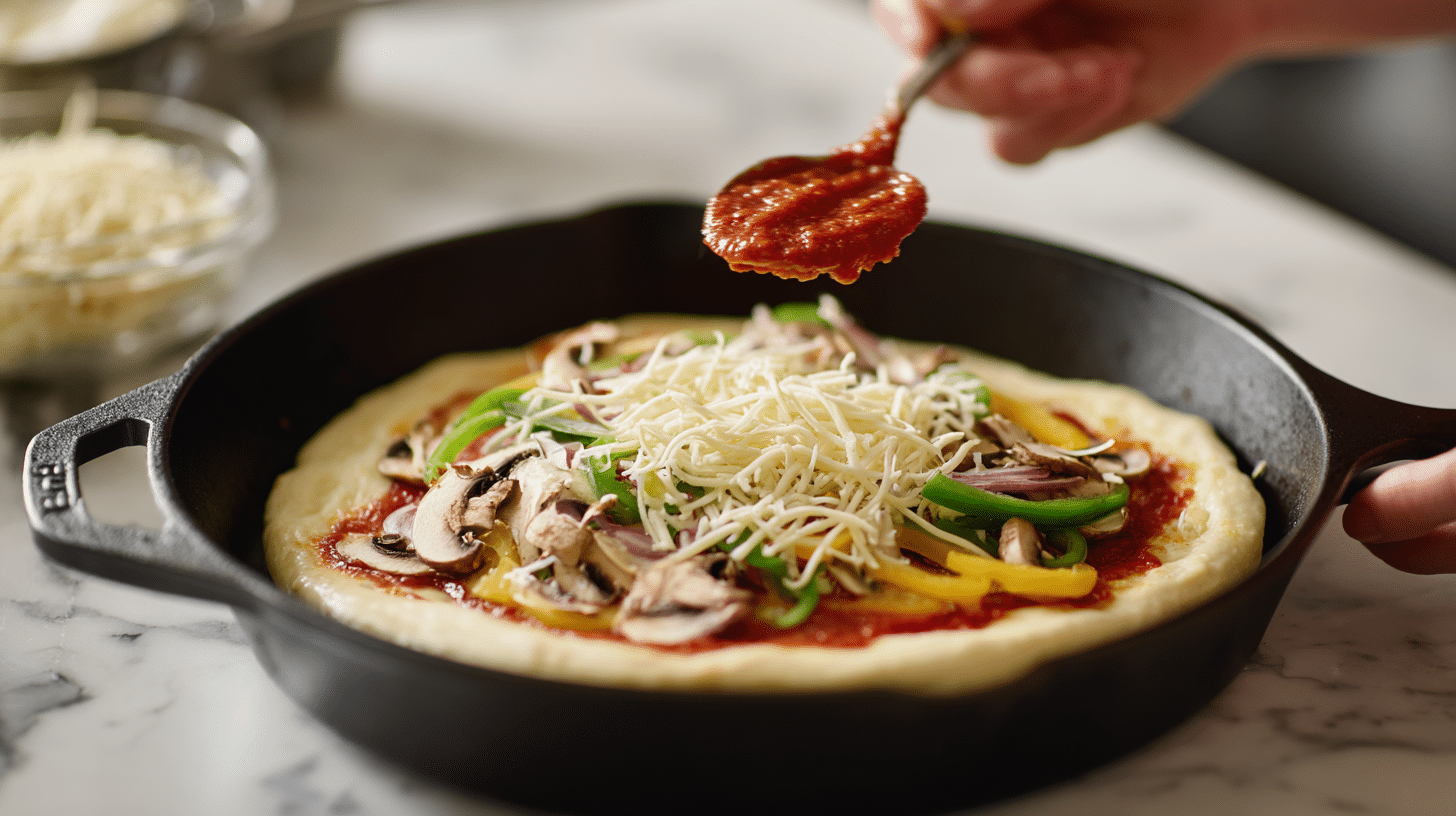
Remove the skillet and spread sauce evenly over the baked base, leaving a small border around the edges.
Sprinkle cheese evenly, then add your chosen toppings. Don’t overload with toppings, as this can make the crust soggy. Keep toppings balanced and spread out for even cooking.
Pro Tip: Pat wet toppings like tomatoes or mushrooms dry with paper towels to prevent excess moisture.
Step 5: Final Bake and Serve
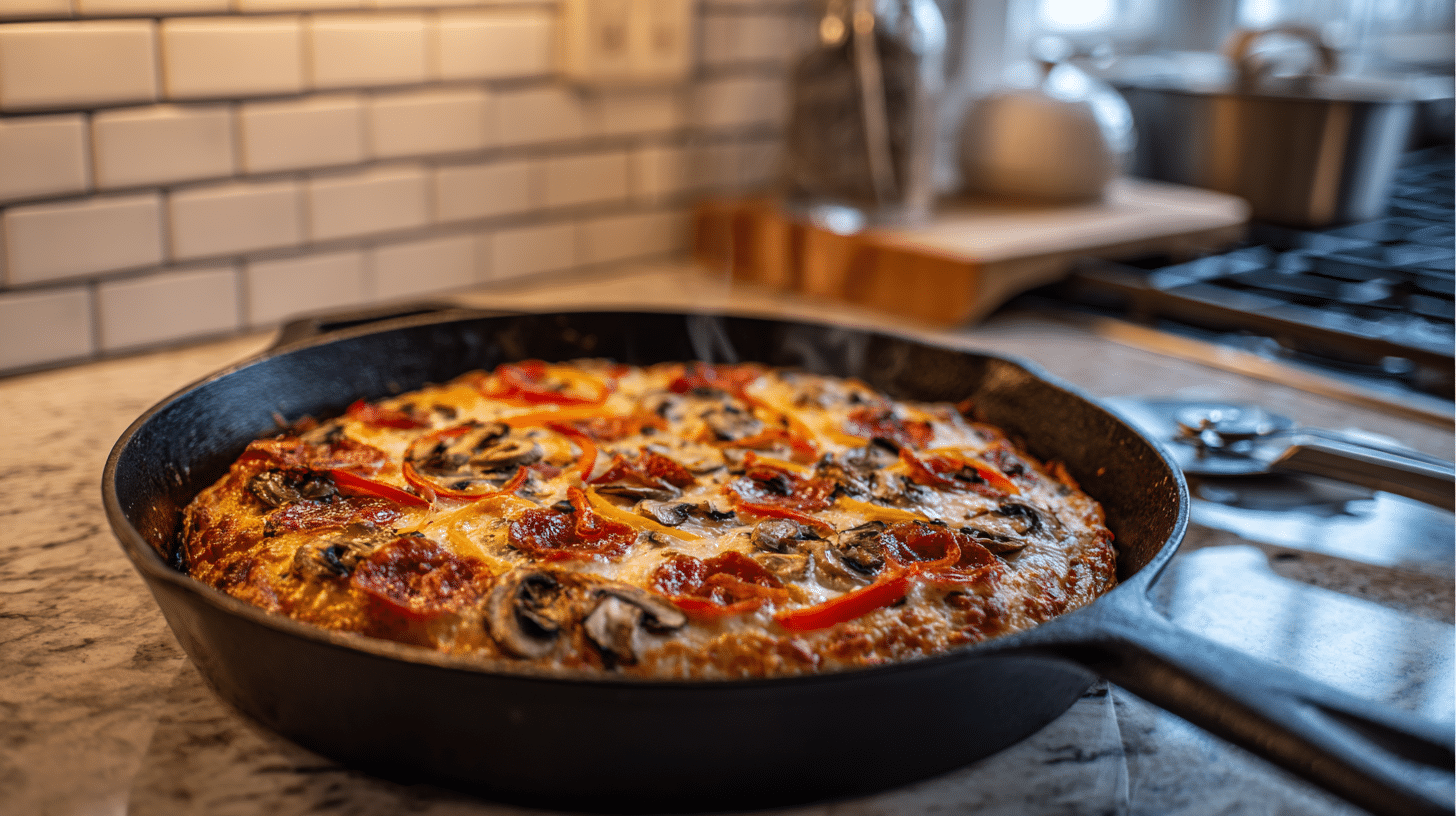
Return the skillet to the oven for 5–8 minutes until the cheese melts and the toppings are lightly golden. For extra crispiness, broil for 1–2 minutes, watching closely to prevent burning.
Remove from oven, slide pizza onto a cutting board, slice, and serve immediately while hot and crispy.
Pro Tip: For an even crispier bottom, place the finished skillet on the stovetop over medium heat for 1–2 minutes before serving.
How to Serve
Choose your serving style based on the occasion and your family’s preferences. Each method brings out different aspects of this flexible pizza.
| Serving Style | How to Do It |
|---|---|
| Classic | Slice into wedges and serve right from the cutting board. |
| Family Style | Serve whole in the skillet at the table for a rustic touch. |
| Veggie Boost | Top with fresh arugula or spinach after baking. |
| Party Bites | Cut into small squares for an appetizer. |
The classic wedge style works best for regular dinners, while party bites are perfect for entertaining guests or feeding kids.
Storage & Make-Ahead Tips
Save time and reduce waste with these helpful make-ahead strategies. Planning means faster weeknight dinners when you need them most.
- Crust: Bake the base ahead and store it in the fridge for up to 2 days; reheat in a skillet before topping.
- Toppings: Pre-chop veggies/meats to save time at dinner.
- Leftovers: Store slices in an airtight container in the fridge for 1–2 days; reheat in a skillet over medium heat.
- Holding Tip: Keep finished pizza warm in a 200°F oven while preparing other dishes.
These storage tips help you meal prep efficiently and reduce food waste in your kitchen.
Nutrition Information (approx. per Slice, Based on 6 Slices)
These nutritional values are estimates based on standard ingredients and may vary depending on specific brands used.
Toppings will add additional calories and nutrients to your pizza.
| Nutrient | Amount (85g) |
|---|---|
| Calories | 195 kcal |
| Protein | 6.5g |
| Carbohydrates | 26g |
| Fat | 8g |
| Saturated Fat | 3g |
| Fiber | 1.5g |
| Sodium | 300mg |
Note: These values are approximations calculated using average ingredient nutritional data and standard serving sizes.
Make It Your Own

Make this recipe your own with simple swaps and fun additions. The beauty of this method is how easily it adapts to whatever you have on hand.
- Extra Spicy: Add chili flakes or sliced jalapeños before baking.
- Cheese Lovers: Mix mozzarella with fontina or cheddar for extra depth.
- Vegan-Friendly: Use plant-based cheese and load up on veggie toppings.
These variations let you cater to different tastes and dietary needs without changing the basic technique.
Fun Fact: The high heat of cast iron mimics the bottom crisp you’d get from a pizza oven – without leaving your kitchen.
Your Perfect Weeknight Solution
This sourdough discard pizza cast-iron recipe shows that great pizza doesn’t require hours of prep time or special equipment.
In just 20 minutes, you can change that neglected starter into a crispy, tangy base topped with whatever makes you happy.
It’s perfect for busy weeknights when you want something homemade but don’t have time for complicated cooking.
Your leftover starter becomes the star of a crispy, flavorful base that beats store-bought options every time.
The cast-iron method gives you that restaurant-quality crispy bottom every single time. Plus, you’ll feel good about using up that discard instead of throwing it away.
Try this recipe tonight and turn your sourdough discard into family dinner gold.