Nothing beats the smell of freshly baked banana chocolate chip bars wafting through the kitchen. These bars are pure comfort food magic.
Ripe bananas meet melty chocolate chips in every single bite. The result? Chewy, sweet perfection that makes everyone happy.
These chocolate chip banana bars work great for breakfast, snacks, or dessert. Kids love them in lunch boxes. Adults grab them with morning coffee.
The best part? They’re super easy to make. No fancy equipment needed. Just mix, pour, and bake.
Whether using traditional recipes or trying fun new twists, these bars never disappoint. They turn overripe bananas into something amazing. Ready to create some kitchen magic?
Why You’ll Love This Recipe
These bars stay soft and tender for days with a rich banana flavor. The natural sweetness from ripe bananas shines through in every bite.
The easy one-bowl method means less mess and more fun. Everything mixes together in one bowl. Even beginners can nail this recipe every time.
These treats work great for snacks, lunchboxes, or dessert. Pack them for school or serve after dinner with ice cream.
The recipe stays flexible with mix-ins or dietary swaps. Add nuts, coconut, or dried fruit. Try gluten-free flour or sugar substitutes as needed.
Best of all, these bars use up those overripe bananas sitting on your counter. No need to throw away brown bananas anymore. Turn them into something the whole family will love.
Ingredients You’ll NeedFor the bars:
|
Recipe Notes
Quick recipe details at a glance.
| Detail | Information |
|---|---|
| Total Time | 45 minutes |
| Servings | 20 bars |
| Storage | 5 days |
Note: Cool completely before cutting.
Let’s Get Mixing- Step by Step
Making these banana chocolate chip bars is simple and straightforward. Follow these seven easy steps for perfect results every time. The whole process takes about 45 minutes from start to finish, plus cooling time.
Step 1: Prep Your Pan and Oven
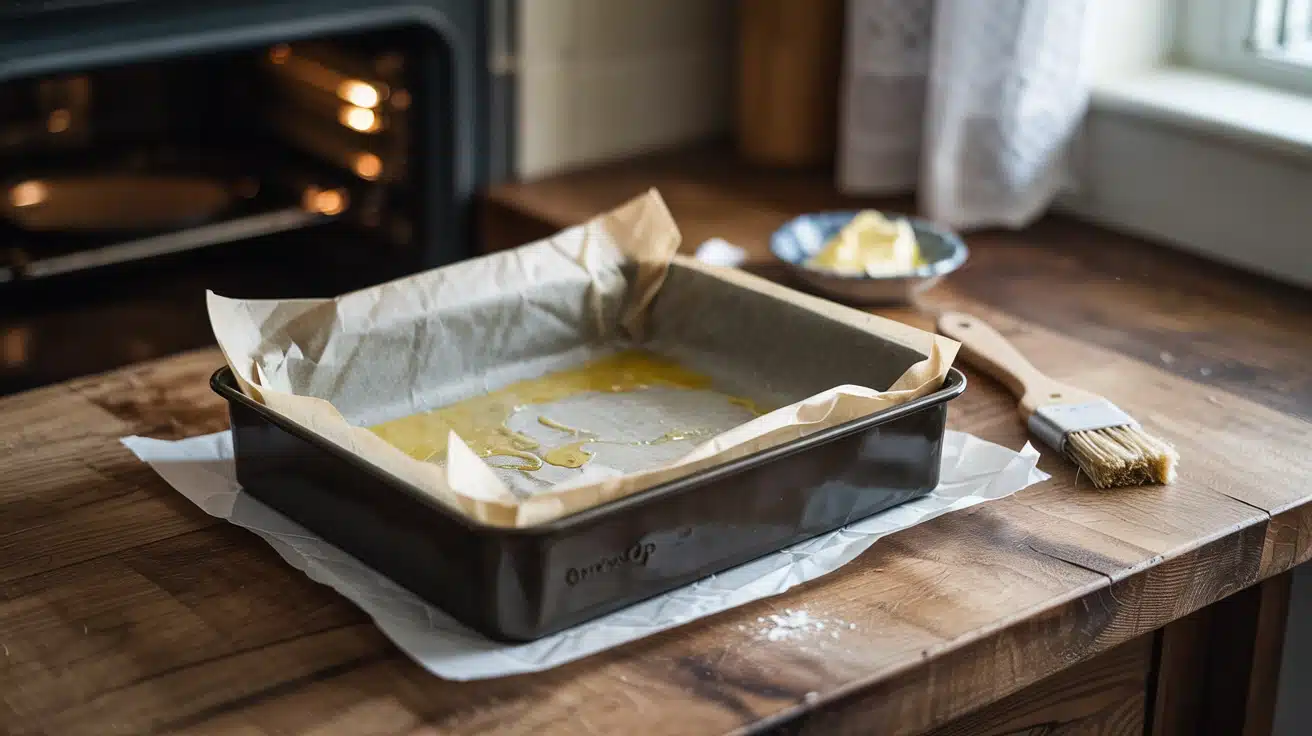
Preheat your oven to 350°F (175°C) and let it fully warm up for about 10 minutes. Grease a 9×13-inch baking pan with butter or cooking spray, making sure to coat all corners and sides well.
Line the greased pan with parchment paper, leaving some overhang on the sides so you can easily lift the bars out later. This extra step makes cutting much cleaner and prevents any sticking. You can also dust the parchment lightly with flour for extra insurance.
Pro tip: Place your oven rack in the center position before preheating to ensure even baking from top and bottom.
Step 2: Mash the Bananas
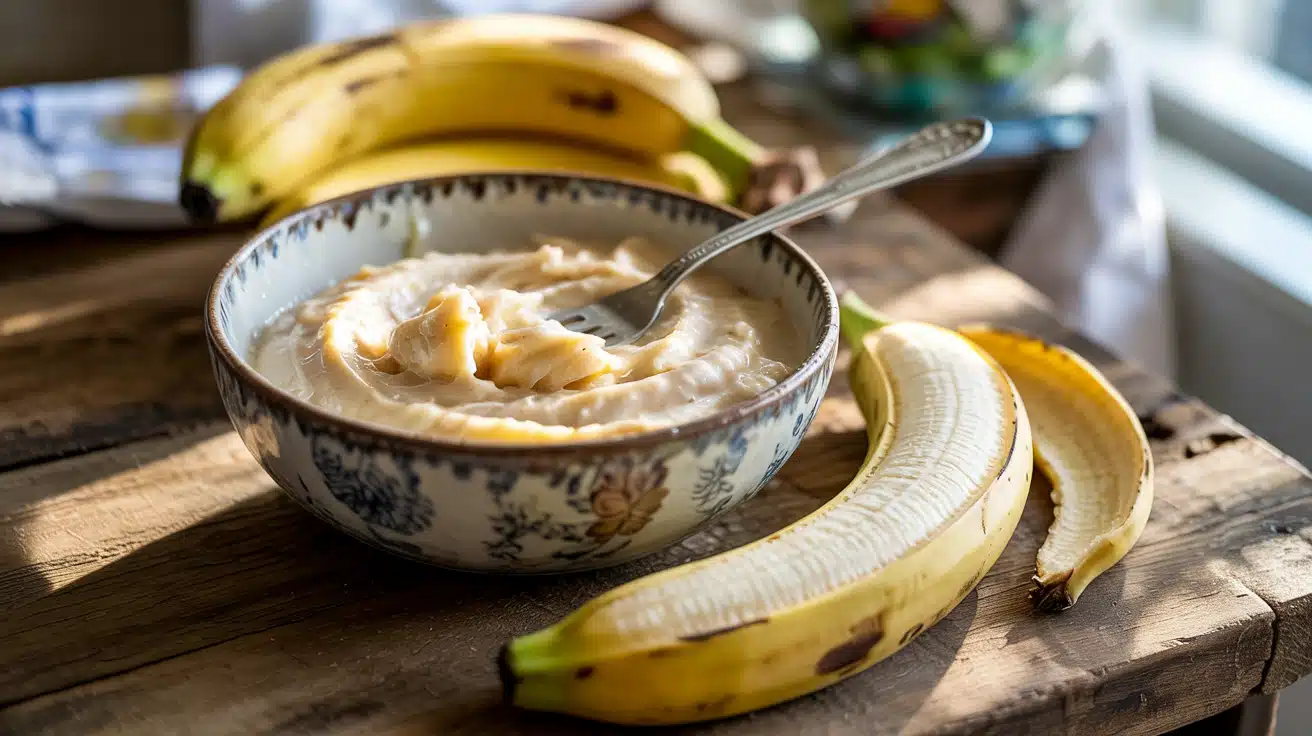
Place the ripe bananas in your largest mixing bowl and mash them thoroughly until smooth and creamy. A few small lumps are perfectly fine and actually add nice texture to the finished bars.
Use a fork, potato masher, or even a large spoon for this step. The riper and mushier your bananas are, the easier they’ll mash and the sweeter your bars will be. Brown spots on the peel mean perfect ripeness for baking.
Pro tip: If your bananas aren’t quite ripe enough, microwave them for 30 seconds to soften them up and concentrate their sweetness.
Step 3: Mix the Wet Ingredients
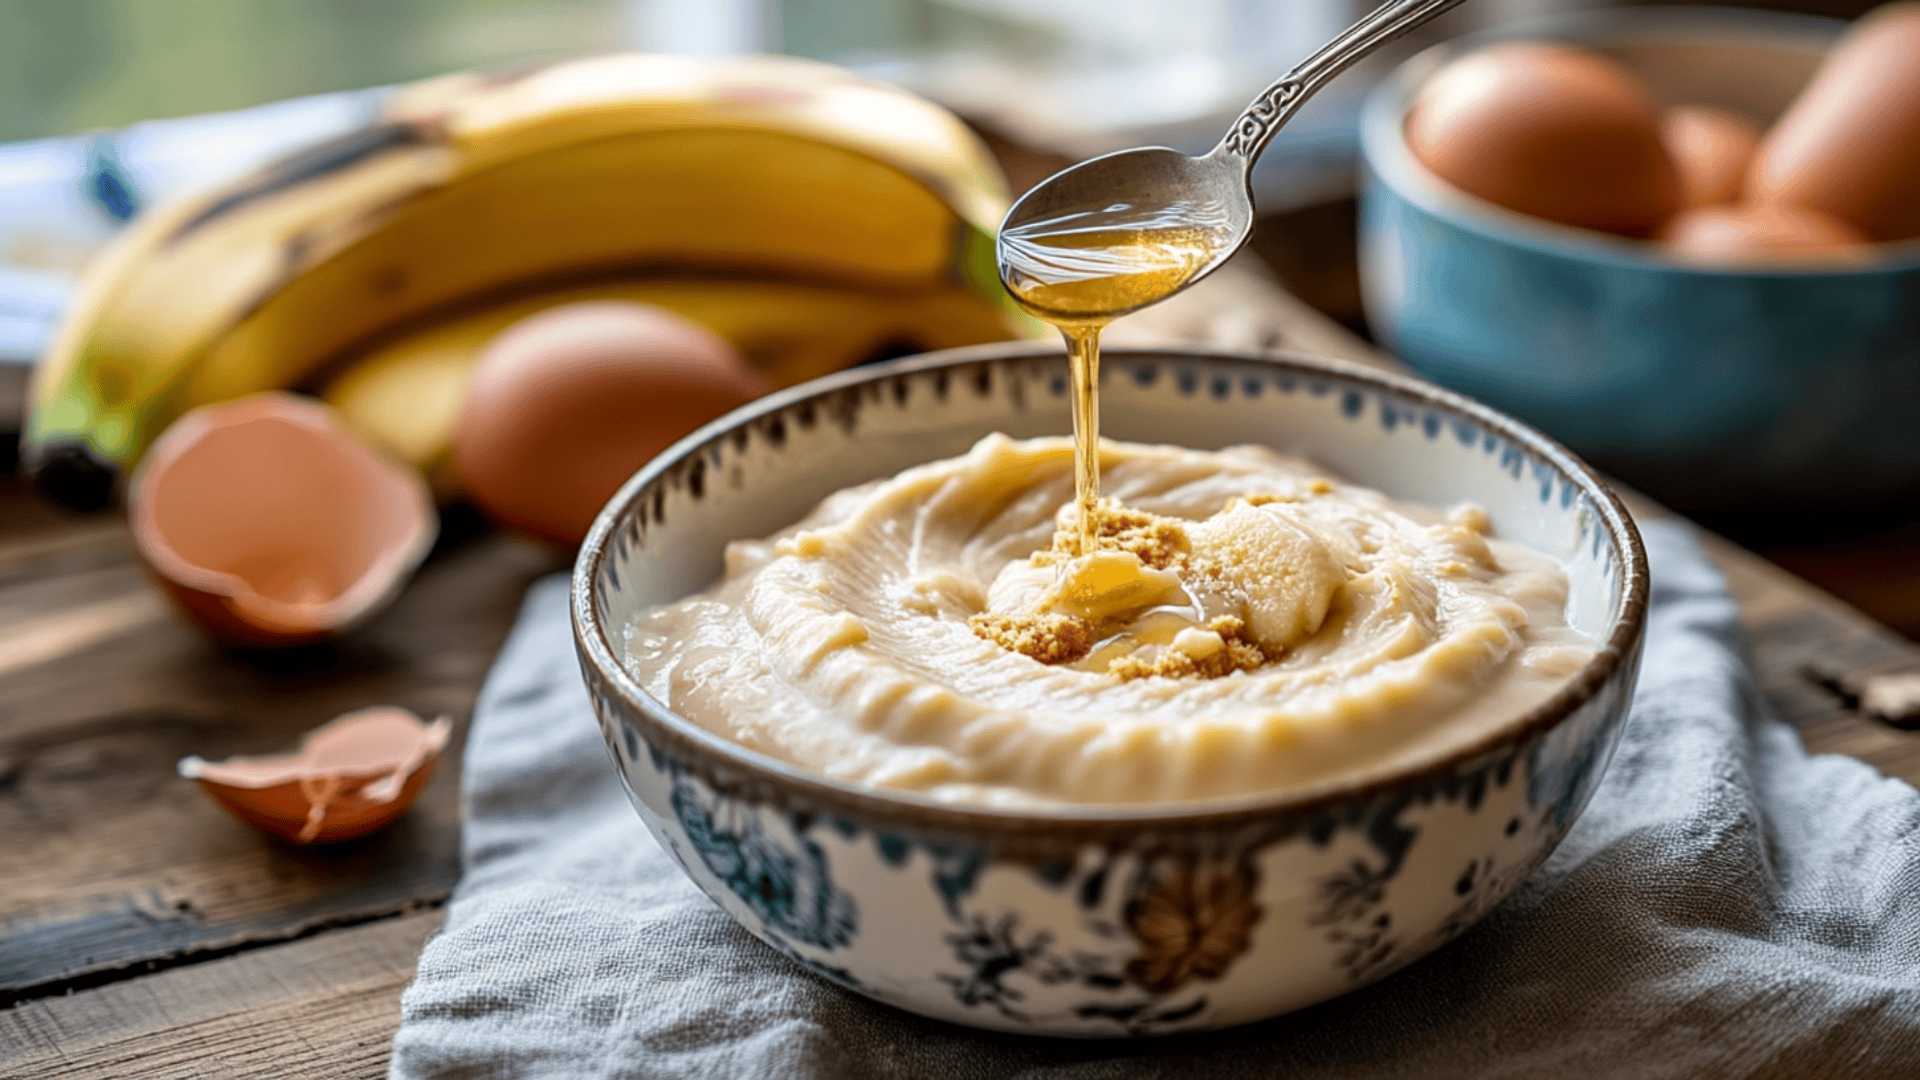
Add the melted butter, brown sugar, eggs, and vanilla extract to your mashed bananas. Stir everything together with a wooden spoon or whisk until the mixture is well blended and smooth.
Make sure your melted butter has cooled slightly before adding it, or the heat might scramble your eggs.
The mixture should look creamy and uniform with no streaks of butter or unmixed sugar. This base will give your bars their rich, moist texture.
Pro tip: Room temperature eggs mix more easily than cold ones, so take them out of the fridge 30 minutes before you start baking.
Step 4: Add the Dry Ingredients
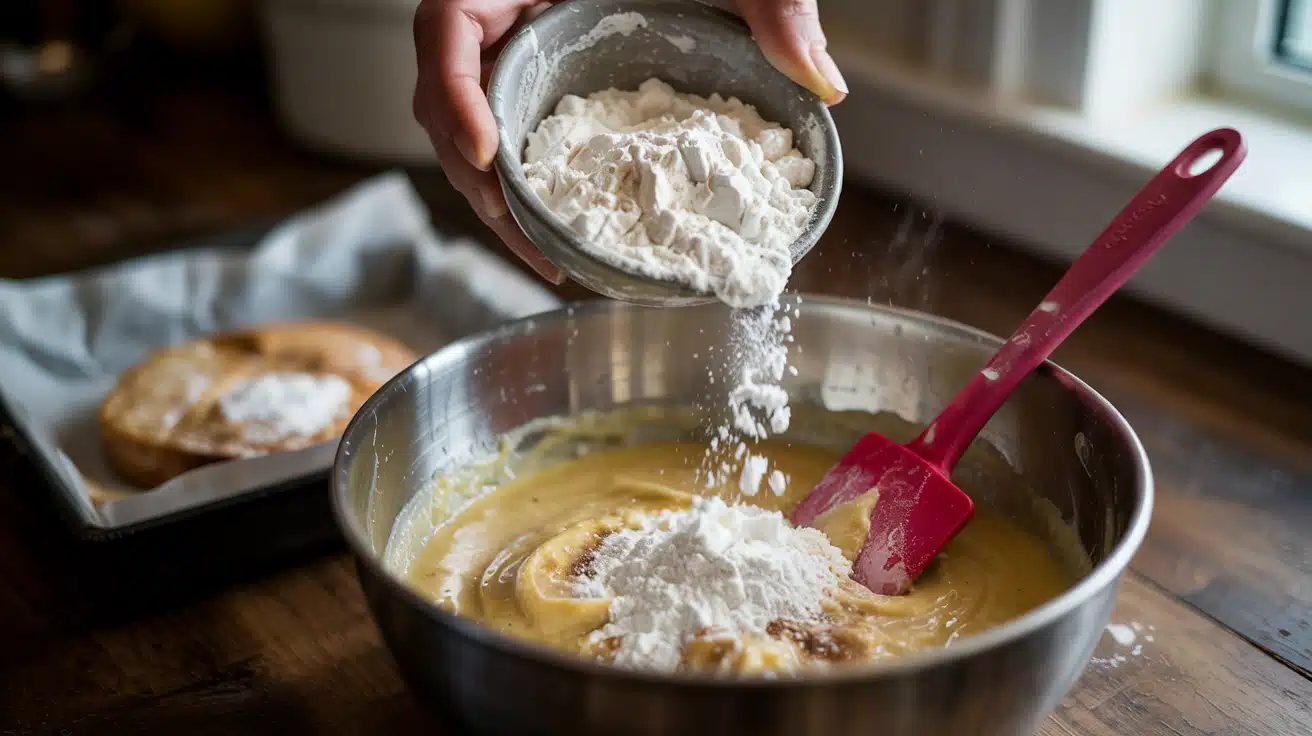
In a separate medium bowl, whisk together the flour, baking soda, and salt until evenly combined. Pour this dry mixture into your wet ingredients and stir gently until just combined.
Stop mixing as soon as you can’t see any dry flour streaks. Overmixing develops the gluten in the flour, which makes bars tough and chewy instead of tender. The batter should look slightly lumpy and thick, not smooth like cake batter.
Pro tip: Use a rubber spatula and fold the ingredients together with gentle motions from the bottom of the bowl to the top for the most tender results.
Step 5: Fold in the Chocolate Chips
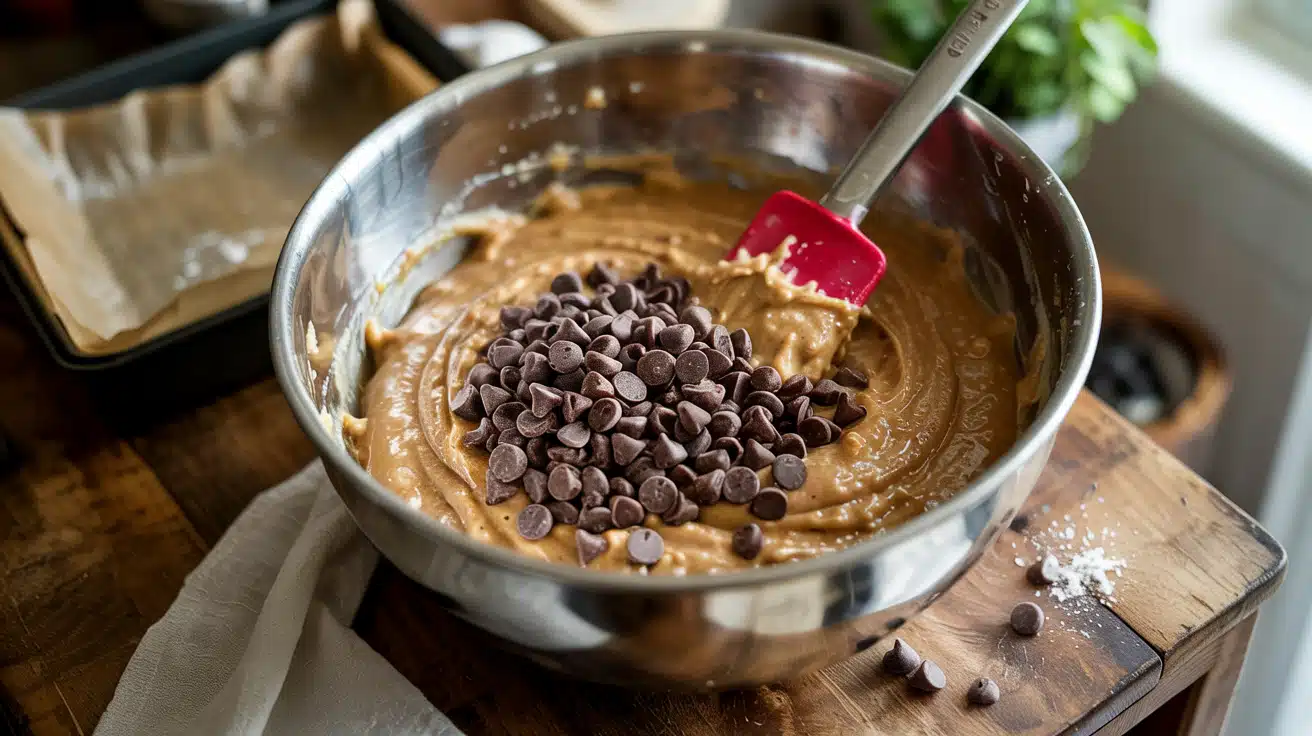
Sprinkle the chocolate chips over the batter and gently fold them in with your spatula. Make sure they’re distributed evenly throughout the mixture for chocolate in every bite.
Reserve a small handful of chips to sprinkle on top of the batter before baking. This creates a beautiful presentation and ensures some chips stay visible on the surface. Mini chips work especially well for even distribution.
Pro tip: Lightly coat your chocolate chips in flour before folding them in to prevent them from sinking to the bottom during baking.
Step 6: Bake the Bars
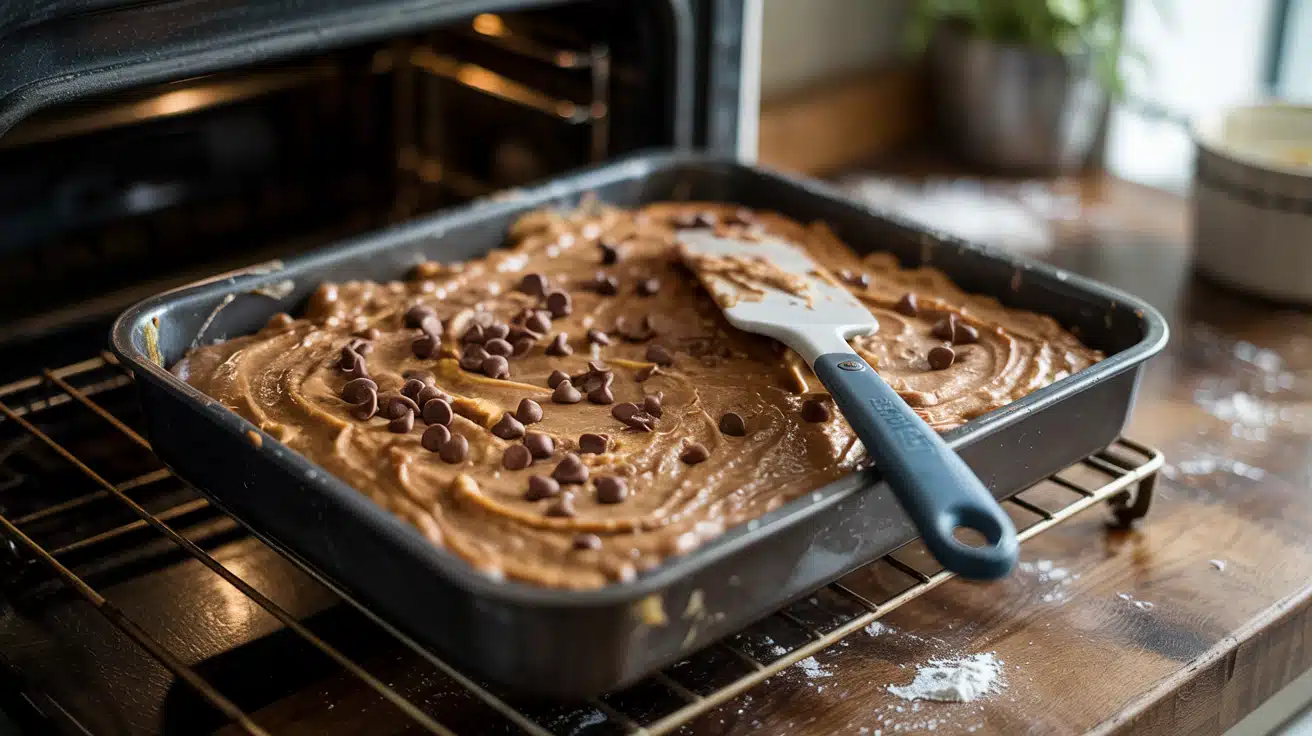
Pour the batter into your prepared pan and use a spatula to spread it evenly to all corners. Sprinkle any reserved chocolate chips on top and bake for 25-30 minutes until golden brown and set.
Test for doneness by inserting a toothpick into the center – it should come out with just a few moist crumbs, not wet batter. The edges should look set and may pull slightly away from the sides of the pan. Don’t overbake or your bars will be dry instead of fudgy.
Pro tip: Start checking at 22 minutes, then every 2-3 minutes after that. Oven temperatures can vary, so use visual cues along with the toothpick test.
Step 7: Cool and Cut
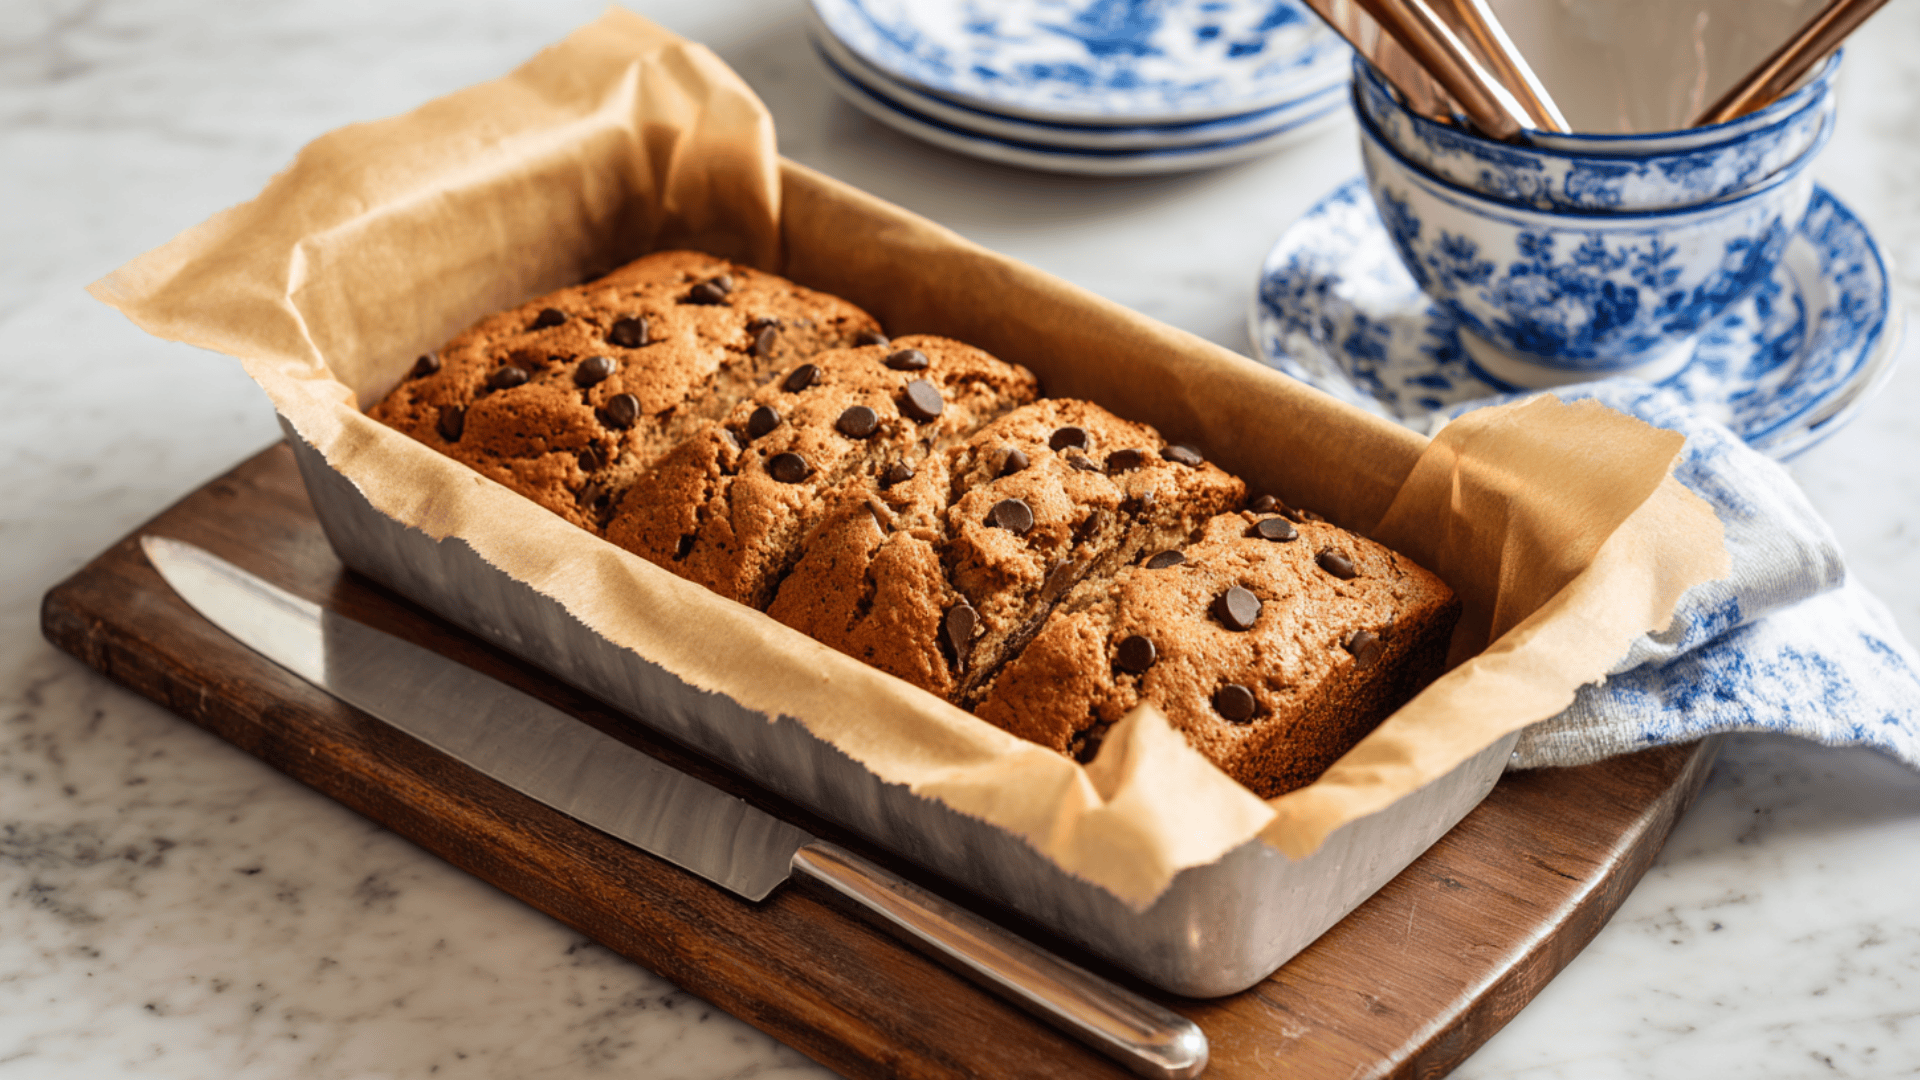
Let the bars cool completely in the pan for at least 2 hours before cutting. This cooling time allows them to set properly and prevents crumbling when you slice them.
Use the parchment paper overhang to lift the entire batch out of the pan onto a cutting board.
Cut with a sharp knife, wiping it clean between cuts for the neatest edges. Cut into 16-20 pieces, depending on how large you want your bars.
Pro tip: For the cleanest cuts, chill the completely cooled bars in the refrigerator for 30 minutes before slicing. The cold firms them up beautifully.
Nutrition Facts
Each serving of these banana chocolate chip bars provides a good balance of carbs and healthy fats. The natural sweetness from bananas helps reduce the need for excessive added sugar.
| Nutrient | Per Serving (1 bar – 45g) |
|---|---|
| Calories | 185kcal |
| Total fat | 7g |
| Saturated fat | 4g |
| Cholesterol | 25mg |
| Sodium | 125mg |
| Total carbohydrates | 30g |
| Dietary fiber | 2g |
| Total sugars | 18g (including 12g added sugars) |
| Protein | 3g |
| Vitamin D | 0.2mcg |
| Calcium | 15mg |
| Iron | 1.2mg |
| Potassium | 145mg |
Note: Nutrition values are estimates and may vary based on ingredients used.
Storage & Freezing
Keep your bars fresh with these simple storage tips.
- Room temperature: 3–4 days. Store in an airtight container in a cool, dry place. They’ll stay soft and chewy.
- Refrigerator: up to 1 week. Place in an airtight container. Let it come to room temperature before serving for the best texture.
- Freezer: up to 3 months. Wrap bars individually, then store in a freezer bag. Thaw 30 minutes at room temperature.
Great Pairings For Your Banana Chocolate Chip Bars
These chocolate chip banana bars taste great on their own, but here are some fun ways to make them even more special.
1. Warm with ice cream
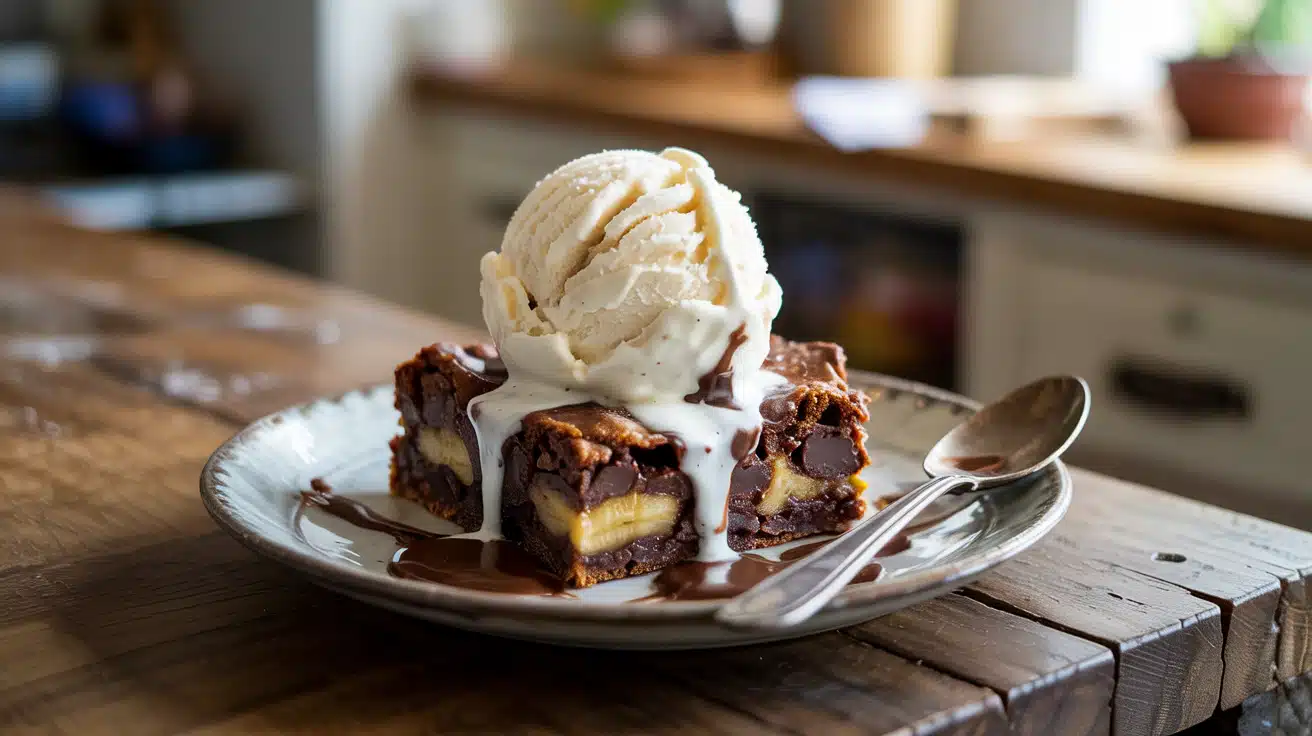
Heat individual bars in the microwave for 15-20 seconds until slightly warm. Top with a scoop of vanilla, chocolate, or banana ice cream for an instant dessert. The contrast between warm bars and cold ice cream creates a delightful treat that feels fancy but takes no extra effort.
2. Drizzle with nut butter
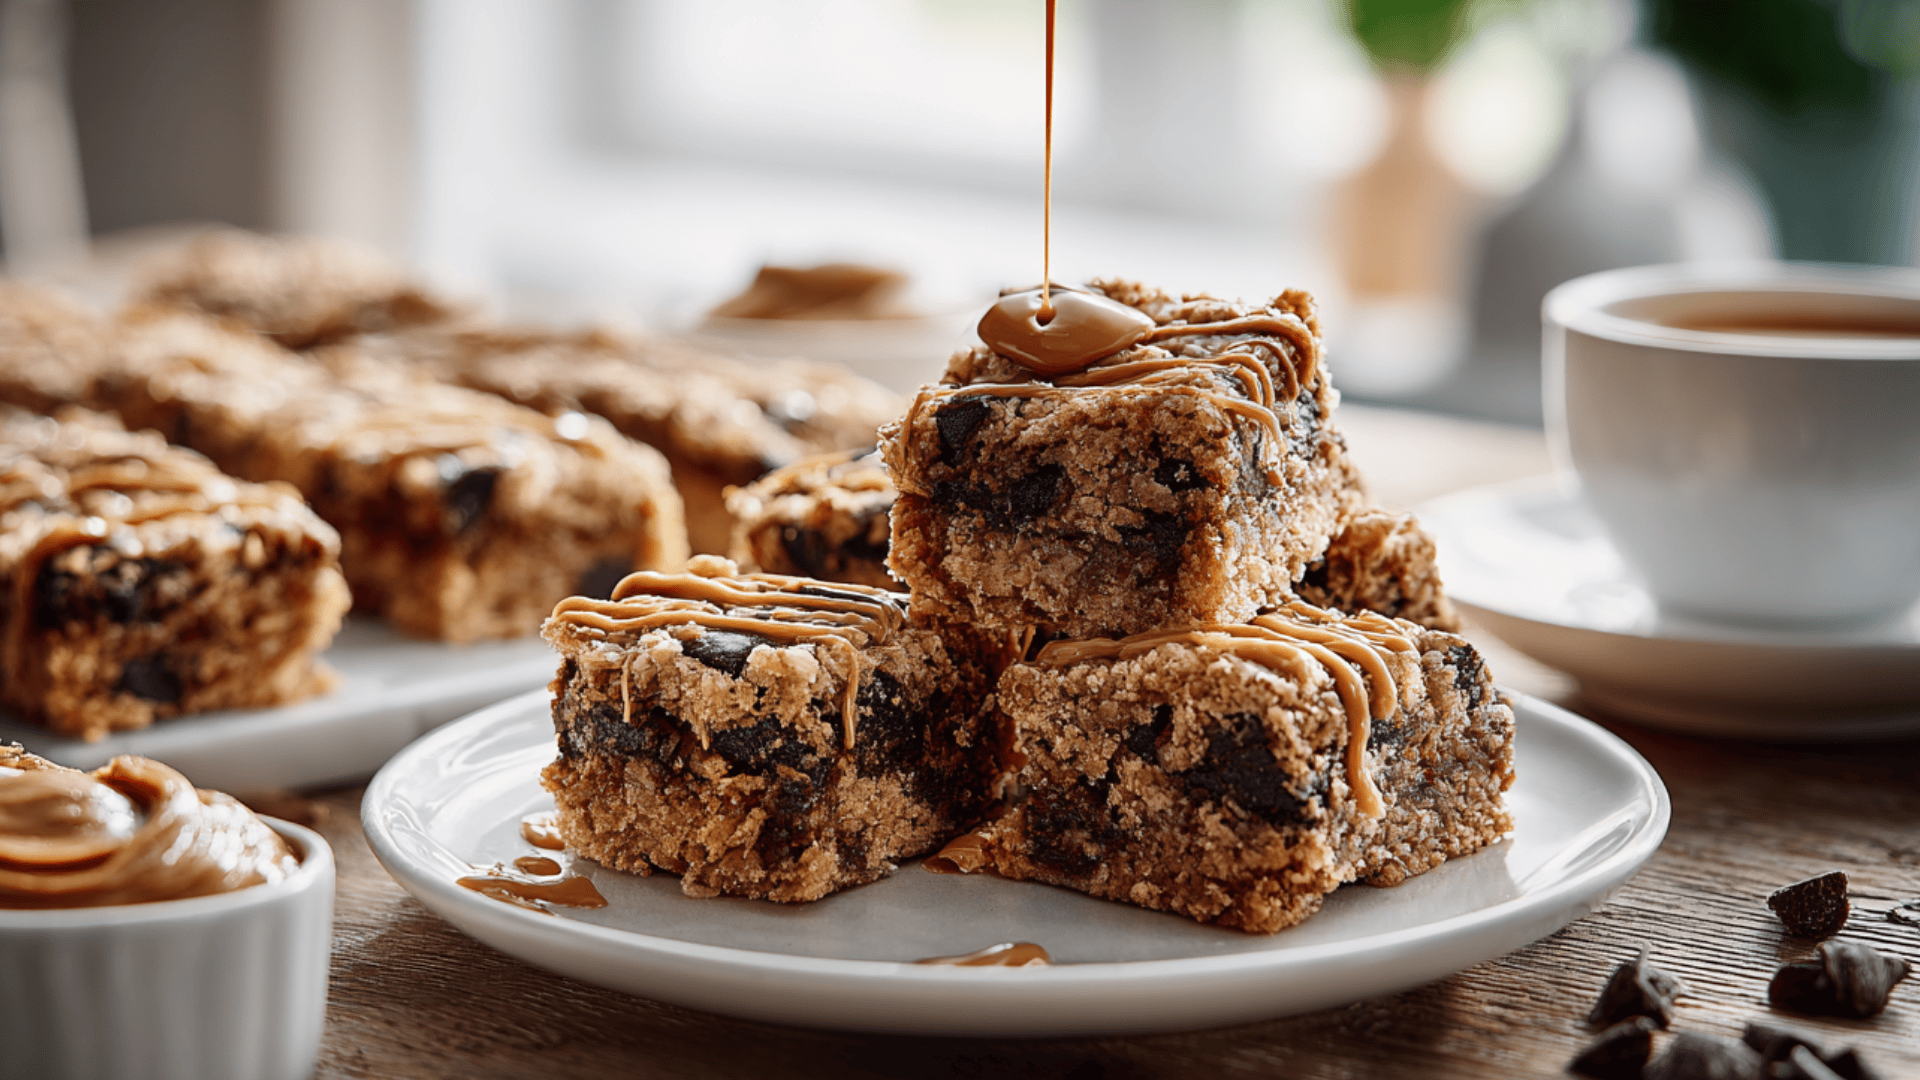
Warm up some peanut butter, almond butter, or cashew butter until it’s easy to drizzle. Pour it over the bars in zigzag patterns for extra protein and flavor.
This works especially well for breakfast or as an after-workout snack when you need sustained energy.
3. Great for brunch spreads

Cut the bars into smaller squares and arrange them on a platter alongside fresh fruit, coffee, and other baked goods.
They pair wonderfully with coffee, tea, or fresh orange juice. The banana and chocolate flavors complement other brunch favorites like muffins, pancakes, or fruit salad.
Change Your Snack Options
These banana chocolate chip bars prove that simple ingredients can create something truly special. With just one bowl and basic pantry staples, you can whip up a batch that disappears fast.
The beauty of this recipe lies in its flexibility. Use whatever bananas you have on hand, swap ingredients to match your dietary needs, or add your favorite mix-ins. Every variation turns out delicious.
These chocolate chip banana bars work for any occasion. Pack them in lunch boxes, serve them at gatherings, or enjoy them as a midnight snack. They bring comfort and satisfaction every single time.
Ready to fill your kitchen with that irresistible banana-chocolate aroma? Grab those overripe bananas and start baking. Your family and friends will thank you for it.