There’s something really special about warm apple pie filling. The smell of cooked/simmered apples and cinnamon makes me feel warm and comfortable, like being at home.
Apple pie has always been one of my favorite desserts, and every year I find new ways to enjoy it. This year, fresh apple types, fun new ideas, and easy homemade recipes are making this classic treat even better.
In this post, I’ll show you how to make apple pie filling that’s super easy for anyone to make. You’ll also see some fun ideas that are popular right now.
Maybe you’re baking for friends, adding it to your pancakes, or keeping some in a jar in the fridge for later. This recipe will help you capture the real taste of fall in every bite.
Why Apple Pie Filling Never Goes Out of Style
Apple pie has always been a comforting treat that reminds people of home, family, and fall. The sweet apples and warm spices make it hard to resist.
Lately, bakers are giving this classic a fresh twist by using new apple varieties and spices. Girl Versus Dough describes it as super easy and flavored with cinnamon and light brown sugar for a warm fall flavor.
Fresh Bean Bakery notes that it keeps for a while and can be used in cakes, cookies, or even eaten by the spoonful. No matter the season, apple pie filling never goes out of style.
Popular Twists on Apple Pie Filling Right Now
Apple pie filling has seen a lot of fun modern twists lately. From new spice combinations to healthier options, bakers are finding fresh ways to make this classic even better.
Lately, a lot of home bakers have been adding small upgrades to classic apple pie filling. A common upgrade is using light brown sugar instead of only white sugar for a deeper, caramel-like sweetness.
Others add spices like cardamom, nutmeg, or apple pie spice for extra warmth and depth. Mixing different apple varieties (sweet + tart) is a simple way to get better flavor and texture in every bite.
While most fillings are similar, you’ll also see versions with less sugar or plant-based butter substitutes. As people care more about ingredients, they want comfort without giving up what matters to them.
Ingredients You’ll Need
|
Pro Tip: Mix at least two apple varieties, one tart and one sweet, for better flavor and texture in every bite.
Recipe Note
| Information | Details |
| Prep Time | 15 minutes |
| Cook Time | 15 minutes |
| Total Time | 30 minutes |
| Category | Dessert, Filling, Condiment |
| Method | Stovetop |
| Cuisine | American |
| Yield | About 4 cups |
Classic Apple Pie Filling Recipe (Step-by-Step)
Now let’s get into the recipe. It’s simple enough for a home cook but delivers good flavor.
Step 1: Prepare the Apples
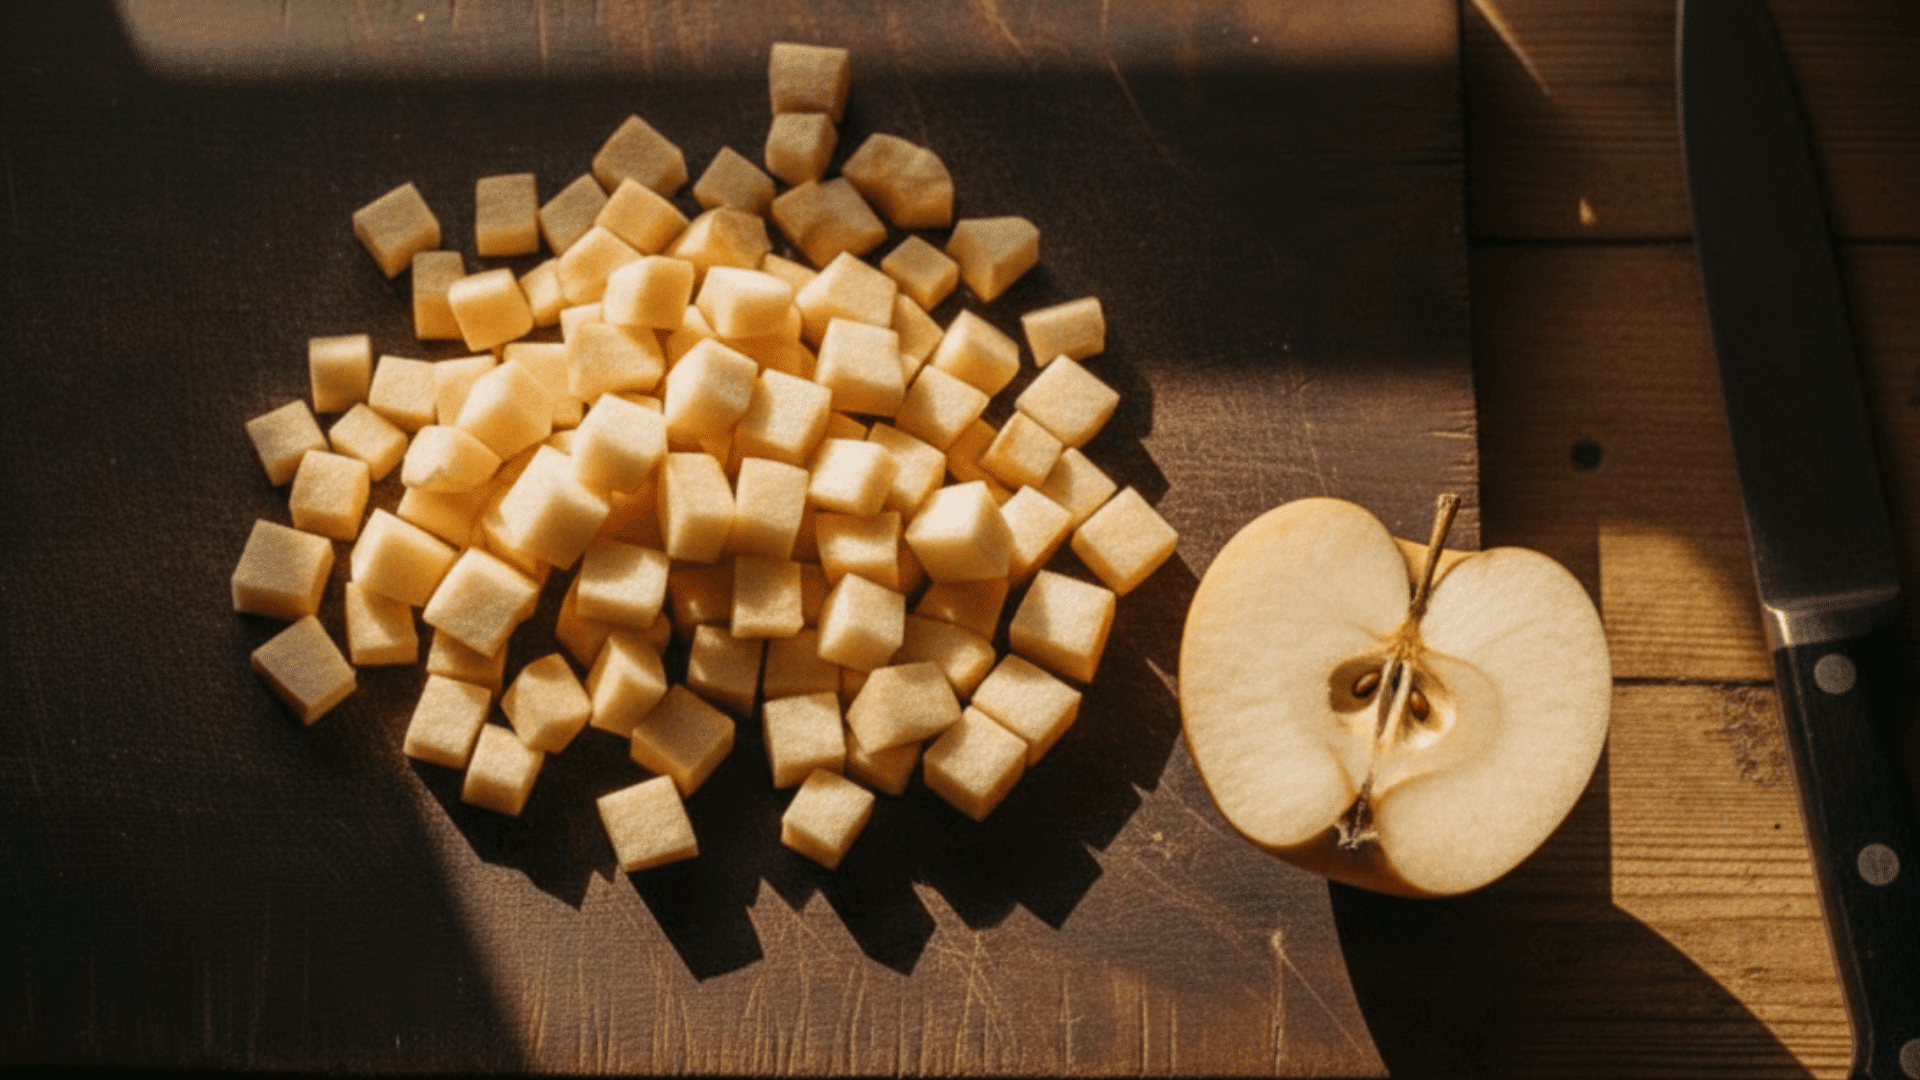
Peel, core, and slice your apples into evenly sized pieces so they cook uniformly. Uneven slicing can make some pieces too soft, while others remain firm.
Keeping them consistent ensures a smooth and tender texture throughout your filling.
Pro Tip: Combine both tart and sweet apple varieties to create a perfectly balanced flavor and natural sweetness.
Step 2: Mix the Ingredients
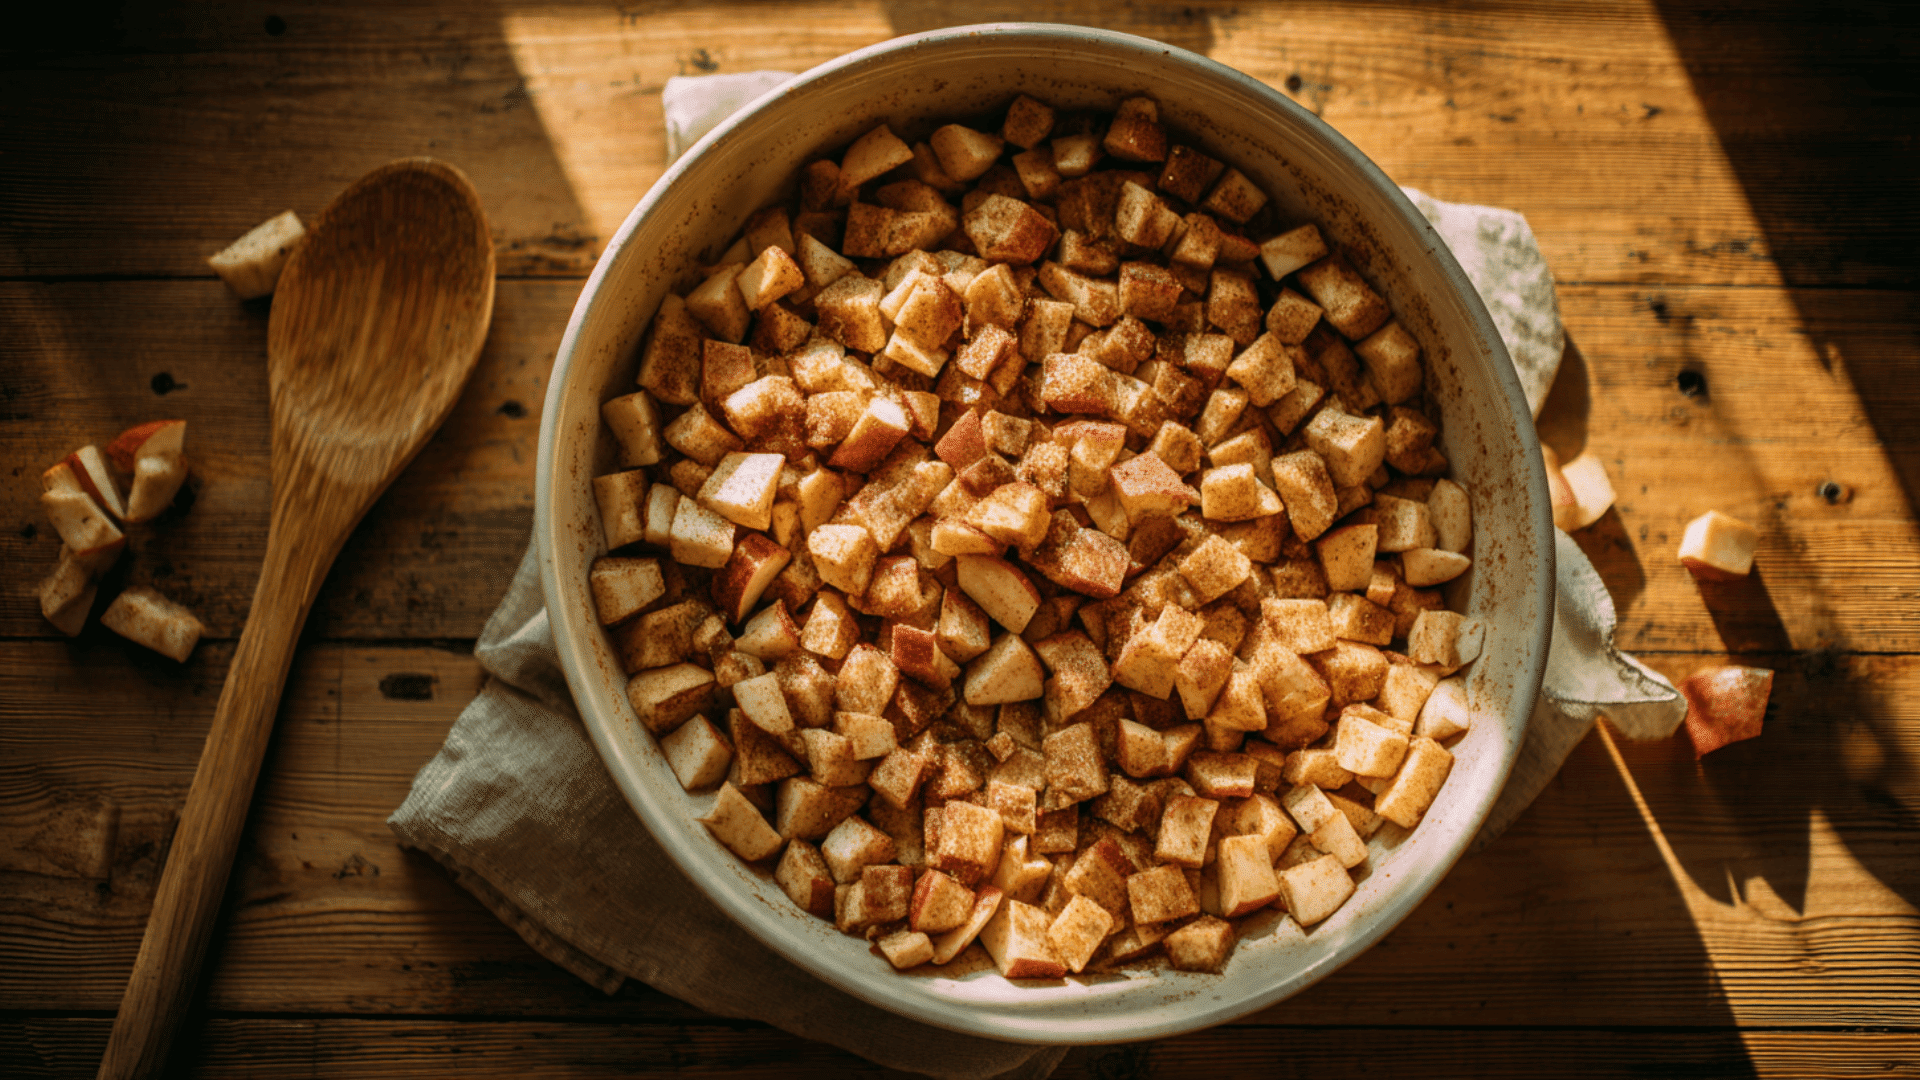
In a large mixing bowl, toss the sliced apples with lemon juice, both sugars, and your chosen spices.
The lemon helps prevent browning while the sugars and spices coat each slice, adding depth and warmth to every bite.
Pro Tip: Taste the mixture before cooking and adjust the sugar if the apples seem too sour for your liking.
Step 3: Cook the Apples
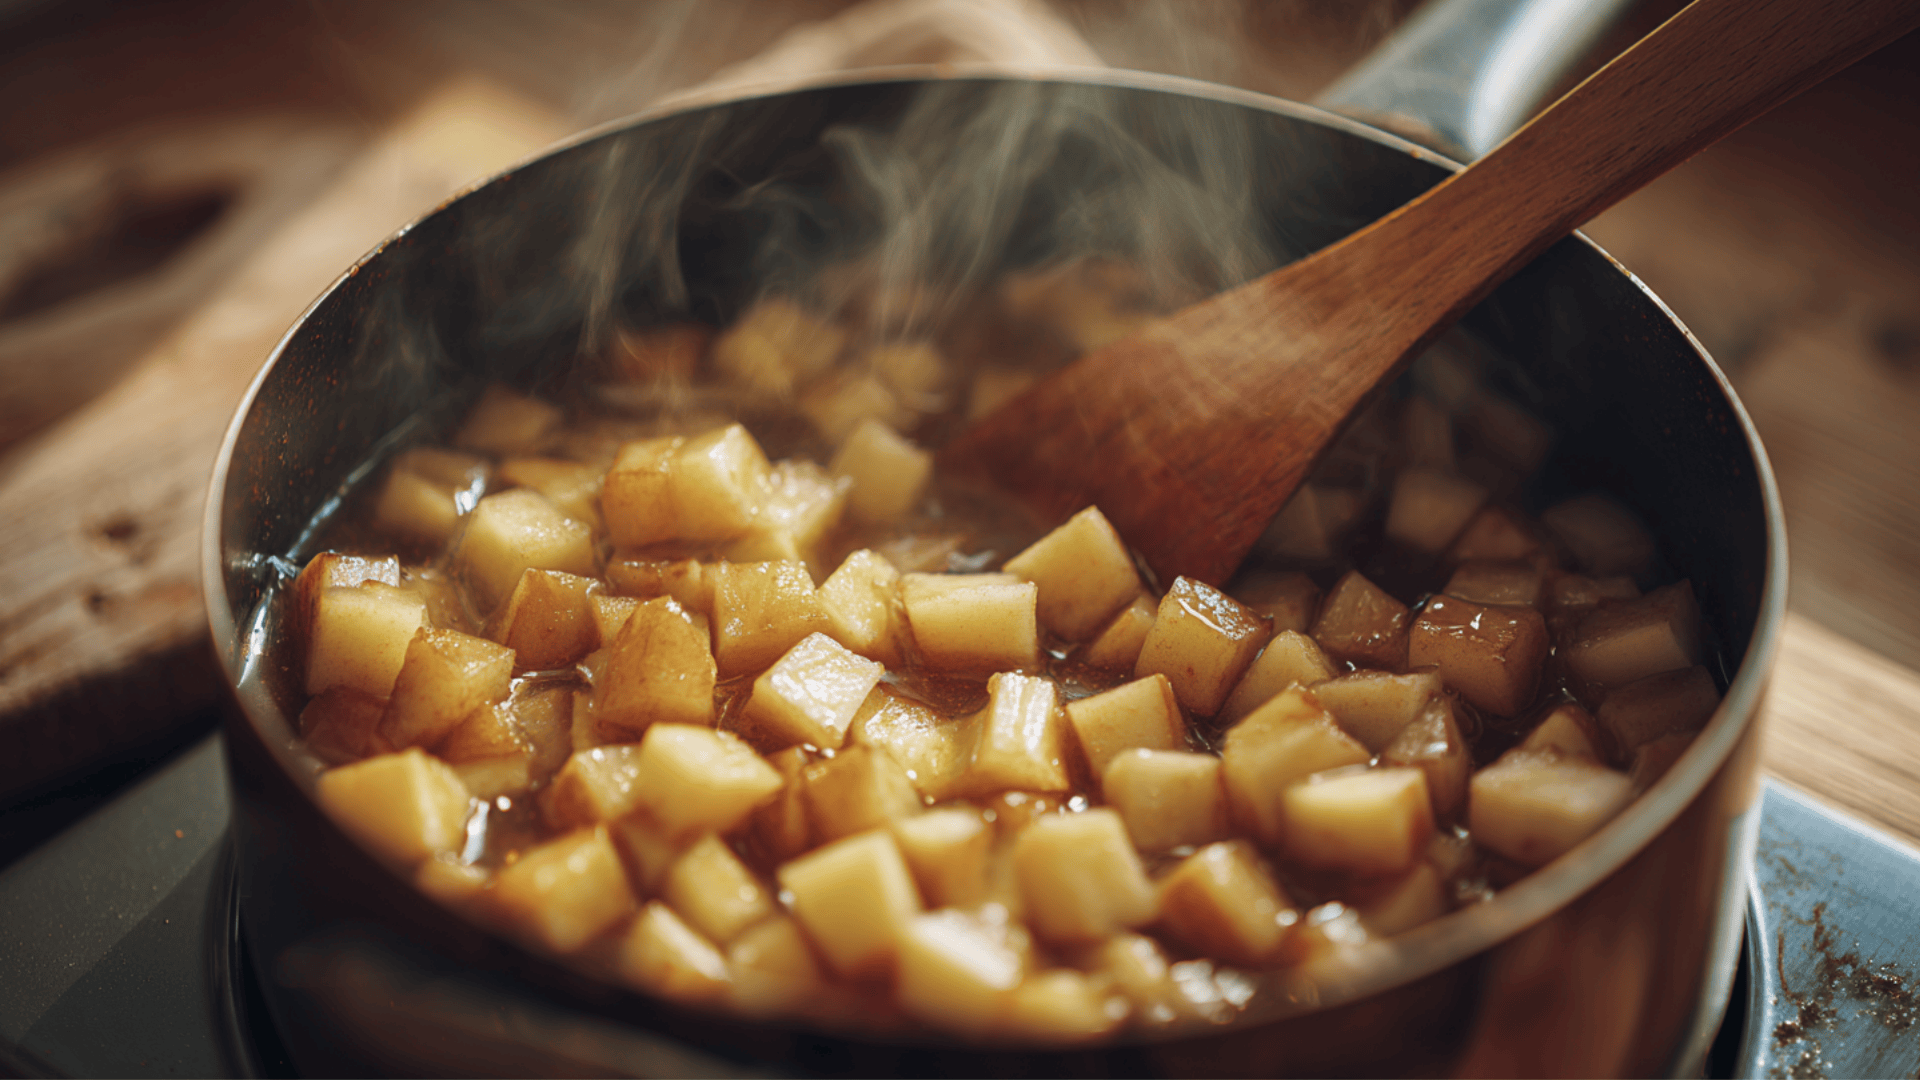
Transfer the apple mixture, along with any juices, to a medium saucepan or Dutch oven.
Cook it over medium heat until the apples begin to soften but still hold their shape. Stir occasionally to prevent the mixture from sticking to the pan.
Pro Tip: Cut your apple slices evenly so they cook at the same rate and stay pleasantly firm.
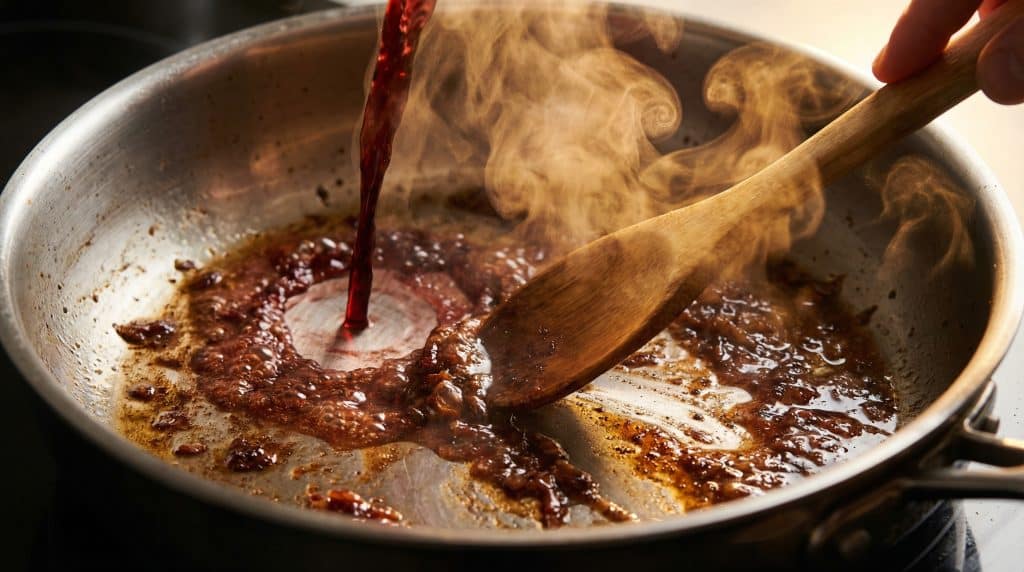
Step 4: Thicken the Filling
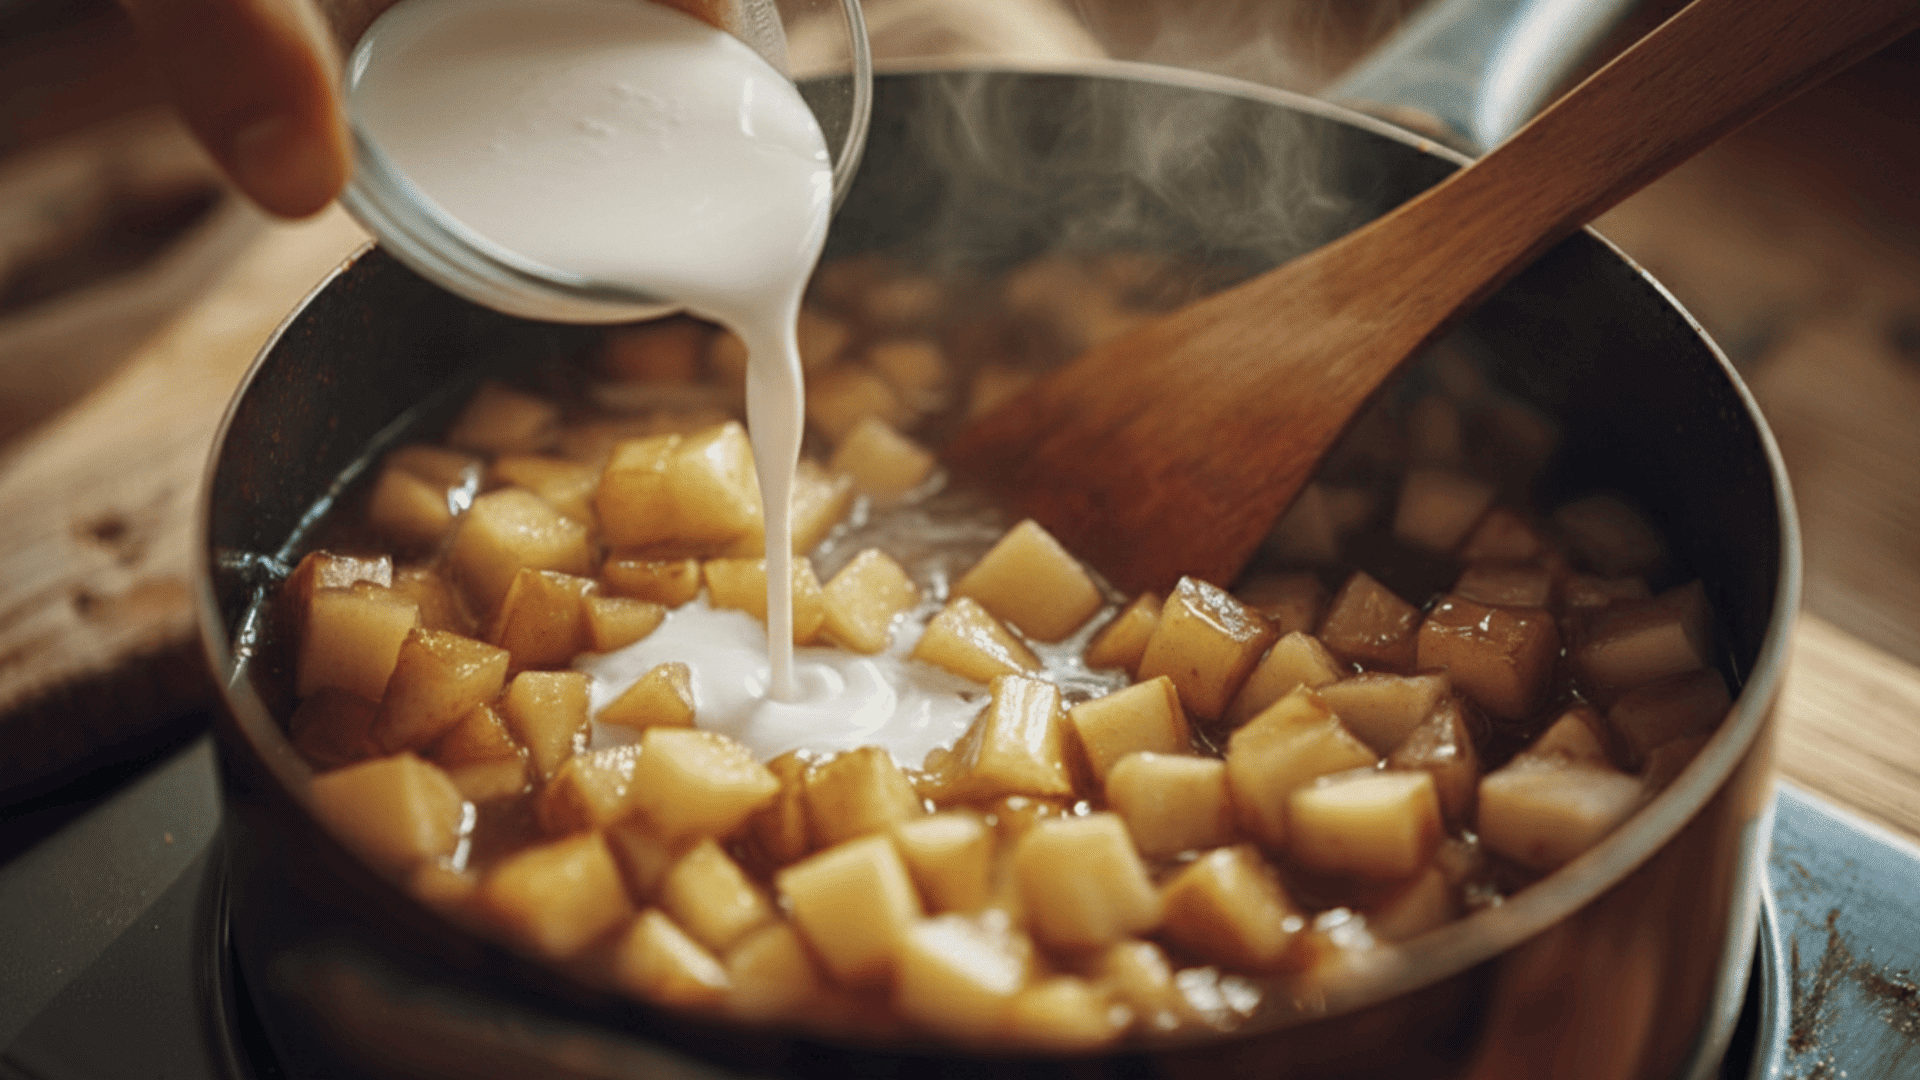
In a small bowl, mix cornstarch with water to form a smooth slurry, then stir it into the simmering apples.
Cook for about one minute until the sauce thickens and becomes glossy, coating each apple slice evenly.
Pro Tip: Keep stirring as it thickens to prevent clumps and achieve a smooth, velvety texture.
Step 5: Finish and Cool
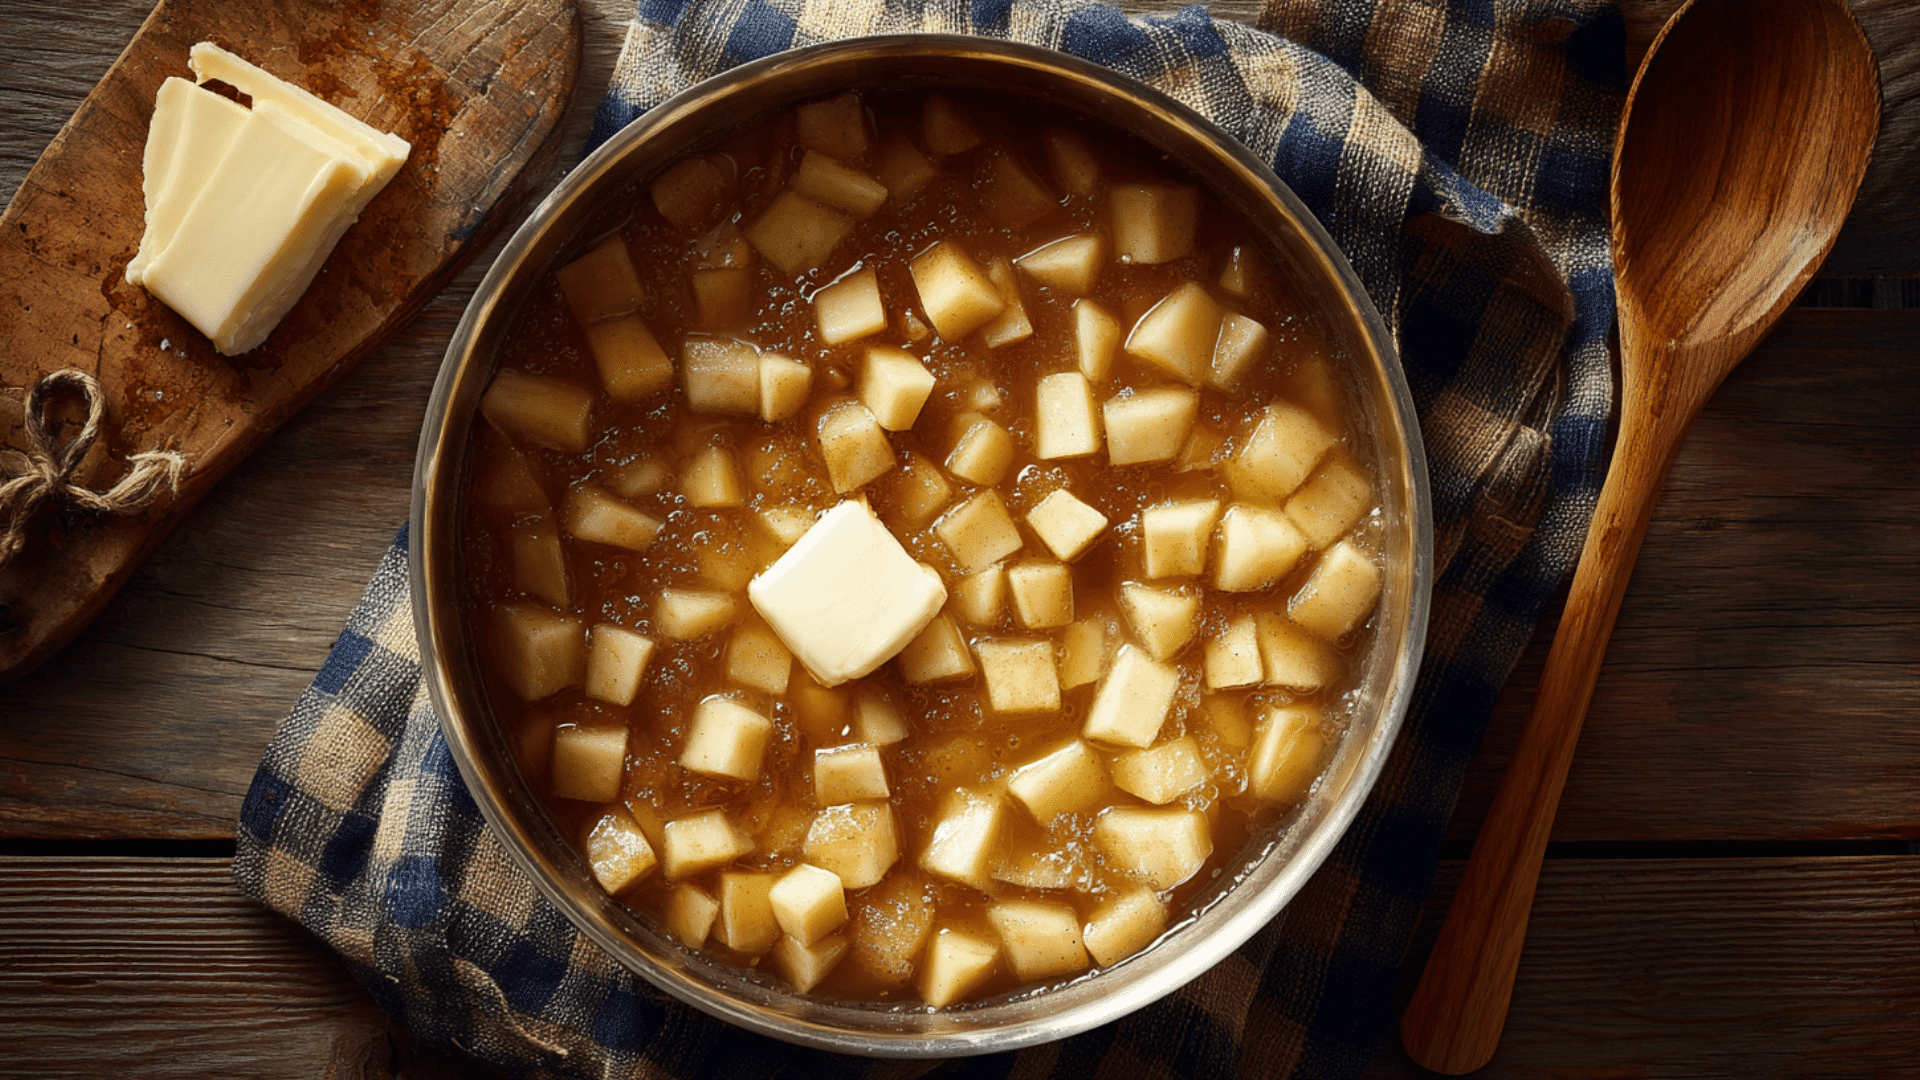
Remove the pan from the heat and stir in butter for a rich, silky finish.
Let the filling cool completely before transferring it to jars or using it in your recipe. The flavors deepen as it cools.
Pro Tip: If you plan to bake the filling again, slightly undercook the apples so they stay firm and flavorful in the final dessert.
Seasonal Spotlight – Fall Apple Harvest & Recipes
Now let’s talk a bit about the season. In the fall, apples like Honeycrisp and Pink Lady are often available at farmers’ markets (availability depends on your region and harvest timing).
These apples work really well for filling because they stay crisp and retain their shape when cooked.
If you enjoy seasonal baking, you’ll find plenty of easy apple pie filling ideas and variations online and in cookbooks.
Whenever fresh apples are in season where you live, this recipe is a great way to use them while they’re crisp and flavorful.
Creative Ways to Use Your Apple Pie Filling
Apple pie filling isn’t just for pies. There are plenty of fun and tasty ways to use it beyond the traditional crust. Here are some simple and delicious ideas to try:
1. Breakfast Boost
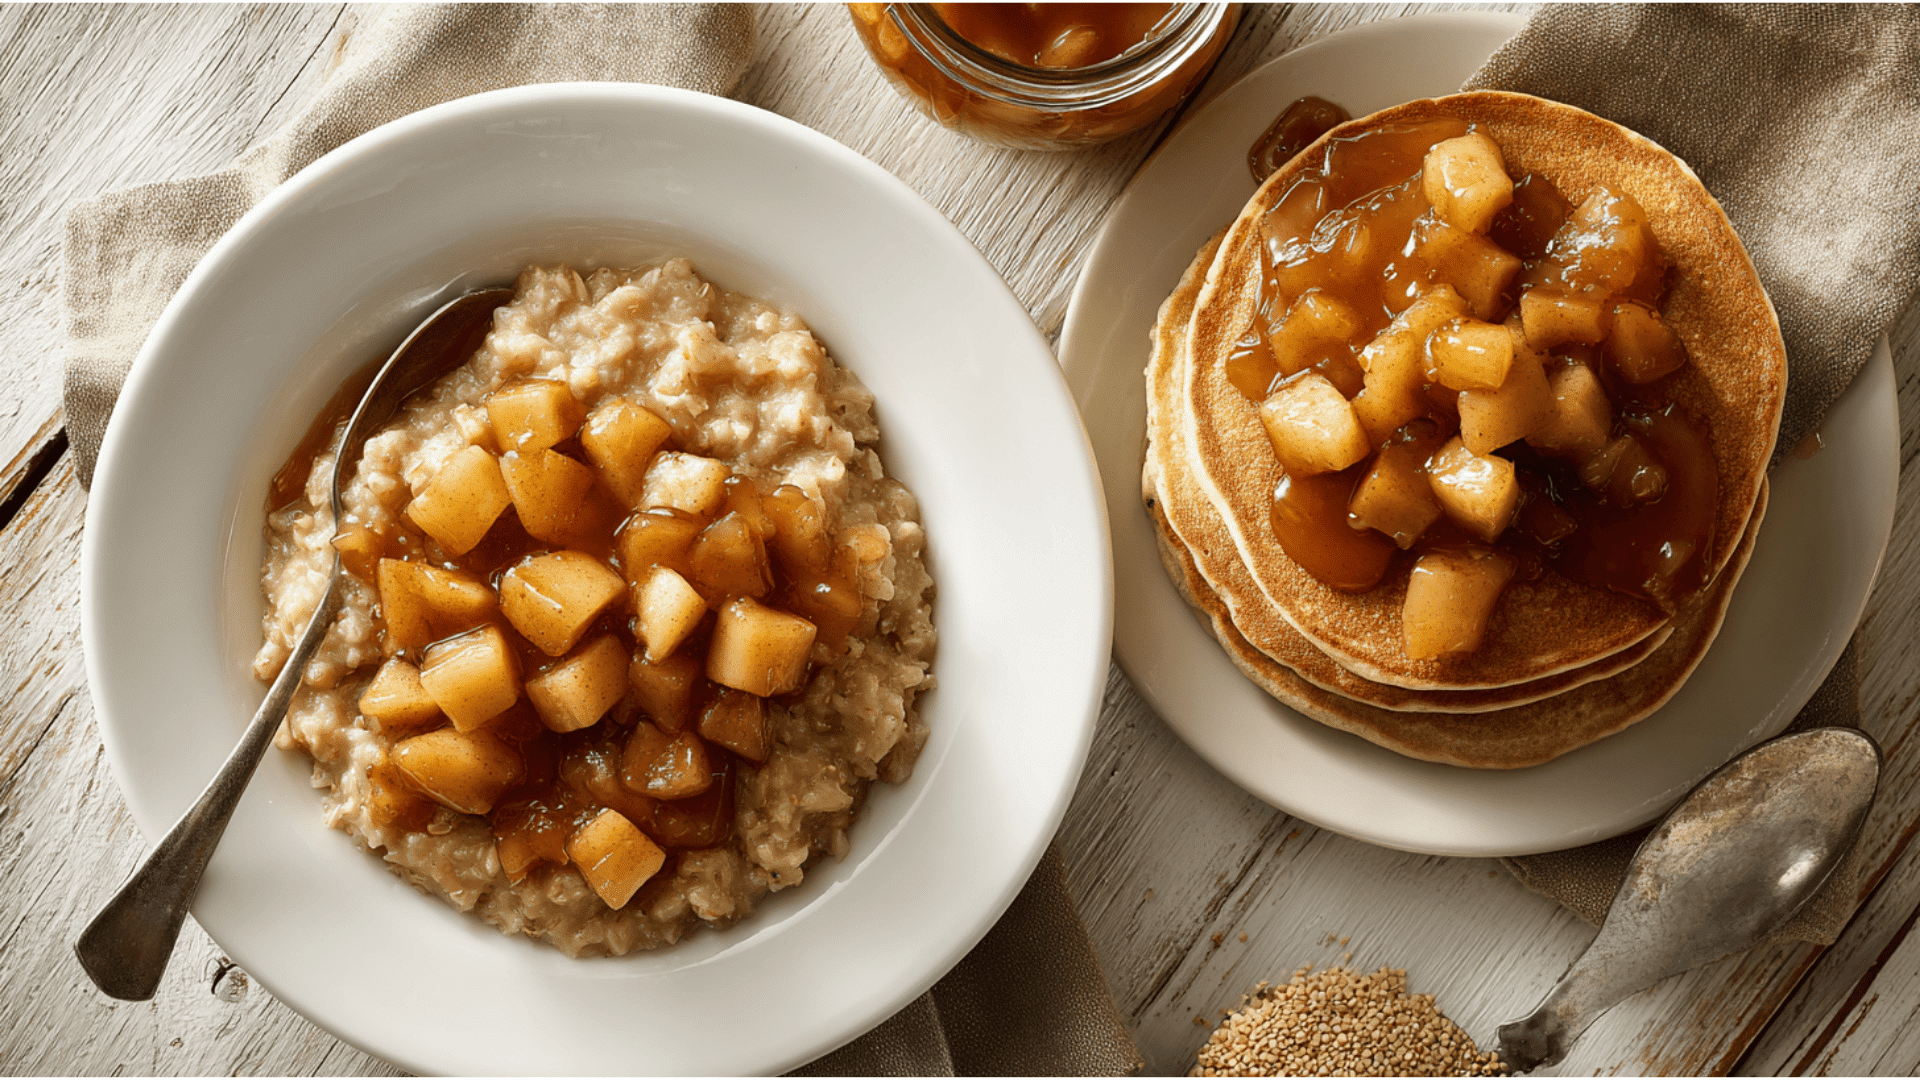
Start your morning with a spoonful of apple pie filling over warm oatmeal, fluffy pancakes, or creamy yogurt.
You can also stir it directly into waffle or pancake batter before cooking for a sweet, spiced twist. The warm apples and cinnamon turn an ordinary breakfast into something special, like dessert.
2. Dessert Toppings
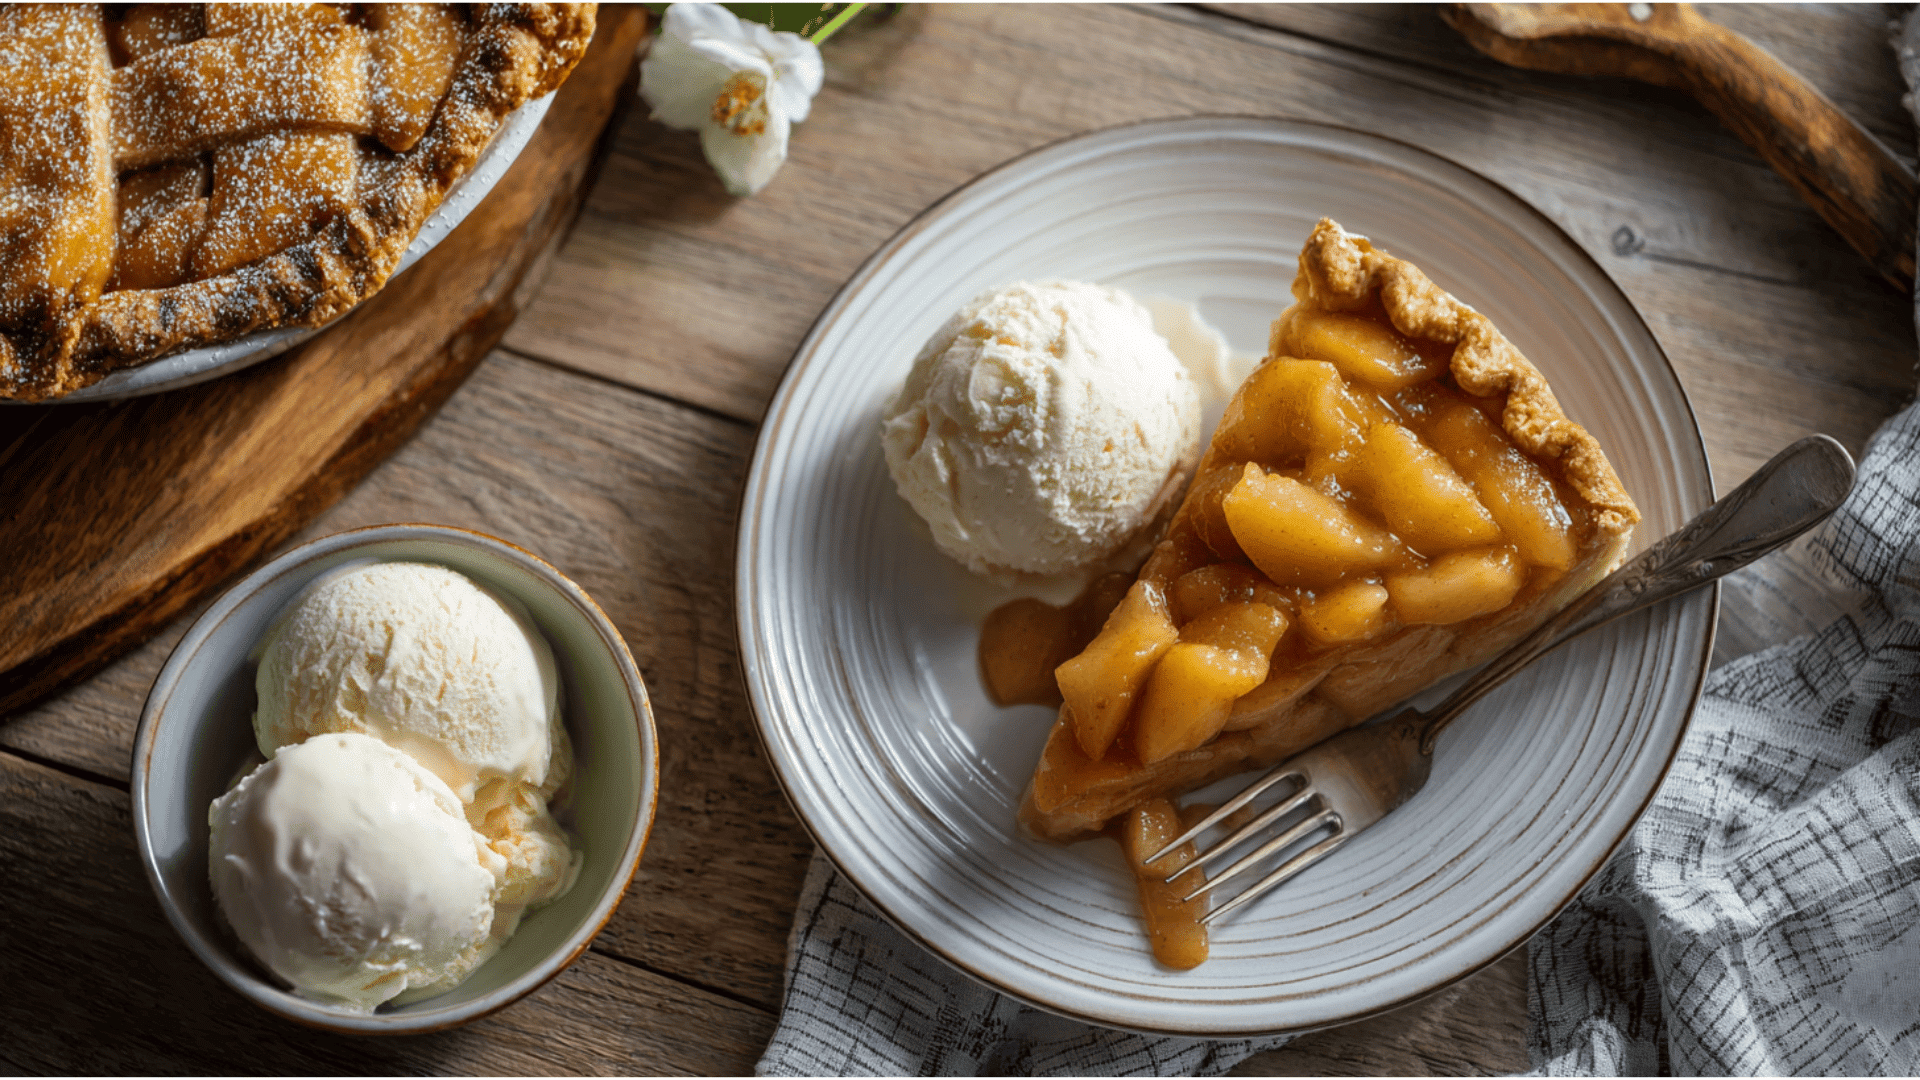
Use the filling as a warm topping for vanilla ice cream, chocolate pudding, or cheesecake. The combination of warm, spiced apples with cold, creamy desserts creates the perfect sweet contrast.
It’s an easy way to dress up simple treats and make them feel fancy without any extra work.
3. Mini Pastries
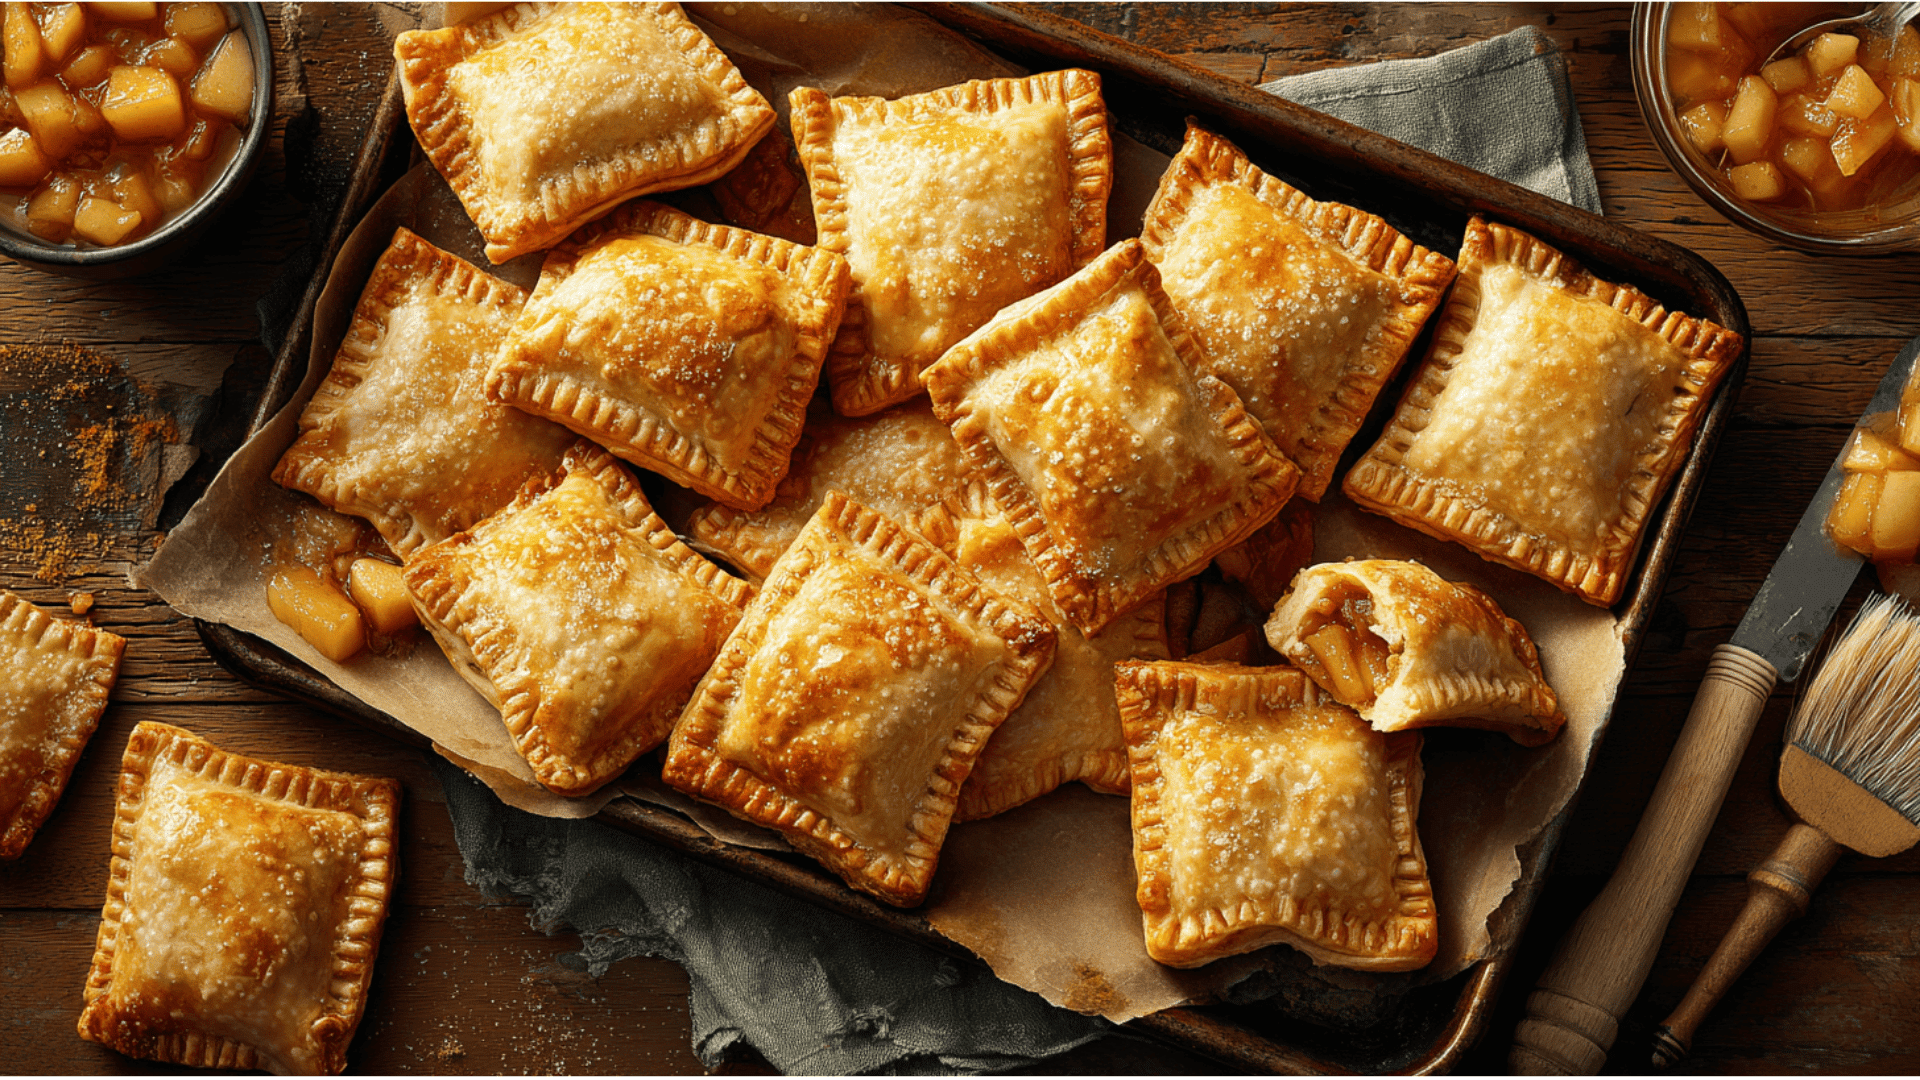
Make hand pies, turnovers, or mini tarts by wrapping the filling inside pastry dough and baking until golden brown.
These bite-sized treats are perfect for parties, lunchboxes, or afternoon snacks. You can also use the filling in dessert bars or as a center for cinnamon rolls for a bakery-style flavor.
4. No-Bake Creations
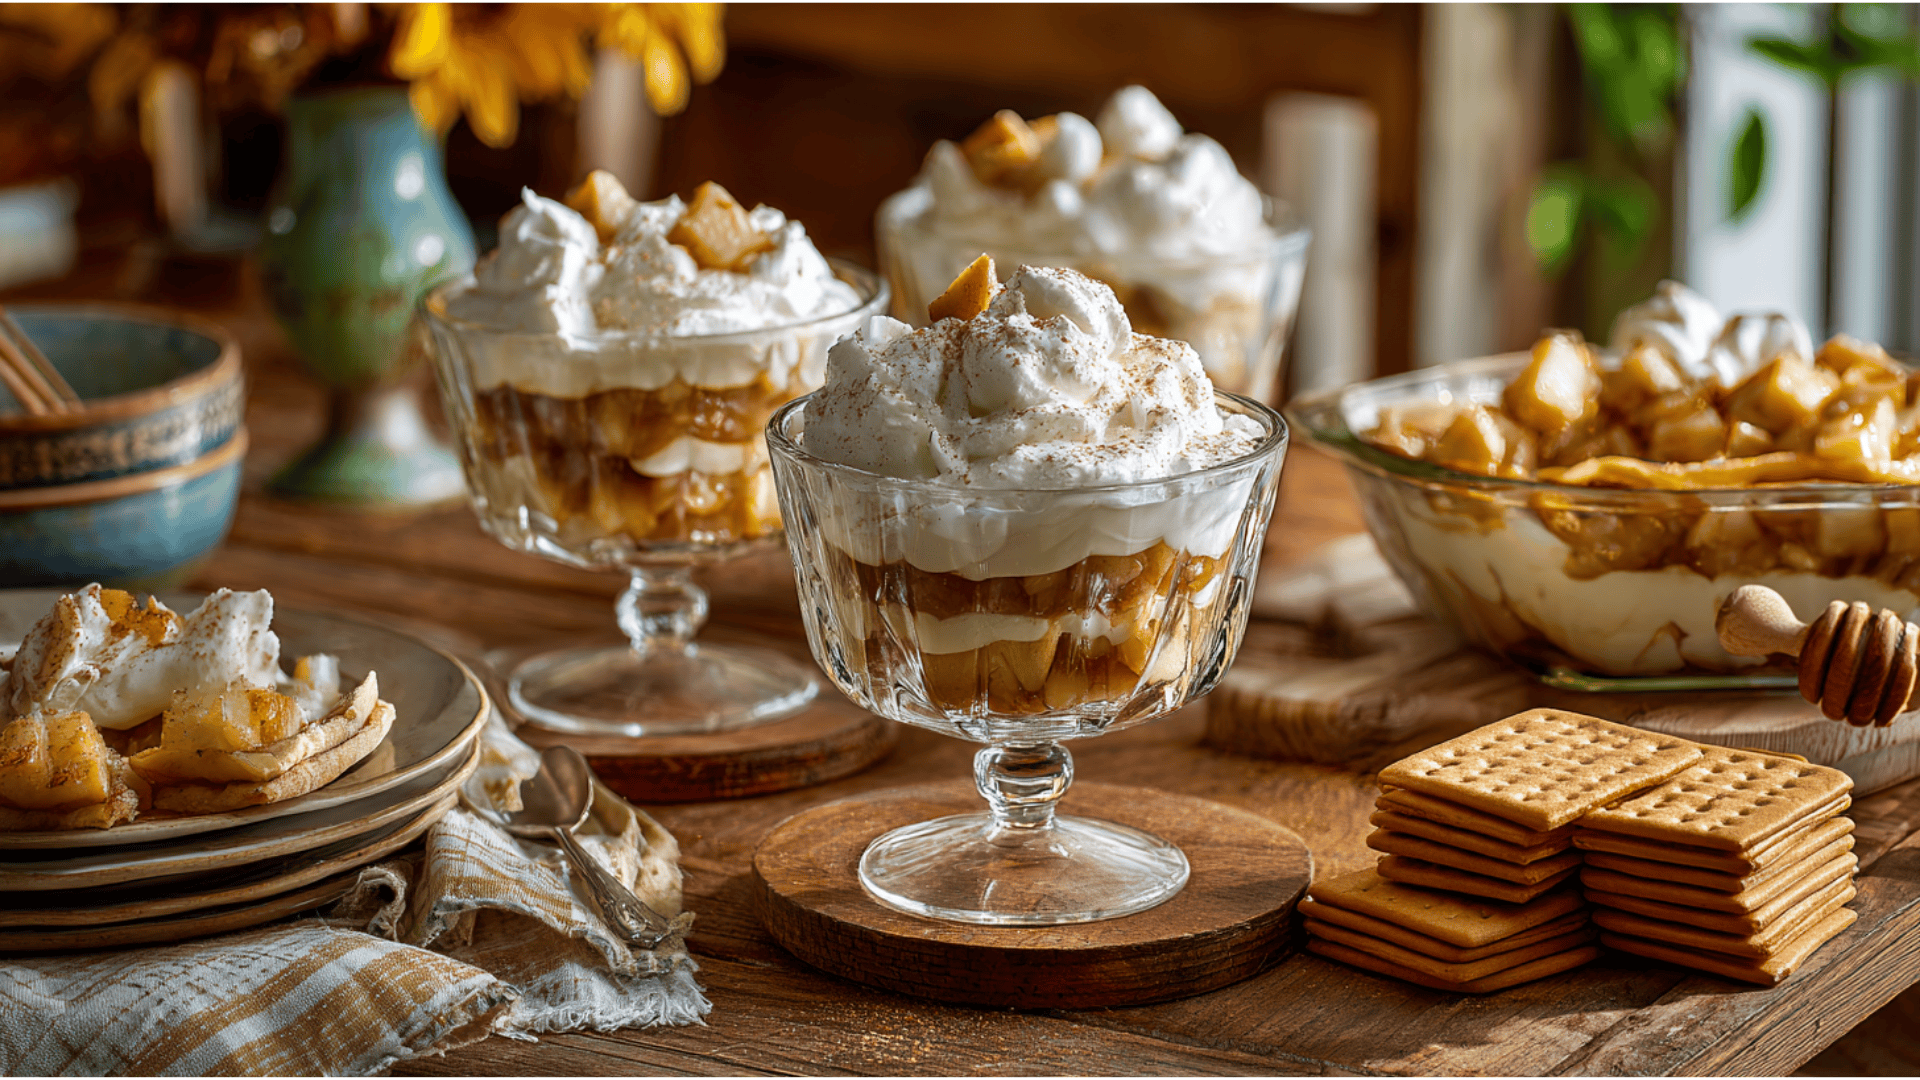
Layer leftover filling with cake pieces, whipped cream, or pudding to create a quick trifle in a glass. You can also use it as a filling for crepes or as a spread between layers of graham crackers.
These no-bake options are perfect when you want something delicious without turning on the oven.
Storage Tips – Keep That Sweetness Fresh
Once you’ve made your apple pie filling, storing it the right way will help keep it fresh, tasty, and ready to use anytime.
- Refrigerator Storage: Store in an airtight container or jar and use within 3–4 days (some bakers keep it up to 1 week if very cold and airtight).
- Freezer Storage: Freeze in a freezer-safe bag or container for 2–3 months for best quality (it may be fine longer, but texture can soften). (Girl Versus Dough)
- Thawing: Thaw in the refrigerator overnight to keep its texture.
- Reheating for Pies: Warm gently on the stove or microwave until soft, then add to your crust and bake.
- Reheating for Toppings: Heat lightly in a pan or microwave until warm.
Note: This is a refrigerator/freezer filling, not a tested shelf-stable canned pie filling recipe.
Final Thoughts
If you stick with a classic version or try a creative twist, apple pie filling remains a wonderful way to celebrate fall, apples, and baking. It’s simple, comforting, and works for so many dishes.
Enjoy the process of making it from scratch: peel the apples, inhale the cinnamon aroma, and let the mixture simmer until it’s perfect. Then use it in pies, dessert bars, breakfast dishes, or even enjoy a spoonful straight from the jar.
Try this recipe, share your creation on social media, and show your unique flavor idea. Baking becomes even more joyful when it’s shared.
Happy baking, and may your apple pie filling be the perfect mix of sweet, tart, spiced, and delicious.