Red velvet cupcakes aren’t just about looks. Bite into a slice, and you’ll discover something truly special.
It’s not quite chocolate, and it’s not quite vanilla; it’s somewhere wonderfully in between. And the texture is so incredibly soft that it practically melts in your mouth!
Cupcakes are perfect because everyone gets their own personal treat. No cutting, no sharing, no waiting for someone to serve you a slice.
Plus, they’re way easier to make than a layered cake, which means less stress and more fun in the kitchen.
The Heart of A Perfect Red Velvet Cupcake
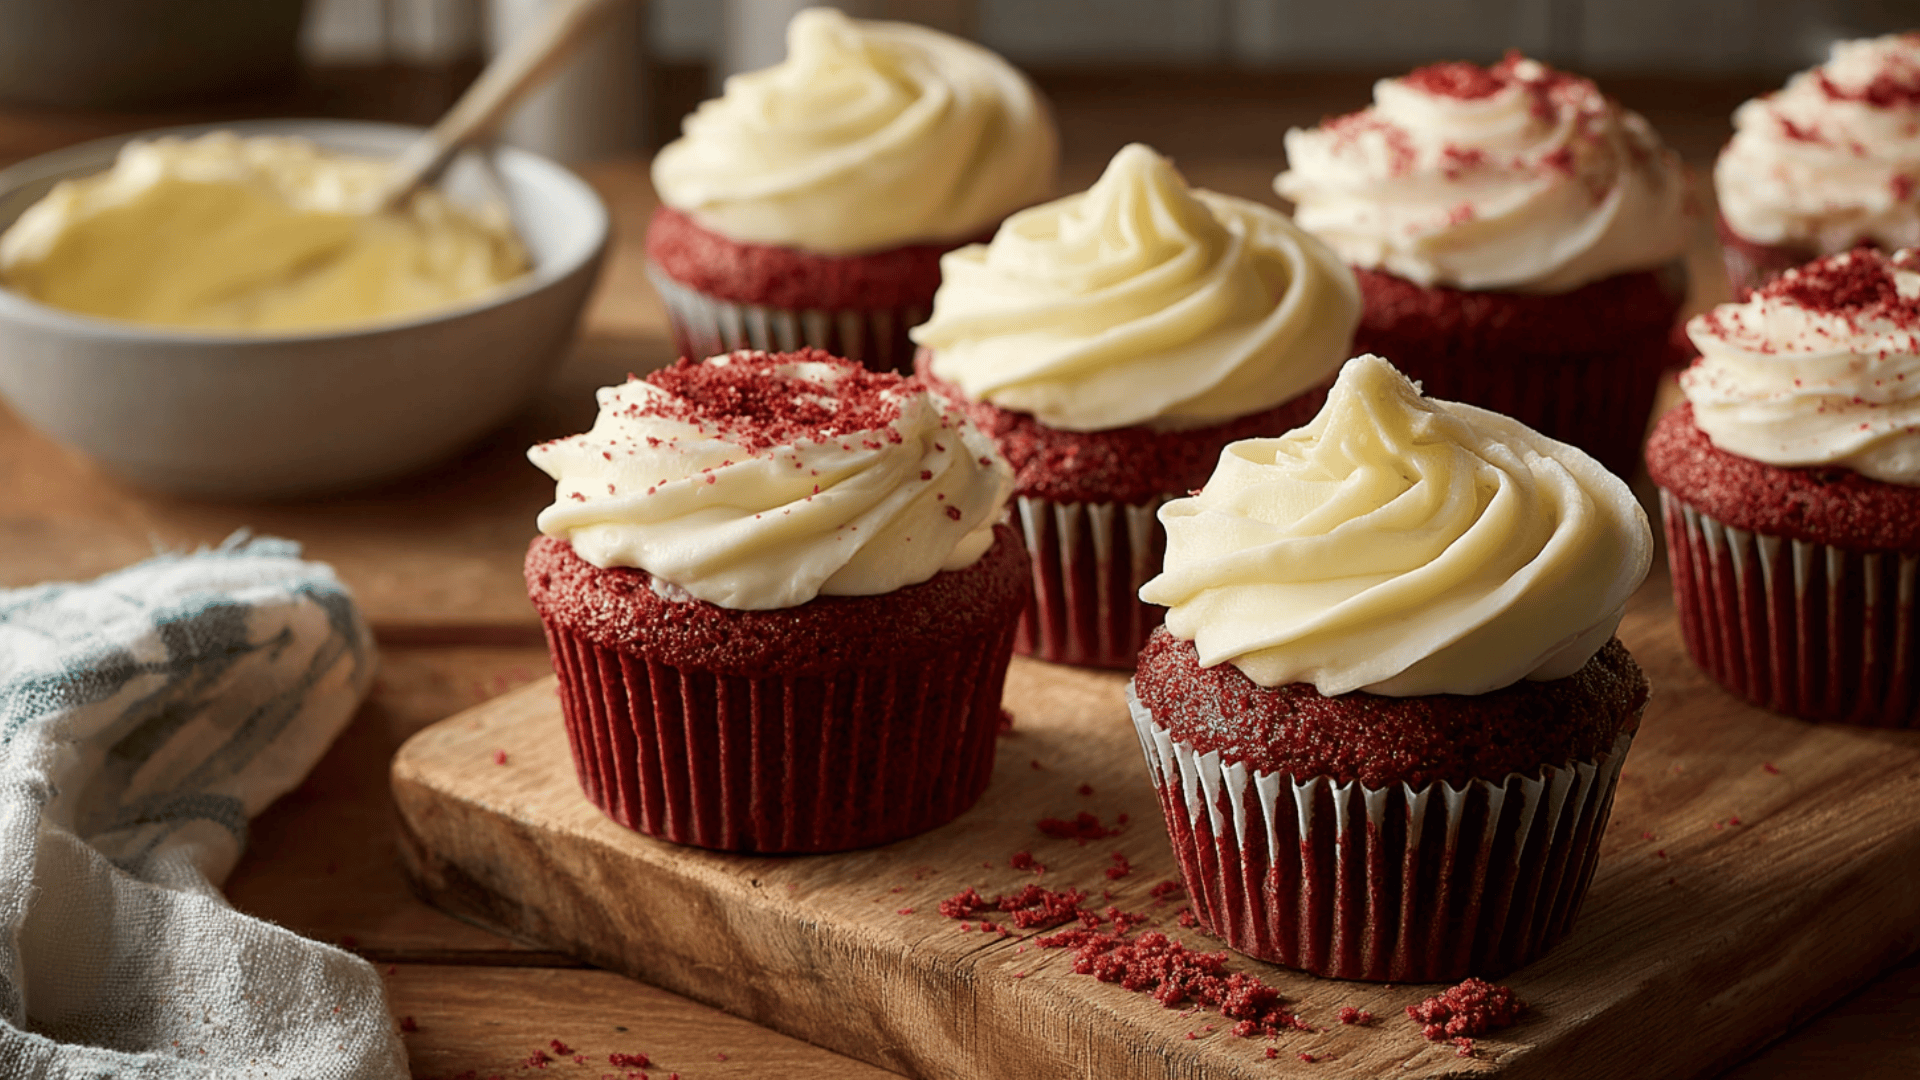
A great red velvet cupcake has a soft, cloud-like texture with a crumb so tender it melts on your tongue.
The flavor is wonderfully unique, with a gentle hint of cocoa mixed with a slight buttermilk tang that makes each bite interesting.
The real magic happens with cream cheese frosting: its tangy richness cuts through the sweetness, adding a cool, creamy contrast that red velvet was born to meet.
The best red velvet cupcakes balance sweetness, cocoa, and tang so perfectly that you can’t pick out any single flavor; it is just pure deliciousness.
Ingredients You’ll NeedBase
Cream Cheese Frosting
Optional Flavor & Texture Boosters (choose any)
Toppings & Finishers (mix & Match)
|
Recipe Notes
| INFORMATION | DETAILS |
|---|---|
| Prep Time | 25–30 minutes |
| Cook Time | 18–22 minutes |
| Cooling Time | 30–40 minutes |
| Total Time | 75–90 minutes |
| Method | Mixing + Baking + Frosting |
| Yield | 12 standard cupcakes |
| Cuisine | American, Dessert, Classic Cupcake |
Steps to Make Red Velvet Cupcakes
Making red velvet cupcakes is simple when you follow each step with care. These cupcakes are soft, moist, and full of rich cocoa flavor with a subtle tang, all brought together by their signature deep red color and creamy frosting.
Step 1: Prepare Your Kitchen and Preheat the Oven
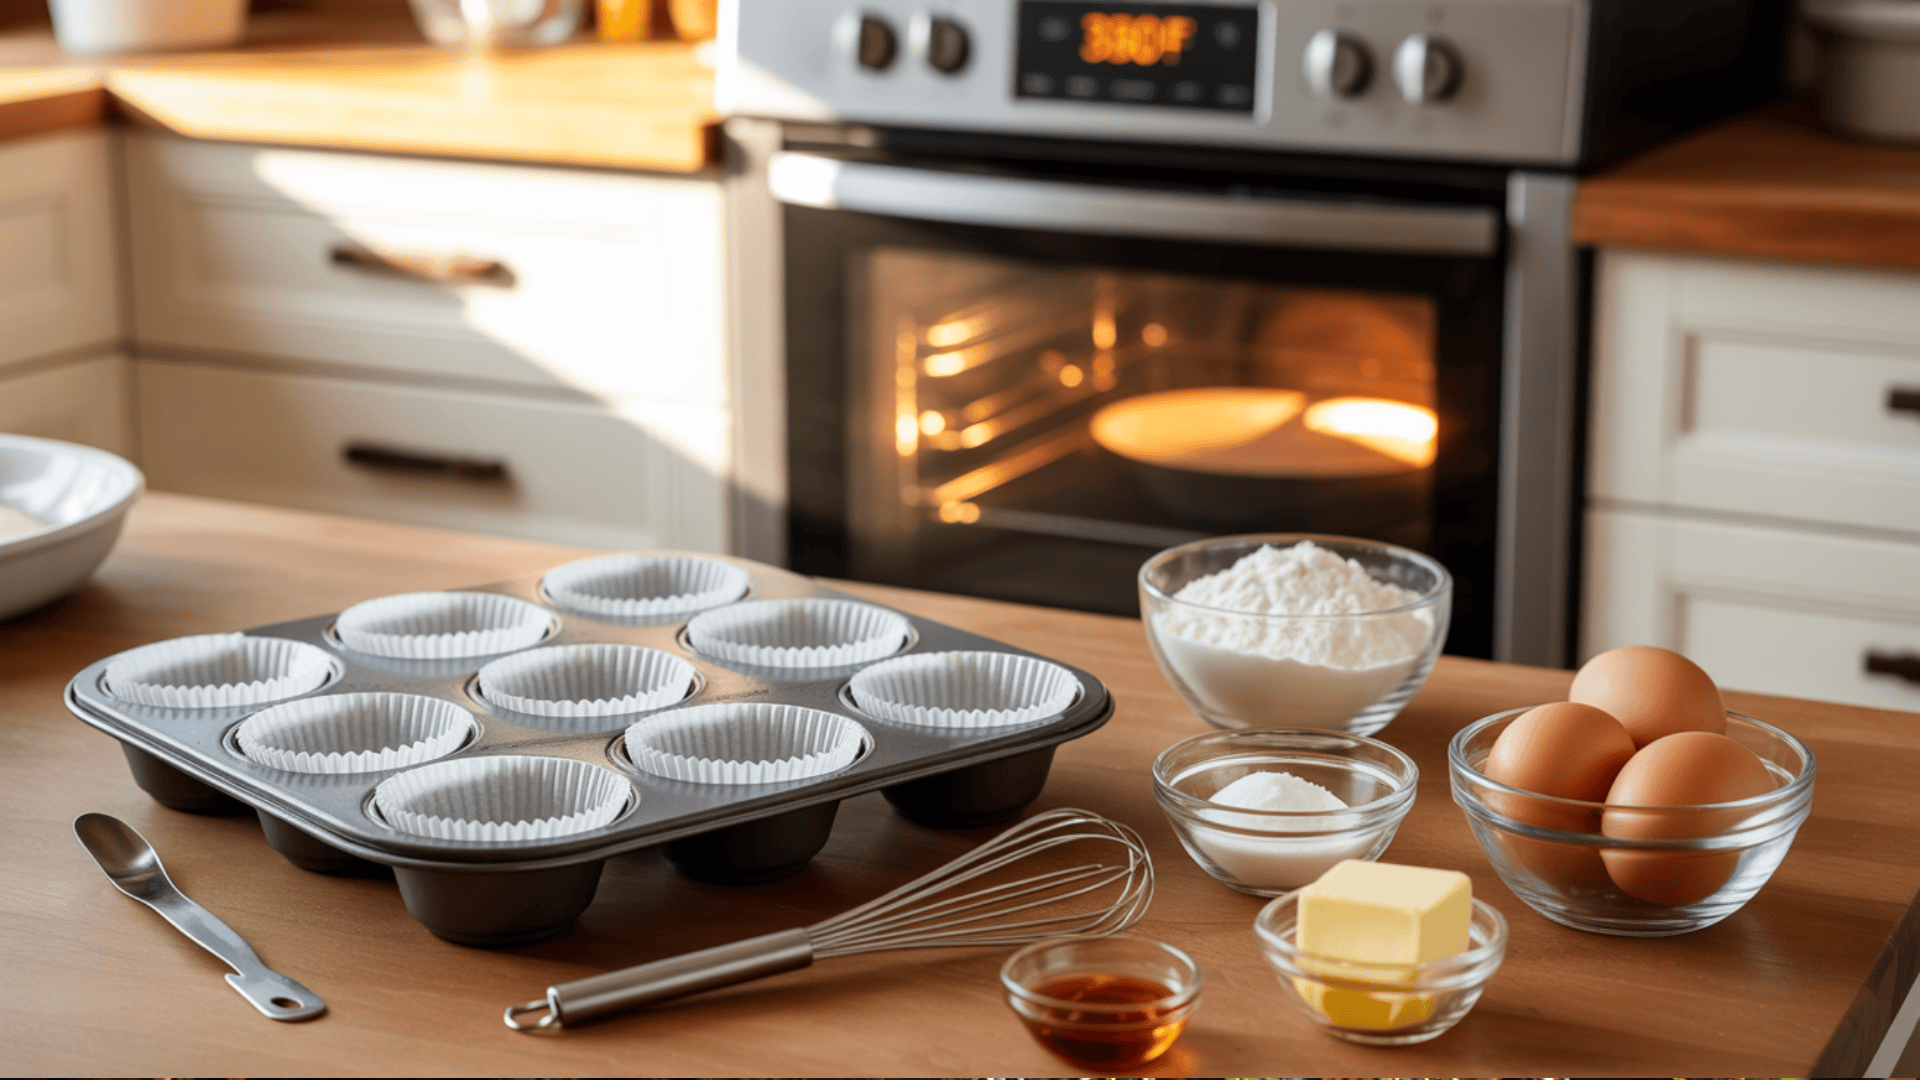
Start by setting your oven to 350°F (175°C) so it has plenty of time to reach the perfect temperature while you prepare your batter.
Line a 12-cup muffin tin with paper cupcake liners, making sure they sit flat in each cup without any wrinkles. Get all your ingredients out and measure them ahead of time. This makes the baking process much smoother and helps prevent mistakes.
Pro tip: Having everything ready before you start mixing is like having all your tools laid out before building something amazing.
Step 2: Mix the Dry Ingredients Together
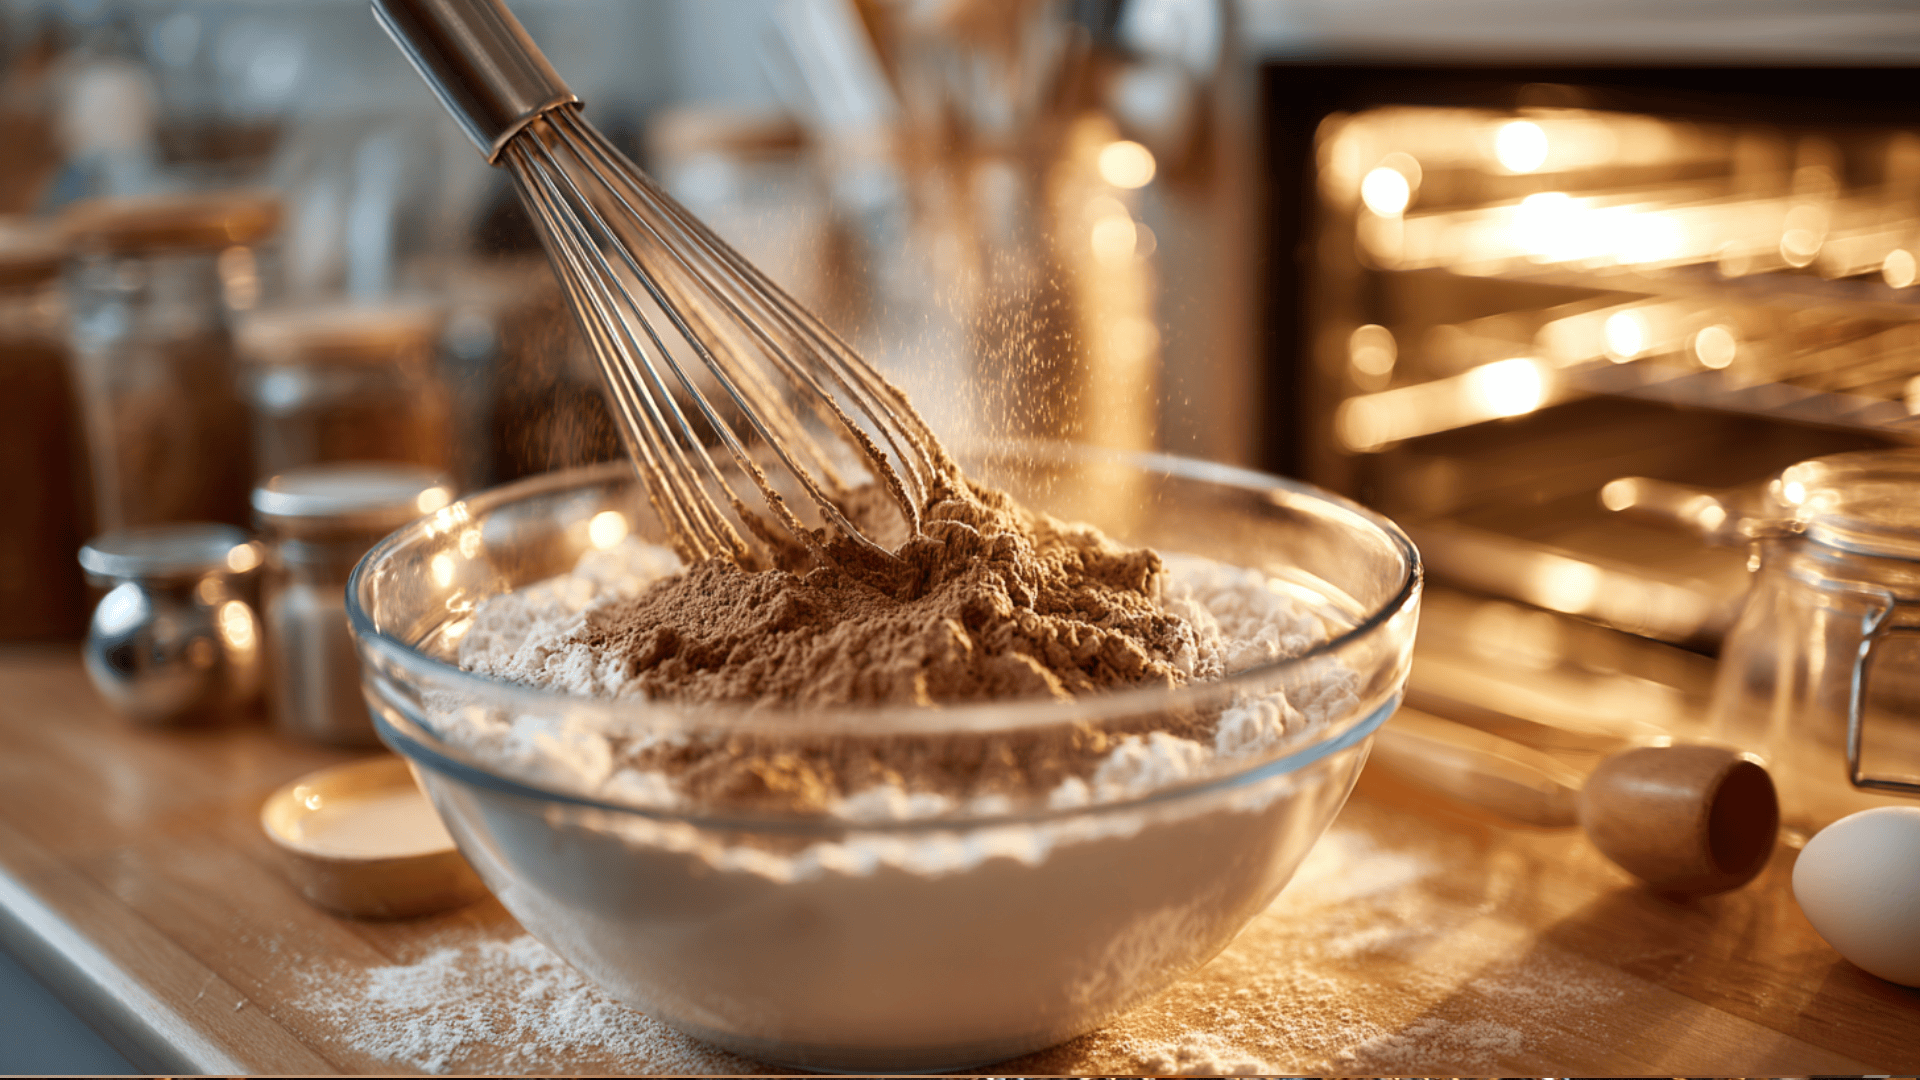
In a medium-sized bowl, whisk together the all-purpose flour, cocoa powder, baking soda, and salt until they’re completely combined.
Make sure to break up any lumps in the cocoa powder by pressing them against the side of the bowl with your whisk. This step might seem simple, but it’s really important because it ensures the cocoa and leavening agents are evenly distributed throughout your cupcakes.
Pro tip: Set this bowl aside for now; you’ll need it in just a few minutes.
Step 3: Cream the Butter and Sugar
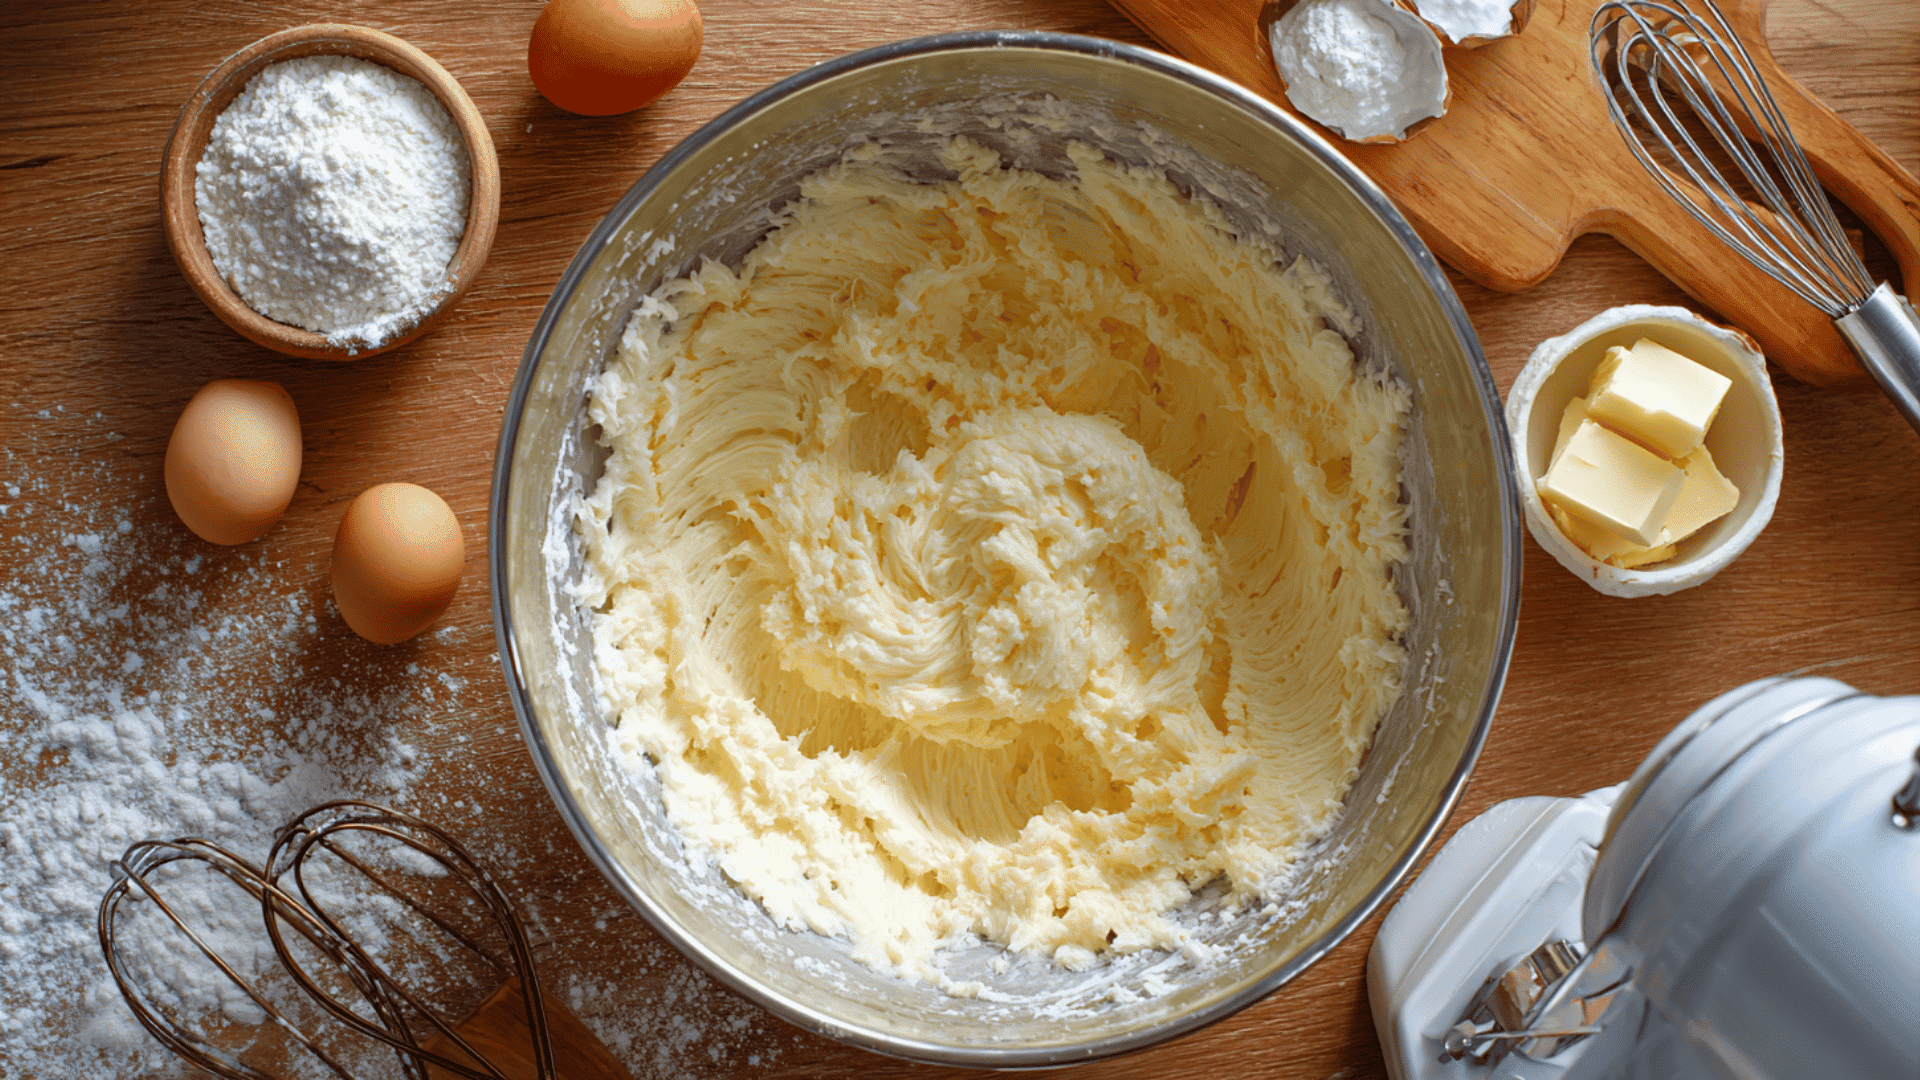
In a large mixing bowl, beat the softened butter and sugar together on medium speed for about 3 to 4 minutes.
You’ll know it’s ready when the mixture becomes light, fluffy, and pale, almost like whipped frosting. This process is called “creaming,” and it’s what creates those tiny air pockets that make your cupcakes soft and tender.
Pro tip: Don’t rush this step; giving the butter and sugar enough time to fully combine is one of the secrets to bakery-quality cupcakes.
Step 4: Add the Eggs and Flavorings
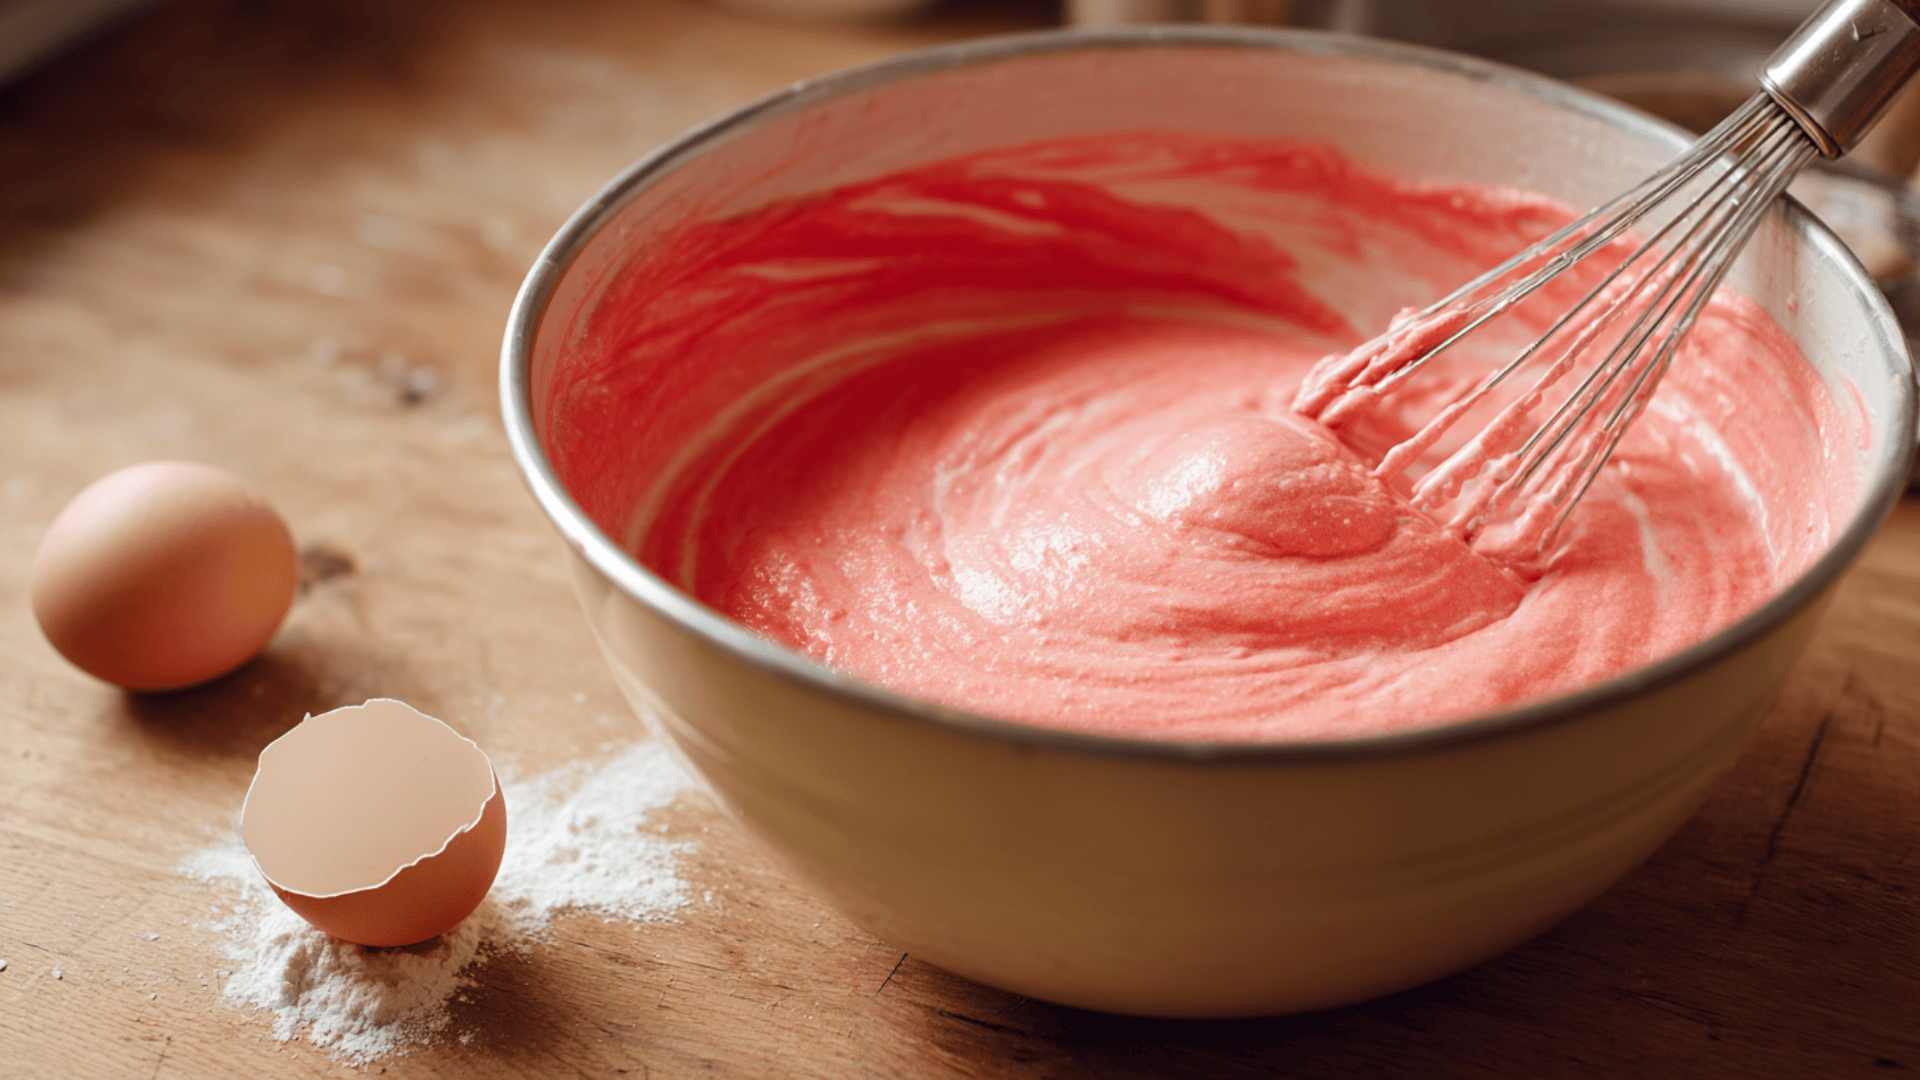
Crack one egg at a time, beating well after each addition until it’s fully mixed into the batter.
Pour in the vanilla extract and red food coloring, then mix until the batter turns a beautiful, vibrant red color. The food coloring might seem like a lot, but that’s what gives red velvet its signature look!
Pro tip: Scrape down the sides of the bowl with a spatula to ensure everything is evenly incorporated.
Step 5: Alternate Adding Wet and Dry Ingredients
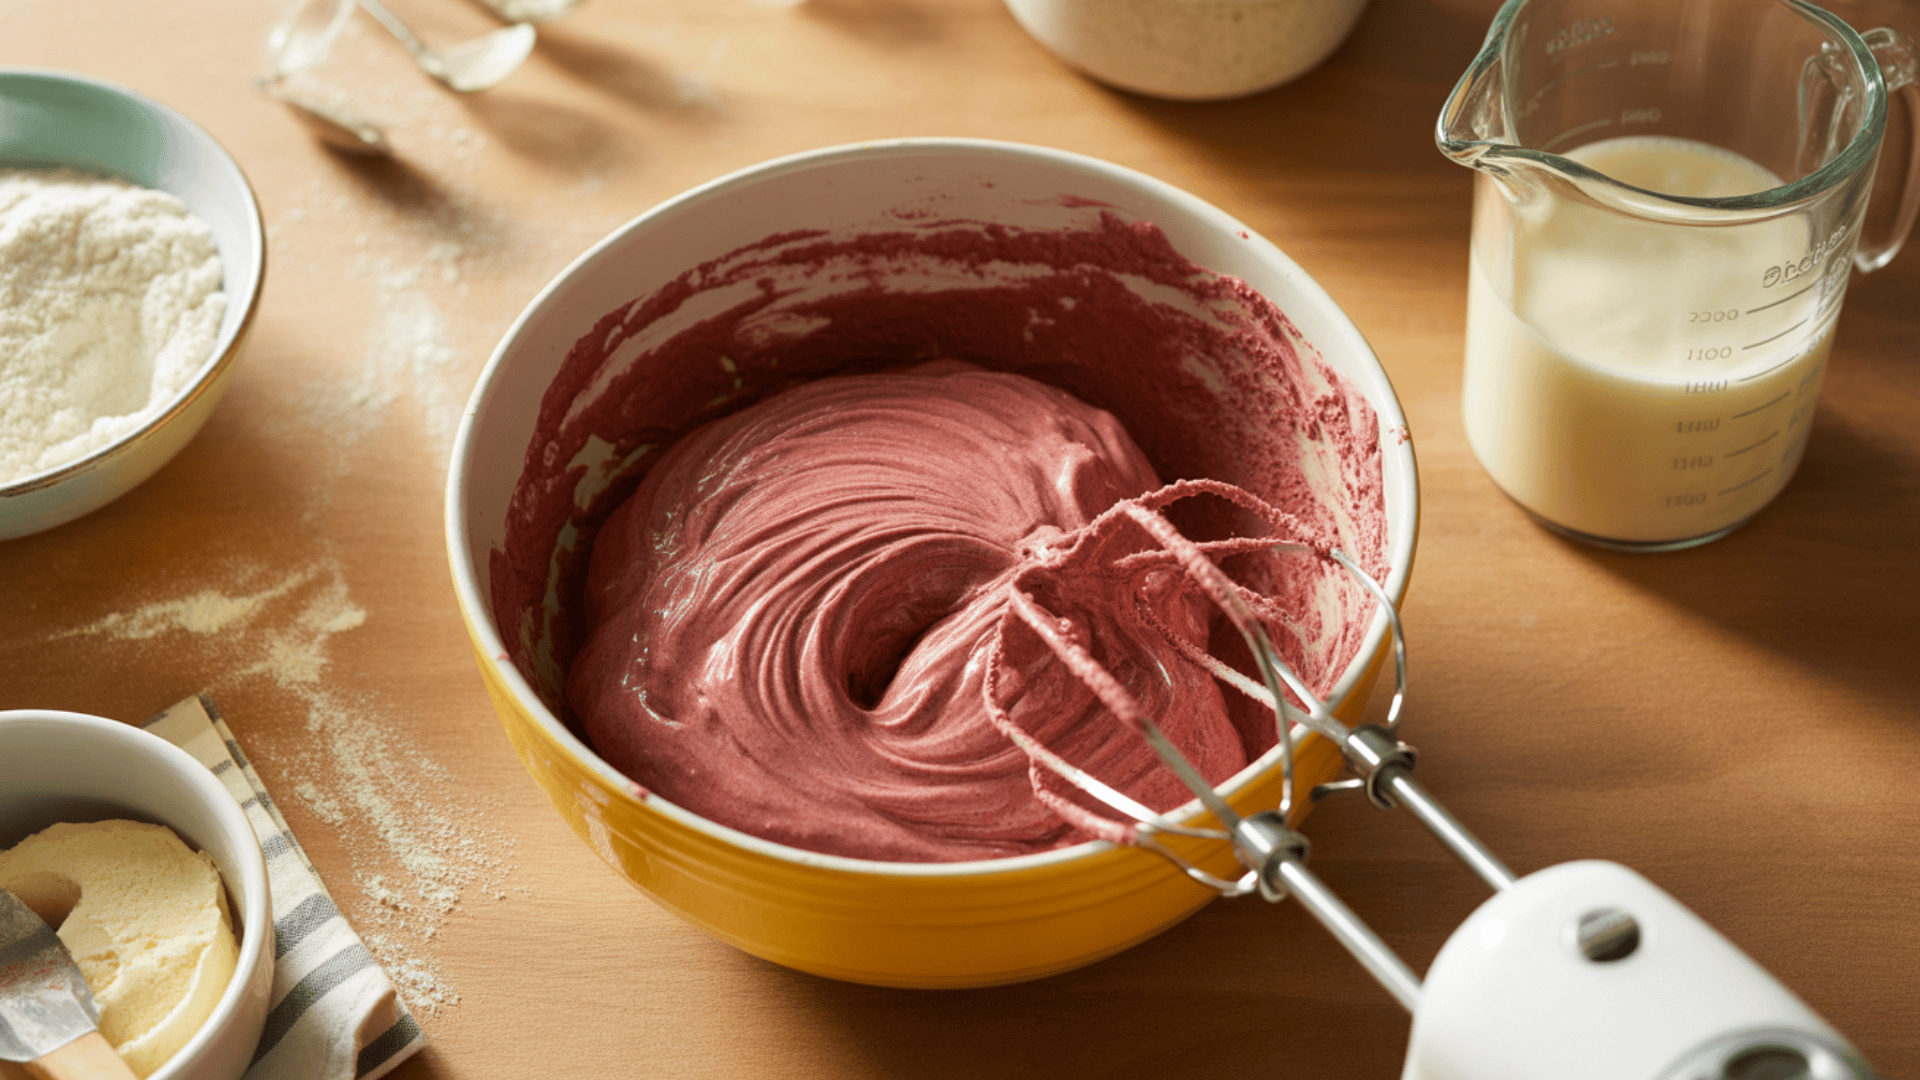
Now comes the important part: add about one-third of your dry flour mixture to the butter mixture and mix on low speed just until combined.
Then pour in half of the buttermilk and mix again until smooth. Repeat this process, dry ingredients, then buttermilk, then dry ingredients again, until everything is mixed together.
Pro tip: This alternating method prevents the batter from toughening and keeps your cupcakes light and tender rather than dense.
Step 6: Add the Vinegar for That Special Tang
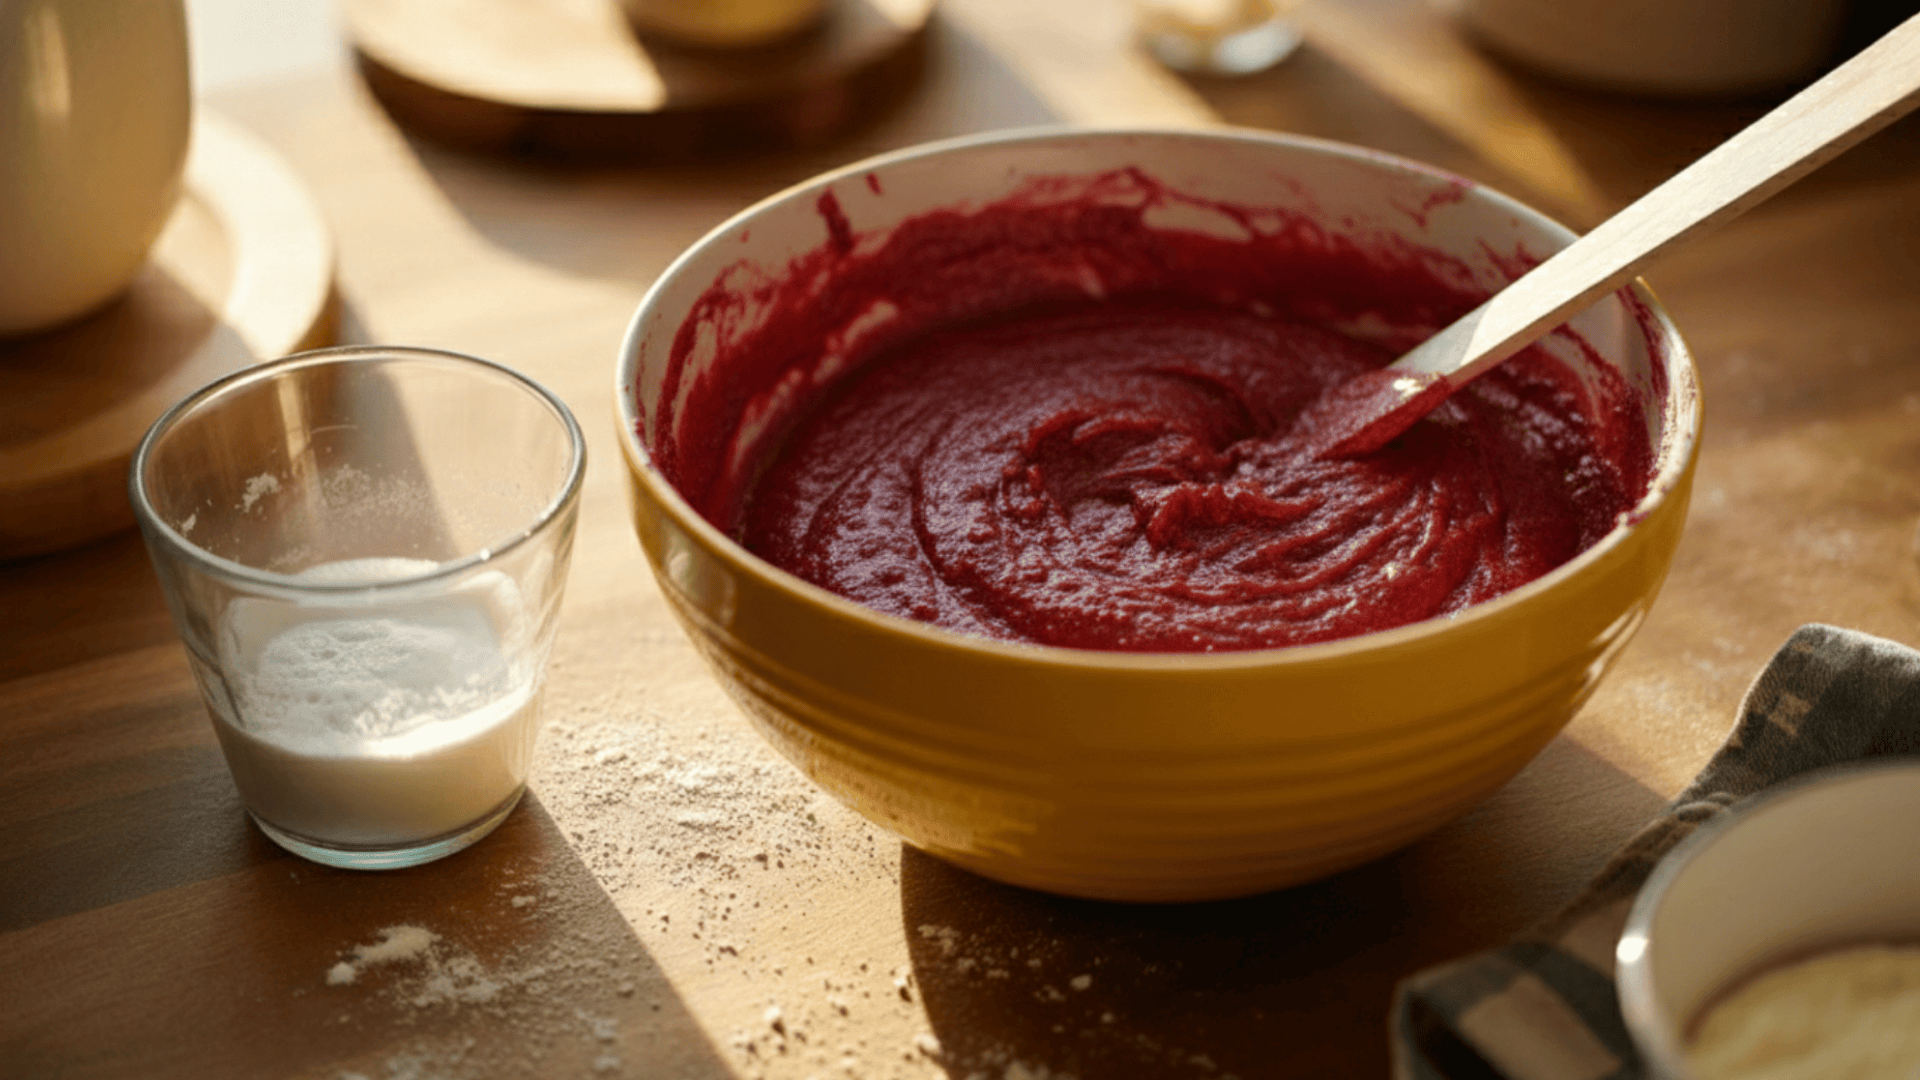
In a small cup, mix together the white vinegar and baking soda. It will fizz up right away, and that’s precisely what you want!
Fold this mixture into your batter with a spatula, working gently but thoroughly. This chemical reaction is part of the magic that gives red velvet its unique texture and slight tang.
Pro tip: The batter should look smooth, thick, and gorgeously red.
Step 7: Fill the Cupcake Liners
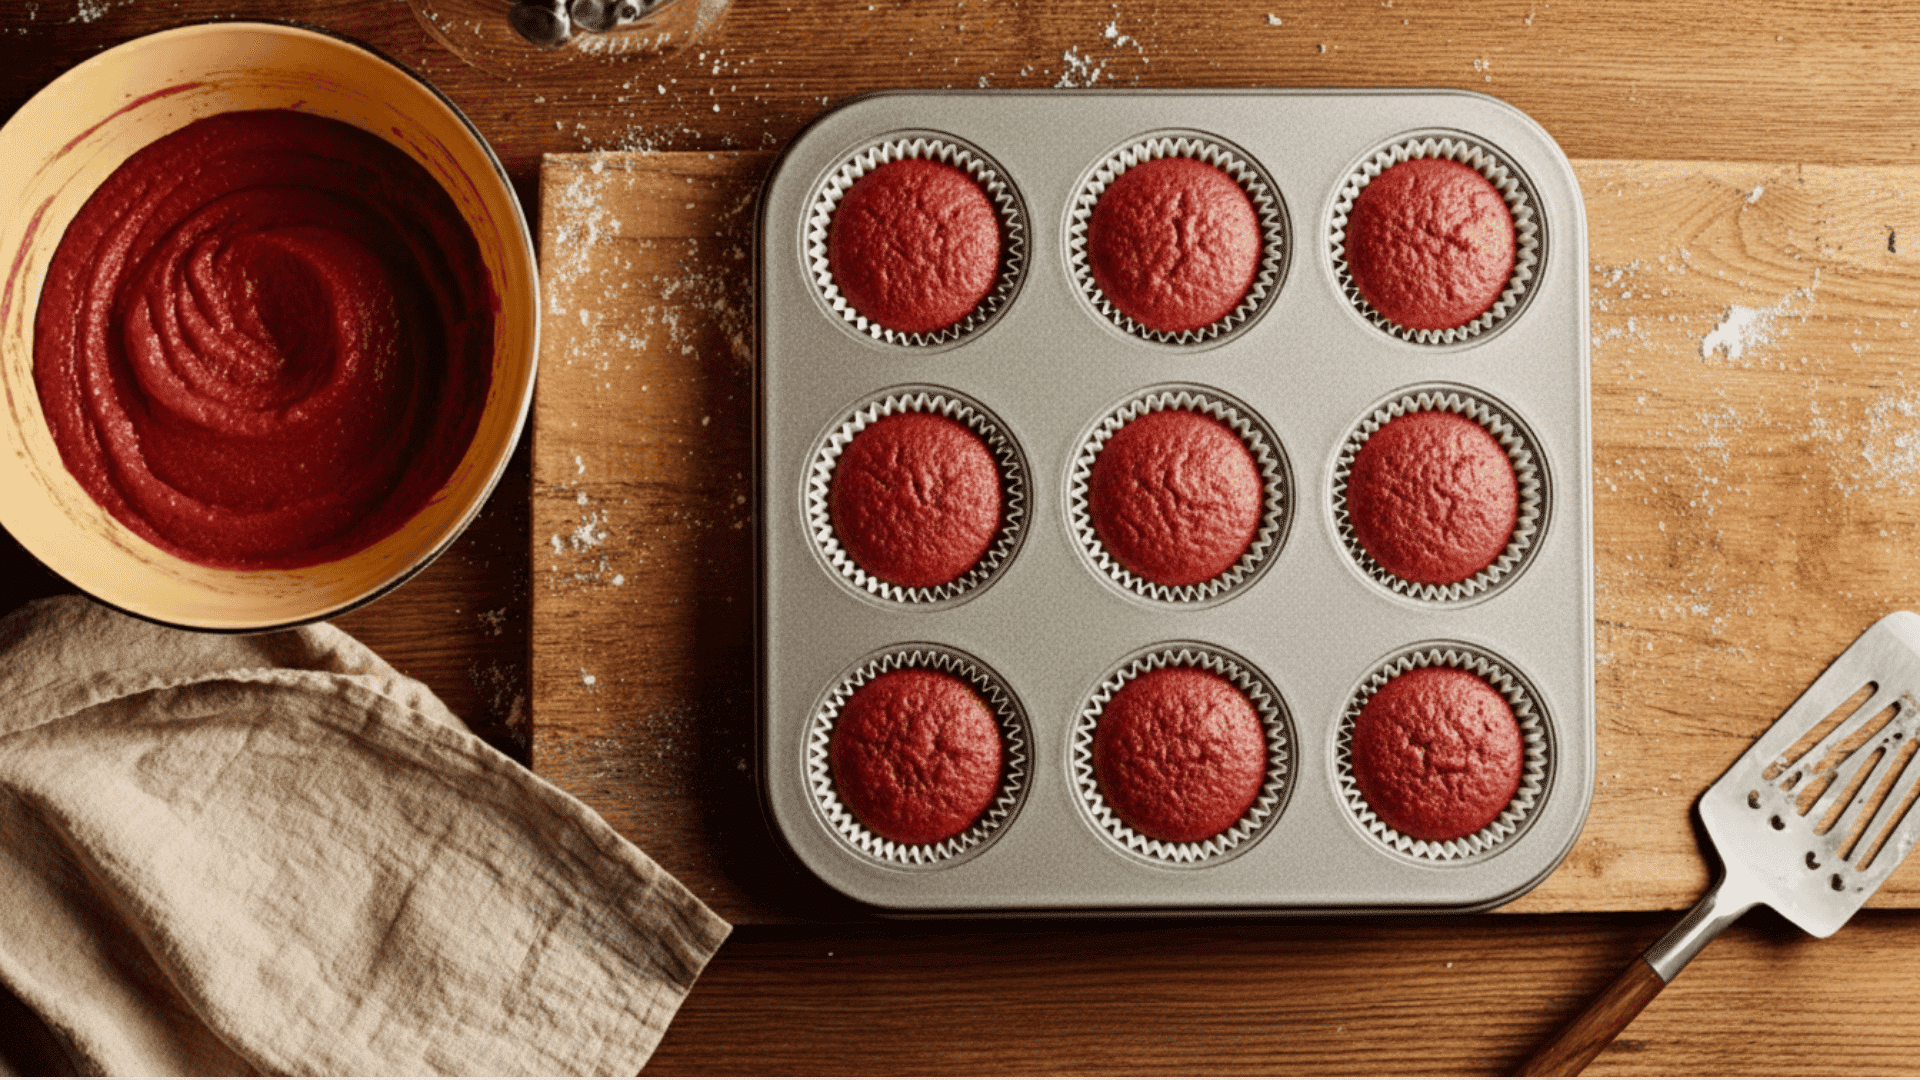
Using a spoon, ice cream scoop, or liquid measuring cup, carefully fill each cupcake liner about two-thirds full with batter.
Try to make them as even as possible so all your cupcakes bake at the same rate and come out the same size. Don’t overfill them, or the batter will spill over the edges as it rises, creating a messy top.
Pro tip: You should have just enough batter to make 12 perfectly portioned cupcakes.
Step 8: Bake Until Perfectly Done
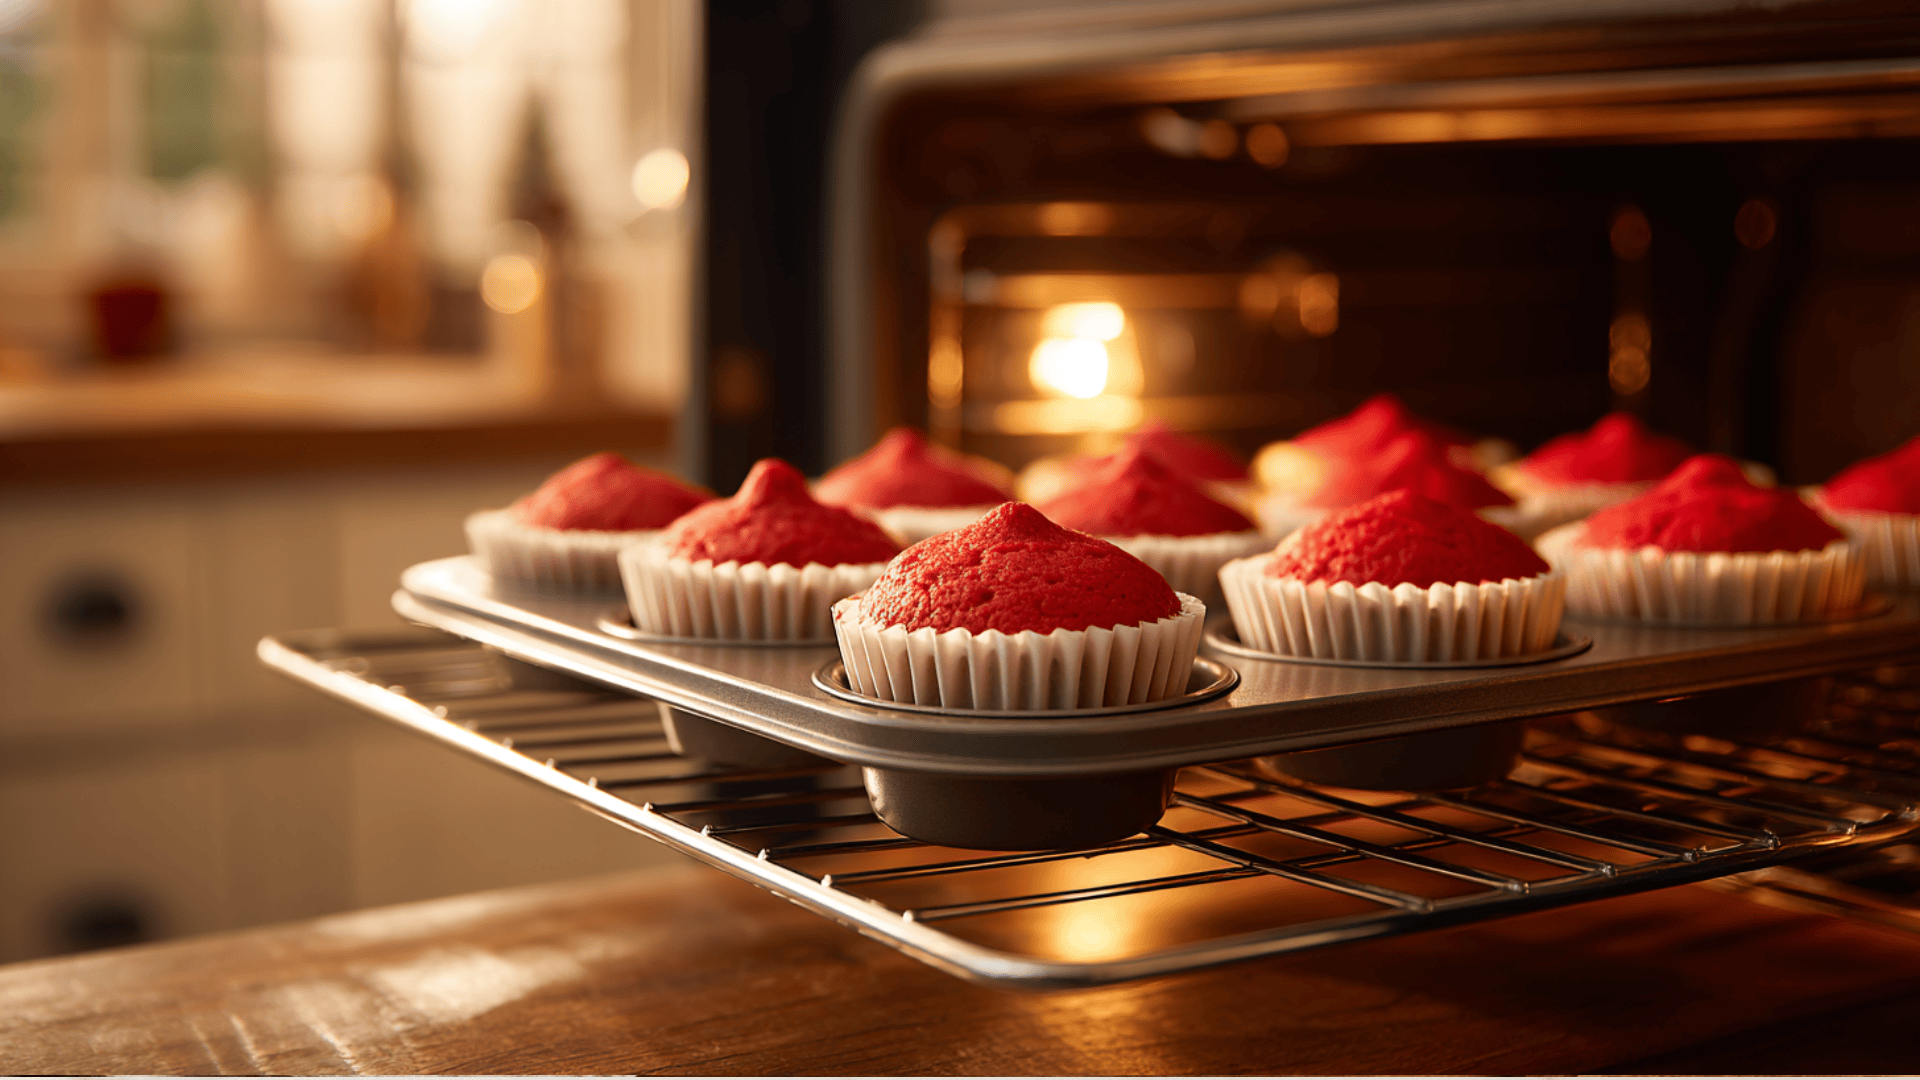
Place the muffin tin in your preheated oven and bake for 18 to 22 minutes, checking them at the 18-minute mark.
The cupcakes are ready when a toothpick inserted into the center comes out clean or with just a few moist crumbs, not wet batter. The tops should spring back lightly when you touch them, and they’ll have a beautiful, rounded dome.
Pro tip: Let them cool in the pan for about 5 minutes, then transfer them to a wire rack to cool completely.
Step 9: Make the Cream Cheese Frosting
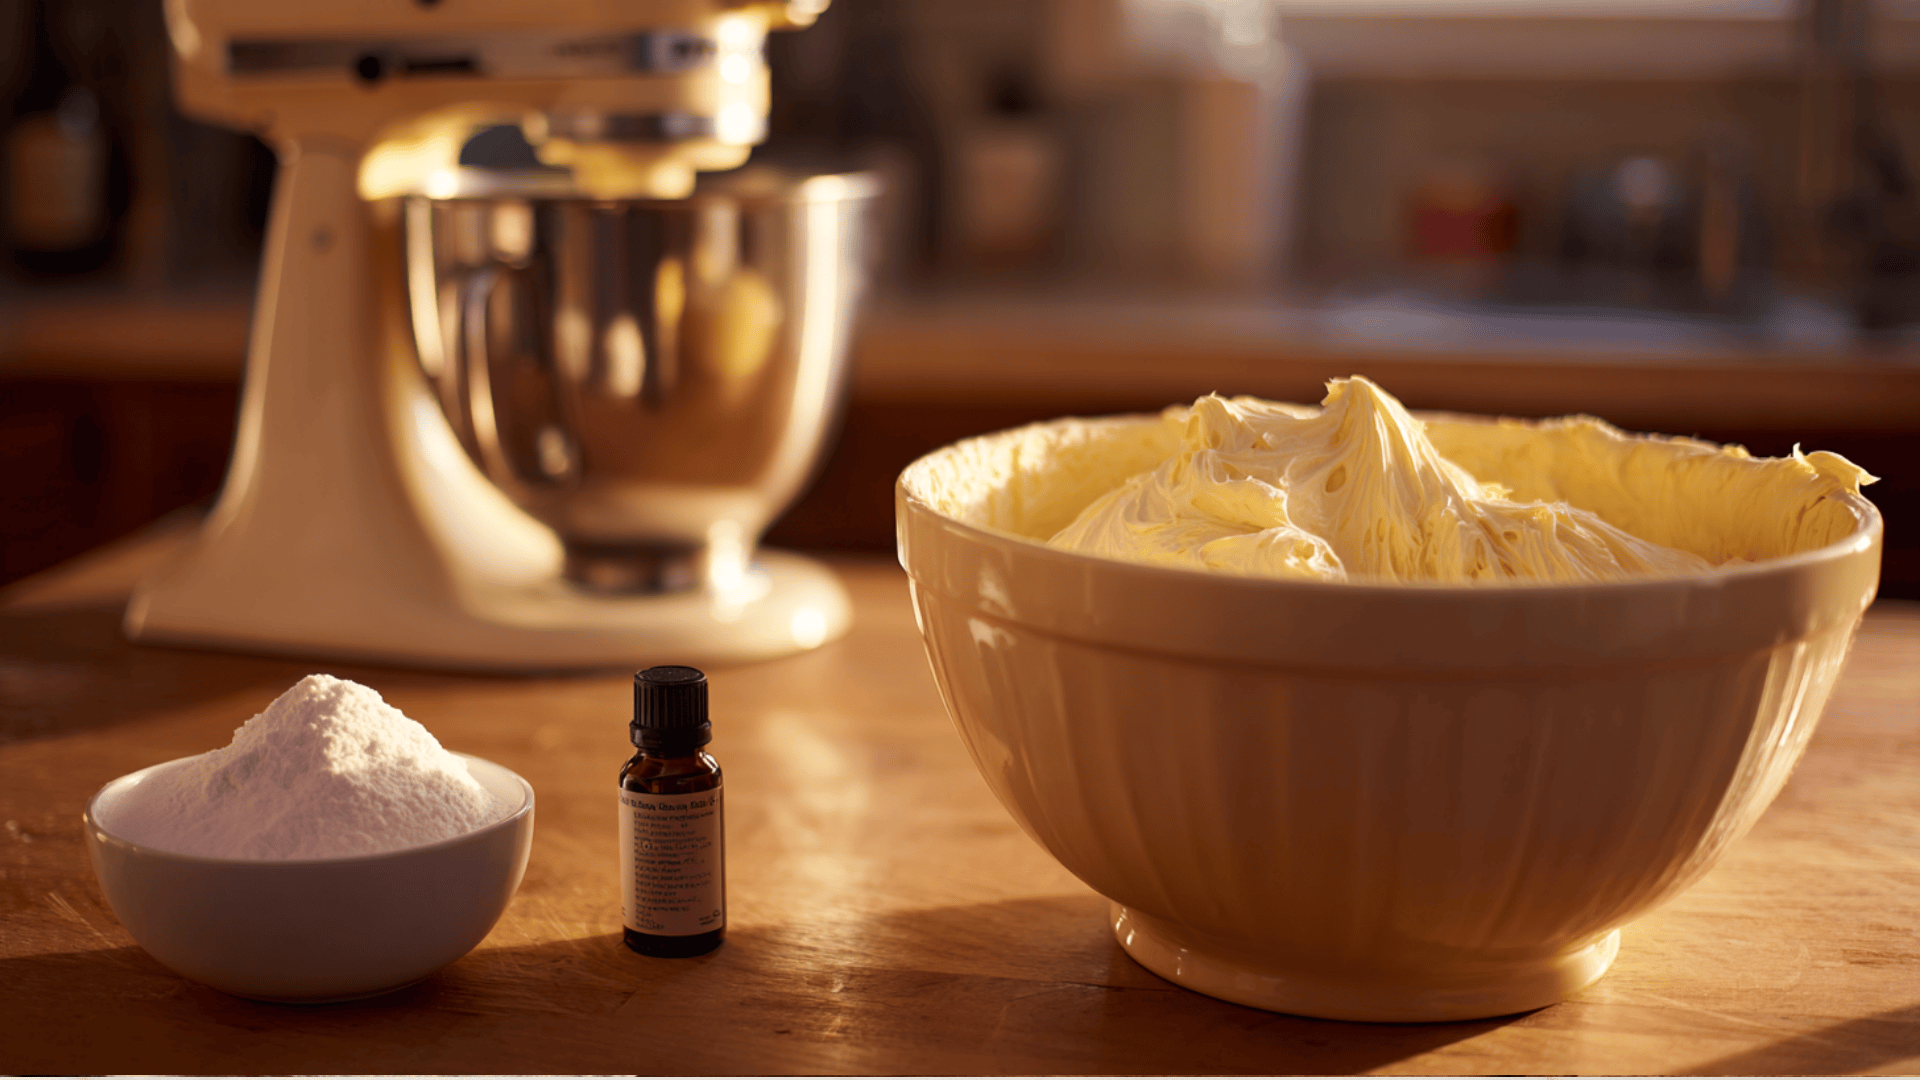
While your cupcakes are cooling, beat the softened cream cheese and butter together in a large bowl until smooth and lump-free.
Gradually add the powdered sugar one cup at a time, beating well after each addition until the frosting becomes light and fluffy.
Pro tip: Mix in the vanilla extract and a pinch of salt to balance the sweetness. The frosting should be thick enough to hold its shape but still spreadable and silky smooth.
Step 10: Frost and Decorate Your Cupcakes
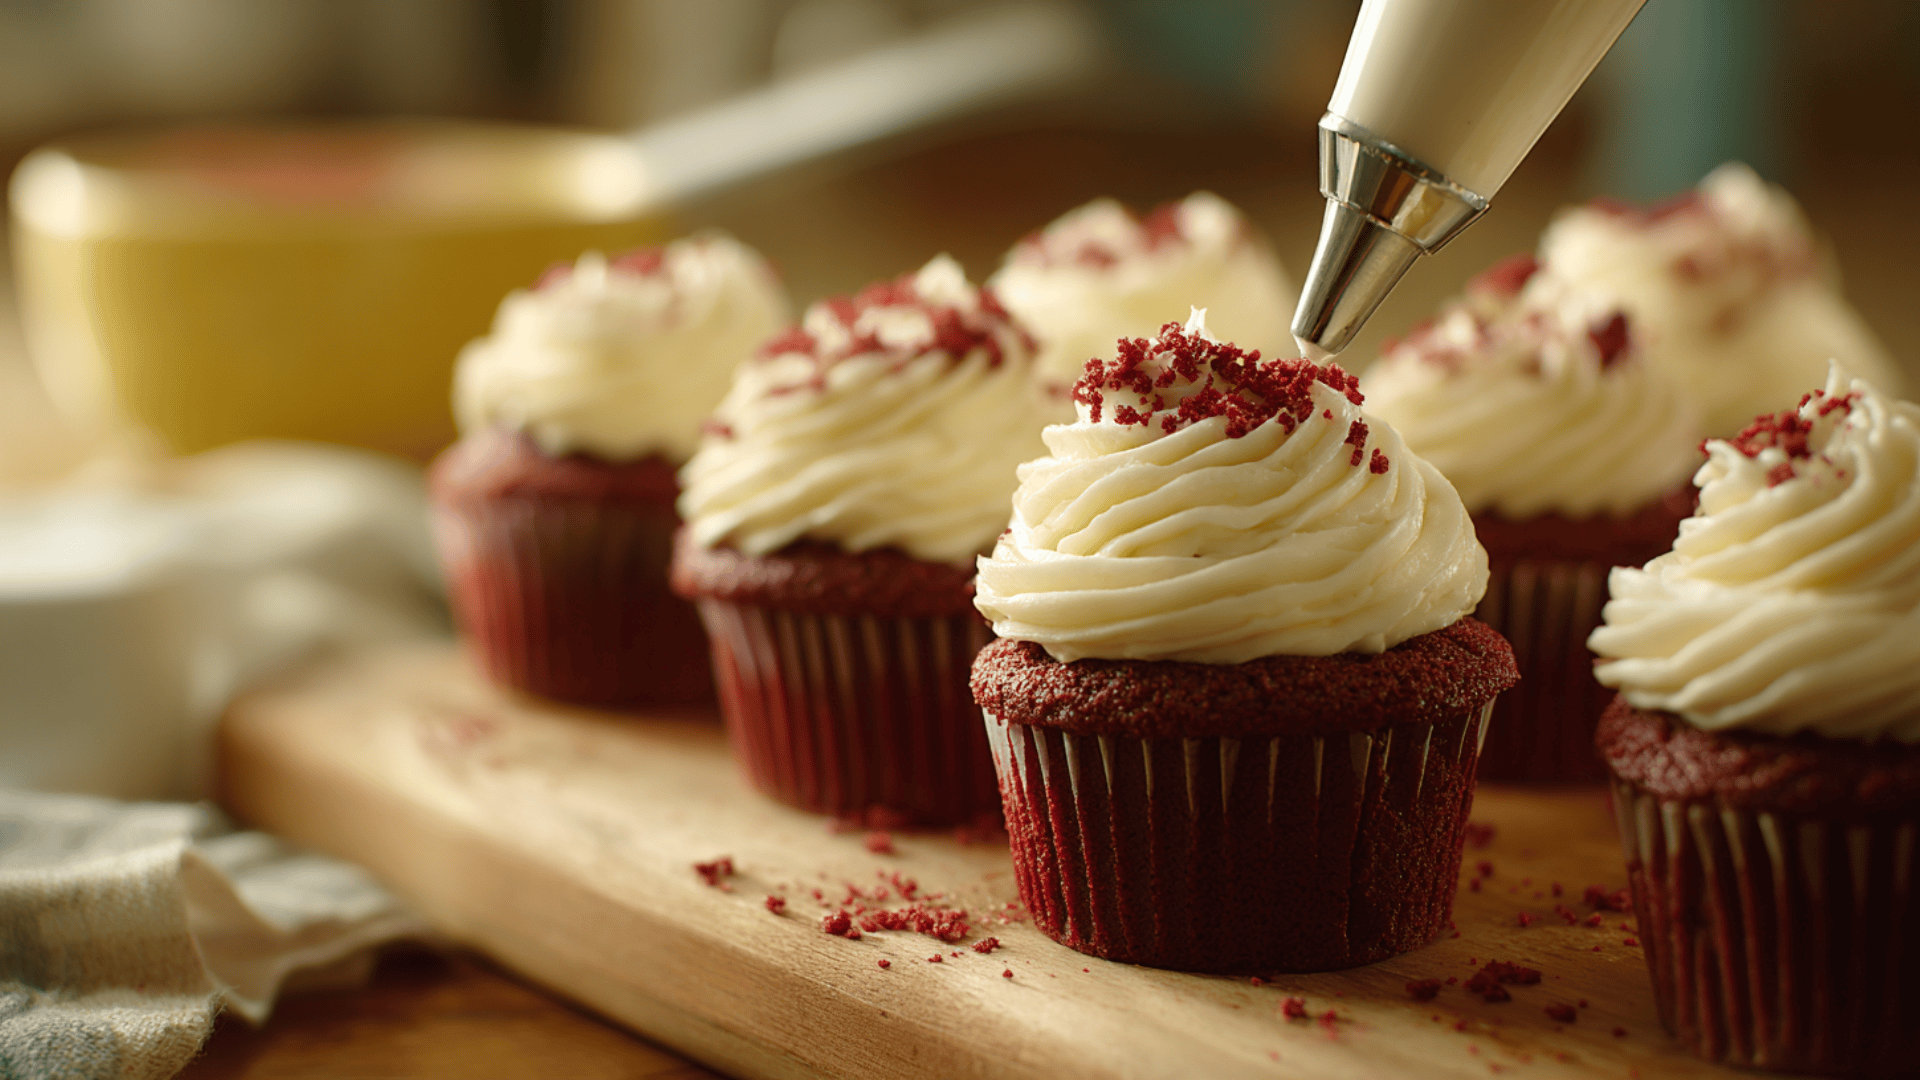
Once the cupcakes are completely cool (important because warm cupcakes will melt your frosting), it’s time to decorate.
You can spread the frosting on with a knife for a rustic look, or use a piping bag fitted with your favorite tip to create beautiful swirls.
Pro tip: Add any toppings you like, such as red velvet crumbs, sprinkles, or chocolate shavings, while the frosting is still soft so they stick.
Red Velvet Variations that You’ll Love
Red velvet cupcakes are timeless, but a few creative twists can make them even more exciting. Try these delicious variations that add new flavors and textures while keeping that classic red velvet charm.
1. Red Velvet Cheesecake Cupcakes
A creamy cheesecake center makes these cupcakes extra indulgent. The smooth tanginess of cream cheese complements the rich cocoa flavor, creating a melt-in-your-mouth experience.
Spoon a small layer of red velvet batter into each liner, add a spoonful of cheesecake filling, then top with more batter before baking.
Ingredients: All-purpose flour, cocoa powder, sugar, butter, eggs, buttermilk, cream cheese, vanilla extract, red food coloring, baking soda, vinegar, salt
2. Red Velvet Oreo Cupcakes
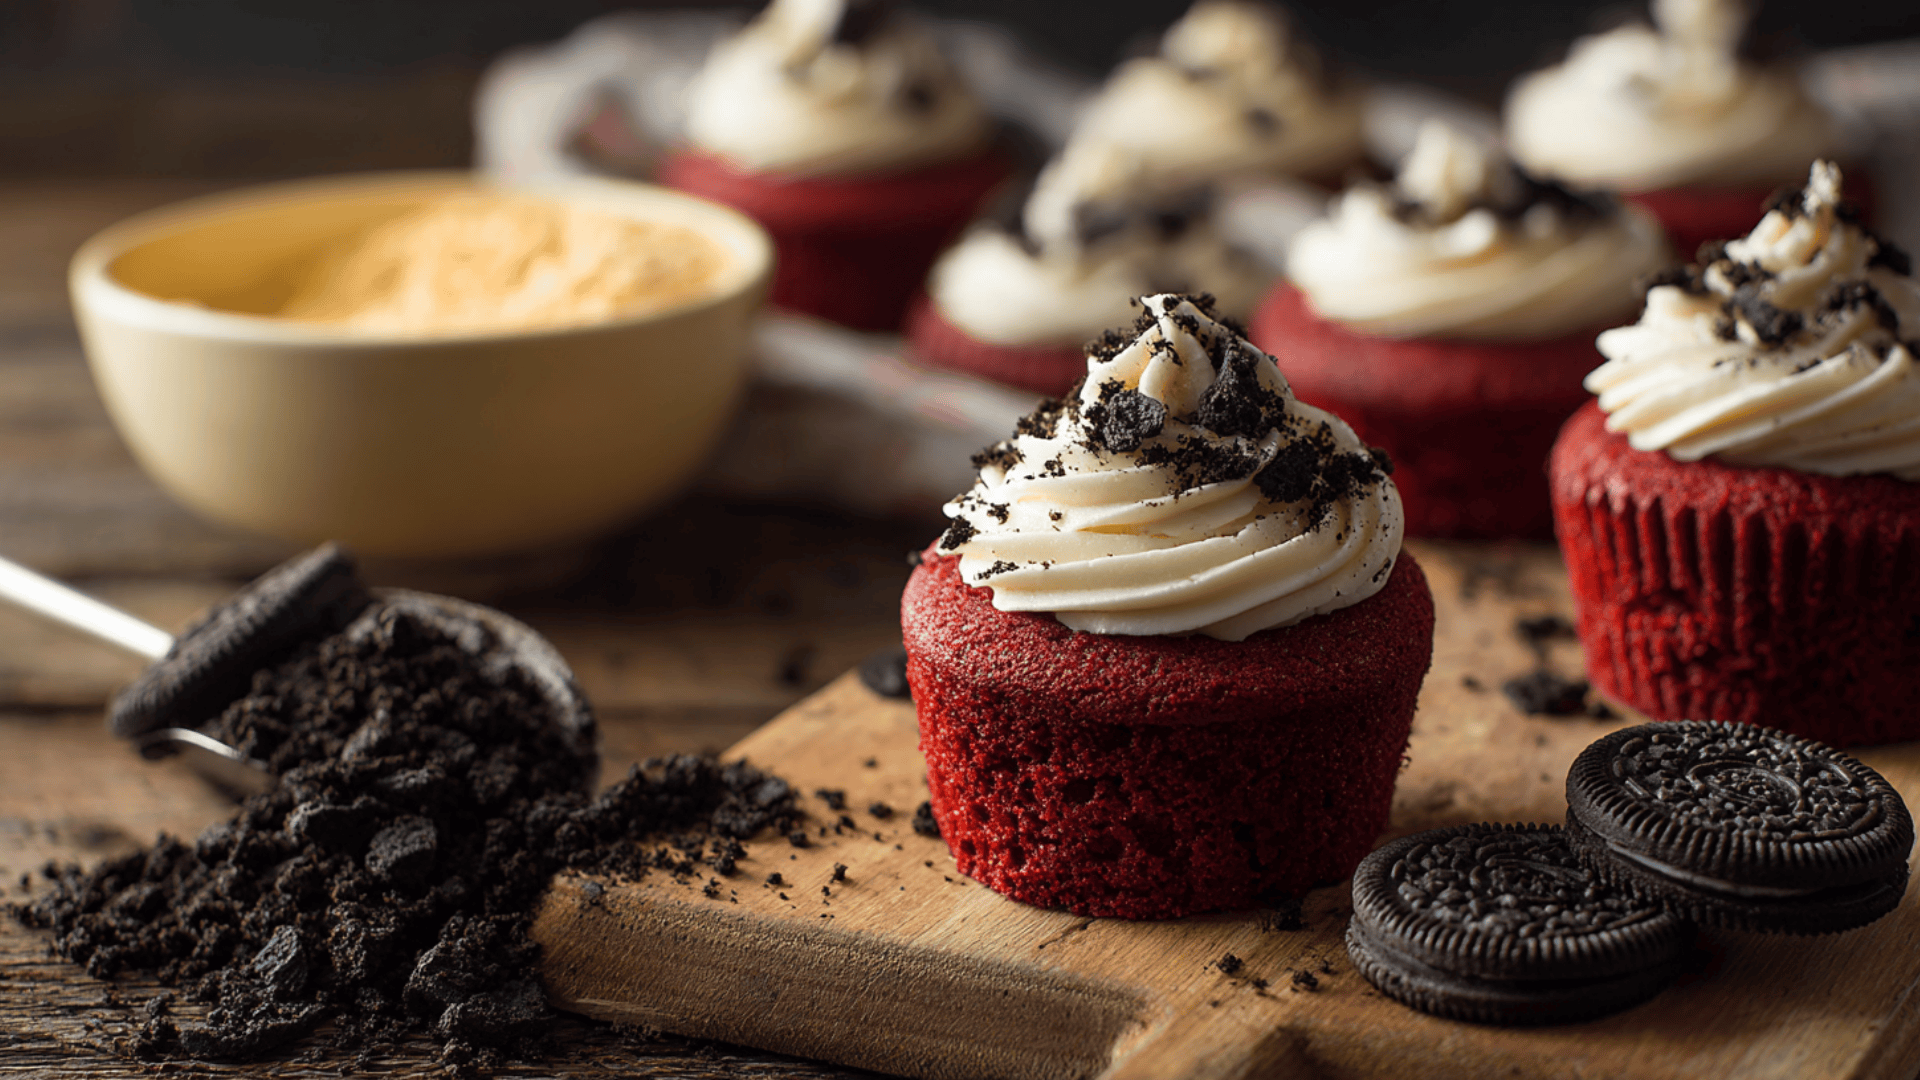
Crushed Oreos add crunch and chocolatey depth to the classic red velvet flavor. The contrast between the soft cake and cookie bits makes each bite extra fun and flavorful.
Fold crushed Oreos into the batter before baking and top with cookies-and-cream frosting for the ultimate treat.
Ingredients: All-purpose flour, cocoa powder, butter, sugar, eggs, buttermilk, red food coloring, vanilla extract, Oreos, baking soda, vinegar, salt
3. Red Velvet Nutella Cupcakes
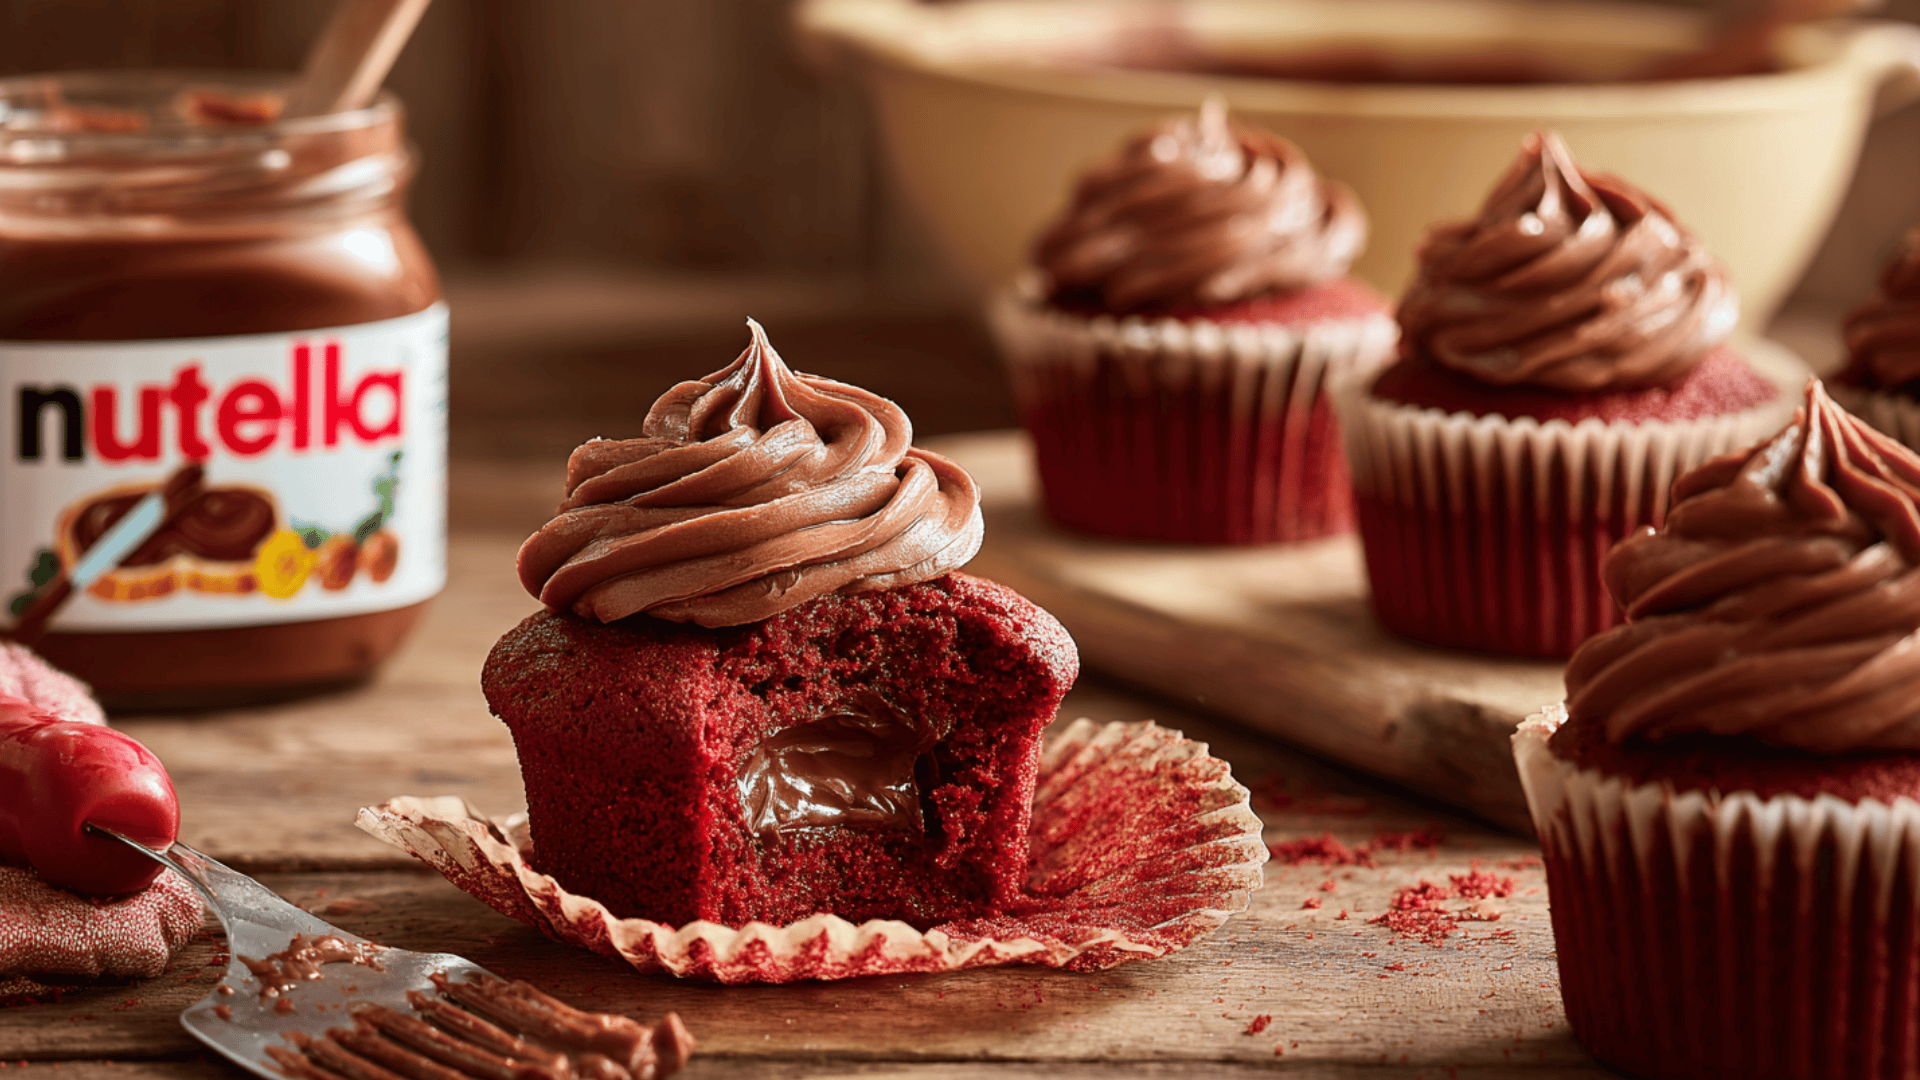
A swirl of creamy Nutella in the center adds richness and a hazelnut twist to the classic red velvet. The blend of cocoa and Nutella creates a luxurious, chocolate-forward flavor.
Add a teaspoon of Nutella to the center of each cupcake before baking, then frost with cream cheese or Nutella buttercream.
Ingredients: All-purpose flour, cocoa powder, butter, sugar, eggs, buttermilk, Nutella, red food coloring, vanilla extract, baking soda, vinegar, salt
Nutrition Facts
These red velvet cupcakes are a delightful balance of indulgence and comfort with a tender, cocoa-flavored crumb and smooth cream cheese frosting. While rich and satisfying, enjoying one mindfully lets you savor its classic flavor without overindulging.
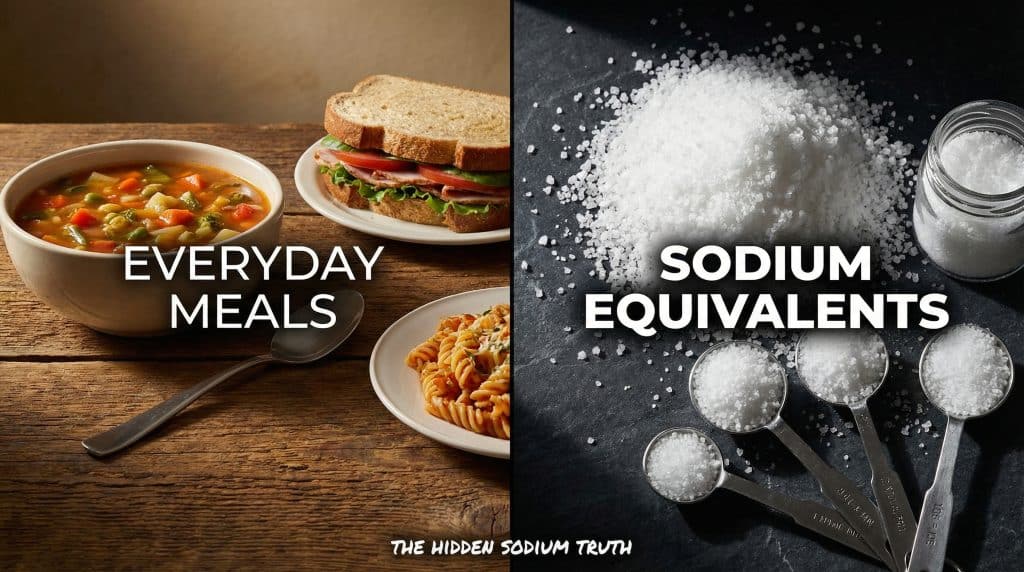
| NUTRIENT | PER 100 G (APPROX.) |
|---|---|
| Calories | ~369 kcal |
| Protein | ~7 g |
| Fat | ~18.8 g |
| Sodium | ~312 mg |
| Carbohydrates | ~48 g |
| Sugar | ~40 g |
| Fiber | ~1 g |
Disclaimer: Keep in mind these values are approximate and may vary depending on your specific ingredients, frosting thickness, and portion size.
Baking & Storage Tips for Perfect Results
Baking red velvet cupcakes is simple, but a few careful steps ensure they turn out moist, tender, and beautifully domed every time.
- Room-Temperature Ingredients: Use softened butter, room-temperature eggs, and buttermilk. This helps the ingredients combine evenly and creates a smooth, consistent batter.
- Measure Accurately: Too much flour or too little liquid can affect the texture of the cupcakes. Use the spoon-and-level method for dry ingredients to keep the crumb soft and moist.
- Don’t Overmix the Batter: Overmixing can make cupcakes dense and tough, rather than light and fluffy.
- Check for Doneness: Bake until a toothpick inserted in the center comes out clean or with a few moist crumbs.
- Cooling & Frosting: Let the cupcakes cool in the pan for 5 minutes. Wait until completely cool before adding the cream cheese frosting to prevent it from melting.
- Storage: Store frosted cupcakes in an airtight container in the refrigerator for up to 4–5 days.
Following these tips will help your red velvet cupcakes stay soft, flavorful, and picture-perfect, just the way they should be.
Bringing It All Together
Red velvet cupcakes are the perfect blend of classic charm and irresistible flavor, soft and velvety, topped with creamy frosting that melts in every bite.
Each cupcake delivers a hint of cocoa, a touch of tang, and that iconic red hue that makes them feel special no matter the occasion.
Whether it’s a holiday, birthday, or just a cozy afternoon treat, baking them fills your kitchen with warmth and sweetness.
Share your favorite red velvet twist in the comments below. We’d love to see how you make this treat your own