I’m just going to say it: the first time I tried making brown rice sushi, it looked like someone had sneezed on a cutting board. Crumbly, sad, basically a deconstructed rice salad with delusions of grandeur.
And here’s what drove me absolutely bonkers—I’d followed a recipe! I did the steps! But my rolls fell apart like they were personally offended by the concept of staying together.
Turns out, the problem wasn’t me. It was the rice itself.
The Real Reason Brown Rice Won’t Cooperate
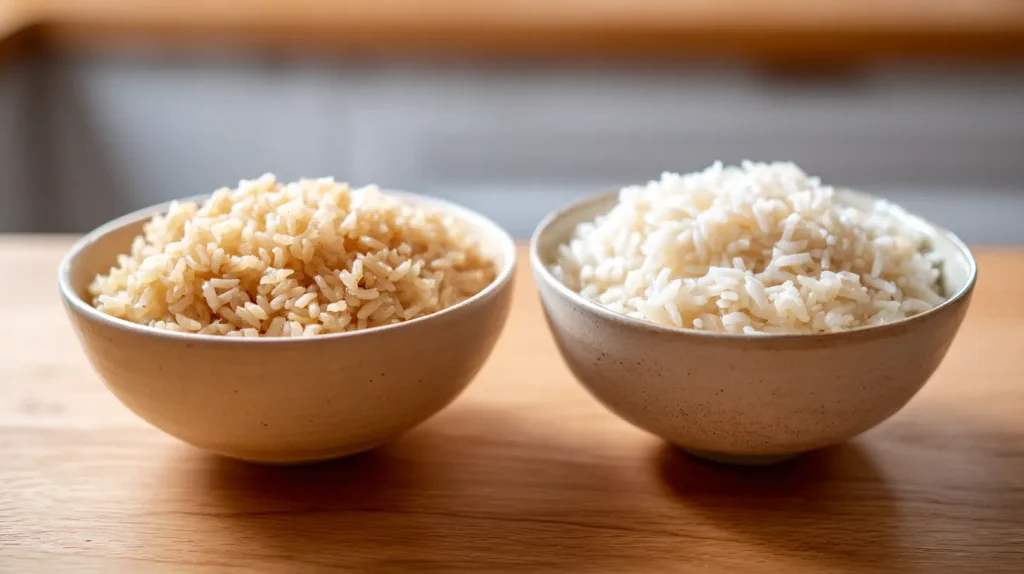
Brown rice has this bran layer wrapped around each grain—it’s what makes it “healthier” and also what makes it a total pain for sushi. That bran acts like a little moisture blocking jacket, preventing water from reaching the sticky starch inside.
White sushi rice? No jacket. Starch gets wet, starch gets sticky, everyone’s happy.
Brown rice? The starch is in there, but it’s trapped. So you have to outsmart it.
The good news: once you know the tricks, brown rice sushi absolutely works. It just requires a little more… negotiation.
Step One: Buy the Right Rice (Seriously)
This is where most brown rice sushi dreams go to die in the grocery aisle.
You need short grain brown rice. Look for labels that say “short grain,” “brown sushi rice,” or “Calrose brown rice.” These stubby little grains have more of that clingy starch you need.
Long grain brown rice? Beautiful for other things. Absolute disaster for sushi. Those grains stay separate like coworkers who had a falling out. No amount of technique will fix a wrong rice situation.
If you get the right rice, you’re already ahead of like 90% of brown rice sushi heartbreak. I’m not exaggerating.
Step Two: The Soak You Cannot Skip
Okay, here’s where I need you to trust me even though it feels annoying.
You have to soak brown rice before cooking it. Not “it’s nice if you have time.” Not optional. The soak is what softens the bran layer enough for water to actually penetrate during cooking. Skip it, and you’ll get grains that are crunchy in the middle and soft on the outside—a textural crime I wouldn’t wish on anyone.
How to do it:
- Rinse the rice a few times until the water runs mostly clear
- Cover with fresh cold water
- Let it sit for at least 30 minutes, but 2-4 hours is ideal
- Overnight in the fridge works too if you’re a planner (I am not, but I admire those who are)
You’ll know it worked when the grains look plumper and slightly lighter. Bite one—it should be firm but not rock hard.
If you skip this step, your future self will be assembling sad rice confetti and quietly resenting past you. Fair warning.
Step Three: More Water, More Patience
Brown rice is thirstier than white rice. You need to increase your water.
The ratio: 1¼ to 1½ cups water per 1 cup of rice. Start at the lower end and adjust based on results. If your rice comes out with hard centers, add a couple extra tablespoons next time.
Drain your soaked rice, add fresh water at this ratio, and cook it.
Stovetop method (my preference): Bring to a boil uncovered, then drop the heat to the absolute lowest setting. Cover tightly and simmer for 35-45 minutes. Do not lift the lid. I mean it—curiosity is not your friend here. When the time’s up, turn off the heat and let it rest, still covered, for another 10 minutes.
Rice cooker: Use the brown rice setting if you have one. If your cooker tends to leave brown rice dry, sneak in an extra splash of water.
One nice trick: drop a 2 inch piece of kombu (dried kelp) into the pot while cooking. It adds this subtle savory depth that makes it taste more like restaurant sushi rice. Totally optional, but I always do it now.
Step Four: Season It While It’s Hot
This is the step that takes you from “brown rice, I guess” to “oh wow, this actually holds together.”
The seasoning mix (for 2 cups uncooked rice):
- 3 tablespoons rice vinegar
- 1½ tablespoons sugar
- 1 teaspoon salt
Stir until dissolved. Taste it—brown rice can handle a bit more tang, so add a splash more vinegar if it seems flat.
Now the important part:
Transfer your hot rice to a wide, shallow dish—a baking pan works great. Spread it out so it stops steaming in a big clump.
Pour the vinegar mix over while the rice is still hot. Hot rice absorbs seasoning; cool rice just gets wet and sad.
Use a rice paddle or spatula with gentle slicing and folding motions. Don’t stir in circles—that mashes the grains into mush.
And fan it. I know this sounds ridiculous, but fanning the rice as you fold it is what helps the surface starch set so the grains actually cling to each other. Use a piece of cardboard, a magazine, an actual fan—whatever. You want the rice to reach roughly body temperature within about 10 minutes.
No thermometer? Hold your hand an inch above the rice. If you can keep it there comfortably without feeling active steam, you’re good.
Step Five: Roll Like You Mean It
Brown rice has more chew, more texture, more… opinions. You can’t treat it exactly like white sushi rice.
A few things that make the difference between pretty rolls and “sushi salad”:
Wet your hands constantly. Keep a small bowl of water with a splash of rice vinegar nearby. Brown rice is clingy with skin in the worst way. Wet hands before every single roll.
Spread thicker than you think. Go slightly thicker than you would with white rice. Brown rice falls apart when spread too thin because it’s heavier.
Commit to the roll. Hesitation is where things fall apart—literally. Roll firmly with steady, even pressure. Your sushi can sense fear. (Okay, it can’t. But it acts like it can.)
Let it rest before cutting. After rolling, let the roll sit seam side down for 2-3 minutes. Use a very sharp knife, wet it between every cut, and wipe the blade clean each time. Dull knives and dry blades are responsible for more sushi disasters than any other factor.
If Things Still Go Wrong
Rice won’t stick at all: Almost always wrong rice variety or not enough soaking. There’s no mid batch fix—just note it for next time.
Rice is mushy: Too much water or overcooked. Spread it thin and fan aggressively to salvage what you can.
Rolls fall apart when cutting: Dull knife, dry blade, or you were too gentle when rolling. Firmer pressure, sharper knife.
Need extra stickiness? You can mix half brown rice with half white sushi rice—cook them separately since timing differs, then combine when seasoning. You get better stick with some of that brown rice chew. It’s a totally valid move.
On Leftovers (Keep It Brief)
Brown rice texture goes downhill fast. Try to eat it the same day if possible. While you’re rolling, keep the rice at room temperature under a damp towel.
If you must refrigerate leftovers, press plastic wrap directly onto the rice surface to prevent drying. To reheat, sprinkle a few drops of water on top and microwave in 20 second bursts. It won’t be perfect, but it works fine for rice bowls where looks matter less.
Look, a whole grain sushi roll isn’t as effortless as white rice sushi. But once you nail the soak, the water ratio, and the cooling technique? It’s completely doable. And honestly, the nutty flavor and extra chew are worth the little bit of extra effort.
Now go get your roll together. You’ve got this.