Look, if sushi required a drawer full of specialty gadgets, the rest of us would be eating sad takeout forever. I’m here to tell you that a kitchen towel, some plastic wrap, or even just your bare hands can produce tight, beautiful rolls. The bamboo mat’s only real job is grip and support and you’ve got other things that do that just fine.
Let’s figure out which rolling style fits your vibe tonight.
Pick Your Adventure
Not sure where to start? Choose based on your goal and current patience level:
- Want sliced rolls (maki style): Use a towel, plastic wrap, or parchment paper.
- Want the fastest option with zero slicing: Make hand rolls.
- Want a true no roll option: Make sushi balls (they’re adorable and basically foolproof).
Think of it like choosing shoes—you can do the job in heels, but sneakers are a vibe.
Before You Roll: The Non-Negotiables
Your Rice Situation
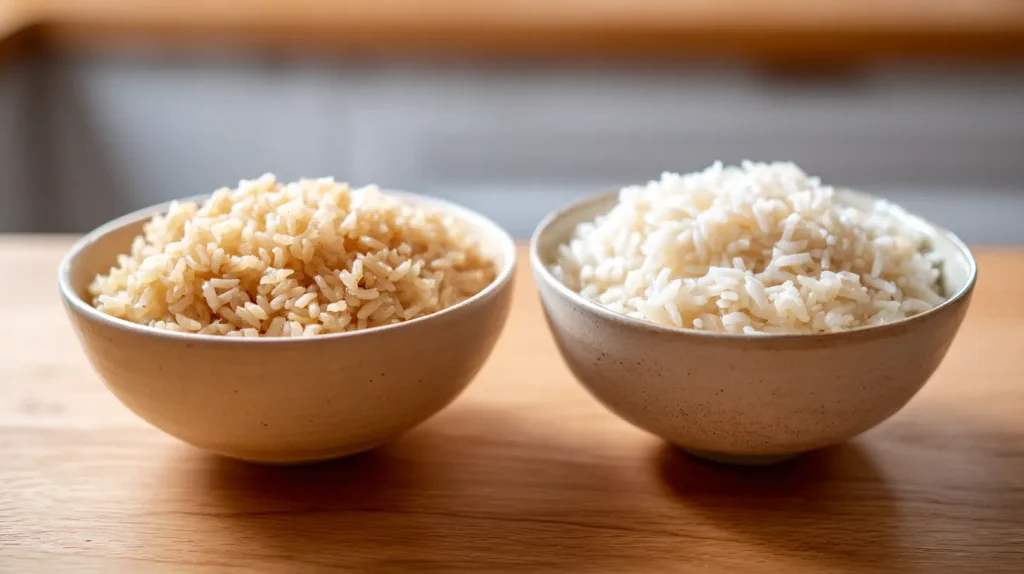
Sushi rice is short grain rice seasoned with rice vinegar, sugar, and salt. The stickiness is what holds everything together, so don’t try to substitute long grain or jasmine. (This is one of those “it’ll be fine” decisions that is, in fact, NOT fine. I learned this the hard way with a sad pile of rice confetti.)
Cook it slightly wetter than usual. For seasoning: mix 3 tablespoons rice vinegar, 1 tablespoon sugar, and ½ teaspoon salt per 2 cups cooked rice. Fold it in gently while still warm, then let it cool to room temperature before rolling.
Hot rice + nori = soggy disaster. Like trying to wrap a present with a wet paper bag.
Fillings: Less Is More
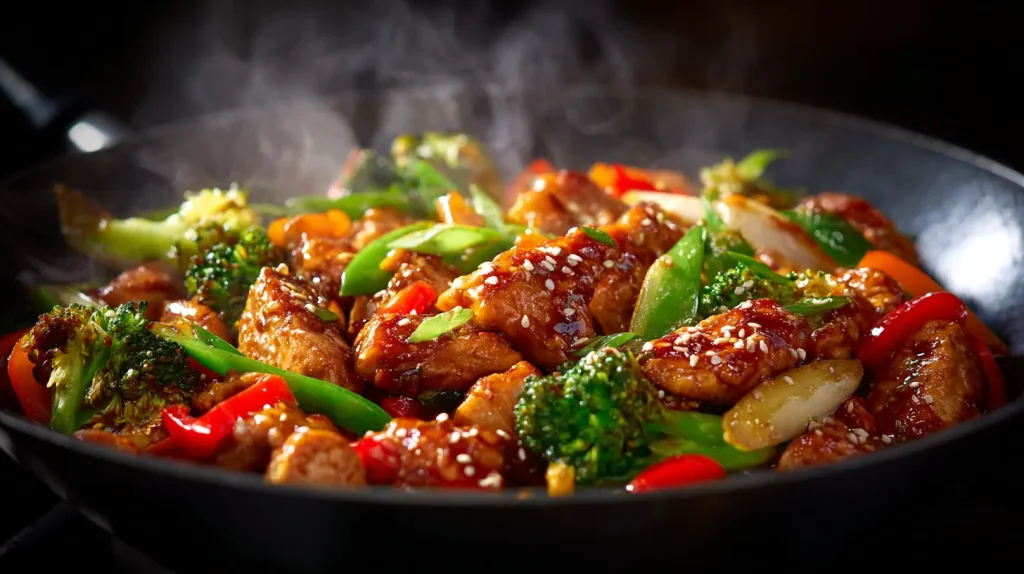
Cucumber strips, avocado, carrot matchsticks, cream cheese, imitation crab, smoked salmon—all great. Stick to 2-3 fillings per roll. More than that and your sushi starts launching ingredients out the ends like it’s mad at you.
If you’re using raw fish, buy sushi grade from a source you trust and use it the same day. No exceptions.
Stuff You Already Own
- A clean kitchen towel (thin cotton works best)
- Plastic wrap
- Parchment paper
- A bowl of water with a splash of rice vinegar
- A sharp knife (dull knife = sushi bulldozer)
That’s it. Your wallet can relax.
The Rules That Apply to Every Single Roll
Tattoo these on your brain—or just reread this part right before you start:
- Rice amount: About ¾ cup per roll.
- Leave a bare strip: Keep 1 inch of nori bare at the top so it seals.
- Wet your hands: Dip them in vinegar water constantly. Constantly. I mean it.
- Rest seam side down: Give the roll a minute before slicing so it holds together.
Do these four things and you’re already past the “why is this exploding” stage.
Five Ways to Roll Without a Mat
The Kitchen Towel Method
This is my go to recommendation for beginners it gives you grip and structure similar to a real mat.
- Lay a clean, dry towel flat and cover it completely with plastic wrap.
- Place your nori shiny side down on the plastic.
- Spread rice over the nori (thin enough you can almost see through it), leaving that 1 inch bare strip at the top.
- Lay fillings in a horizontal line across the bottom third.
- Lift the towel edge closest to you and use it to fold the nori over the fillings.
- Keep steady pressure as you roll away from yourself, letting the towel do the heavy lifting.
- Wet the bare strip with your finger and press to seal.
If your towel is mysteriously “not clean” right when you need it (happens to the best of us), plastic wrap alone works too.
Plastic Wrap Only
Tear off a sheet about twice the length of your nori. Set nori on the wrap, add rice and fillings, then use the wrap edges to lift and roll. The plastic clings to itself, which helps keep everything snug.
Pro tip: Keep the roll wrapped until you’re ready to slice—it’ll hold a loose roll together while you cut. Skip this and your roll may try to become a deconstructed salad.
Parchment Paper
Parchment works as a low stick rolling aid, though it has less grip than a towel. Best for smaller rolls with modest fillings—think “minimalist sushi,” not “everything bagel sushi.”
Same process: lay parchment, place nori, add rice and fillings, use the paper edge to lift and roll. If the parchment slides around, put a slightly damp towel underneath for traction.
Hand Rolls (The Weeknight Hero)
Cut a nori sheet in half. Hold one half in your palm like a small book. Add a spoonful of rice and a few fillings on a diagonal. Fold the bottom corner up and roll into a cone.
Eat immediately. These get soggy fast they’re the “freshly toasted waffle” of sushi. Wait too long and the magic fades.
Sushi Balls (Zero Rolling Required)
If rolling makes you nervous, this is your “I still want compliments” option.
- Lay plastic wrap flat.
- Put a thin slice of fish or smoked salmon in the center, add a small ball of rice on top.
- Gather the wrap and twist to shape it into a smooth ball.
- Unwrap, set seam side down, serve.
These look impressive with minimal effort. I’ve served them at dinner parties and people act like I’m some kind of sushi wizard. (I am not. I am simply a person with plastic wrap and audacity.)
The Slicing Situation
A sharp, wet knife makes all the difference. Dip the blade in water before each cut. Use one smooth pull—no sawing back and forth, which crushes the roll and pushes fillings out like toothpaste.
The most common mistake? Too much rice. Spread it thin enough that you can almost see the nori underneath even with a whole grain rice option. Thick rice layers won’t seal and won’t slice cleanly.
Also: position fillings closer to the bottom third, not dead center. This gives them room to shift as you roll instead of shooting out the back.
Little mantra: tight roll, calm hands.
A Quick Word on Leftovers
Honestly? Sushi doesn’t store well. Rice hardens in the fridge, nori turns chewy. If you used raw fish, eat it now—don’t try to save it for tomorrow.
For veggie or cooked fish rolls, you can wrap tightly in plastic and refrigerate for a few hours max with fridge sushi storage tips. Bring to room temperature before eating. But really, the move is to make only what you’ll eat tonight.
Your first attempt might not look restaurant perfect, and that’s completely fine. Real talk: the secret isn’t a bamboo mat—it’s properly cooled rice, restrained fillings, and not panicking halfway through the roll.
The towel method gives beginners the most control. Plastic wrap is great for quick prep. Hand rolls eliminate technique requirements entirely when you just want sushi now.
Grab your ingredients and get rolling. The best way to learn is by making that first slightly wonky, totally delicious roll tonight.