

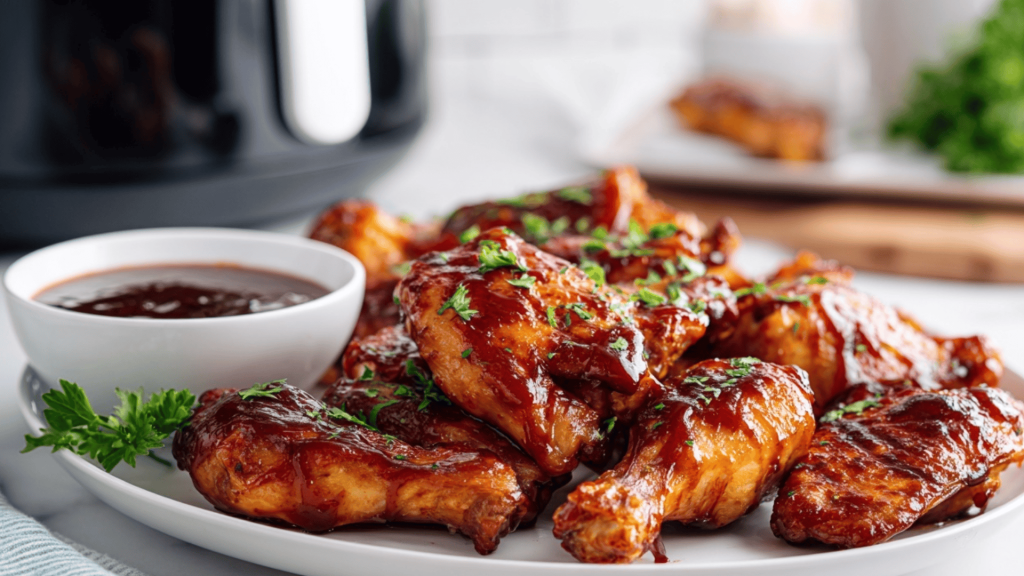

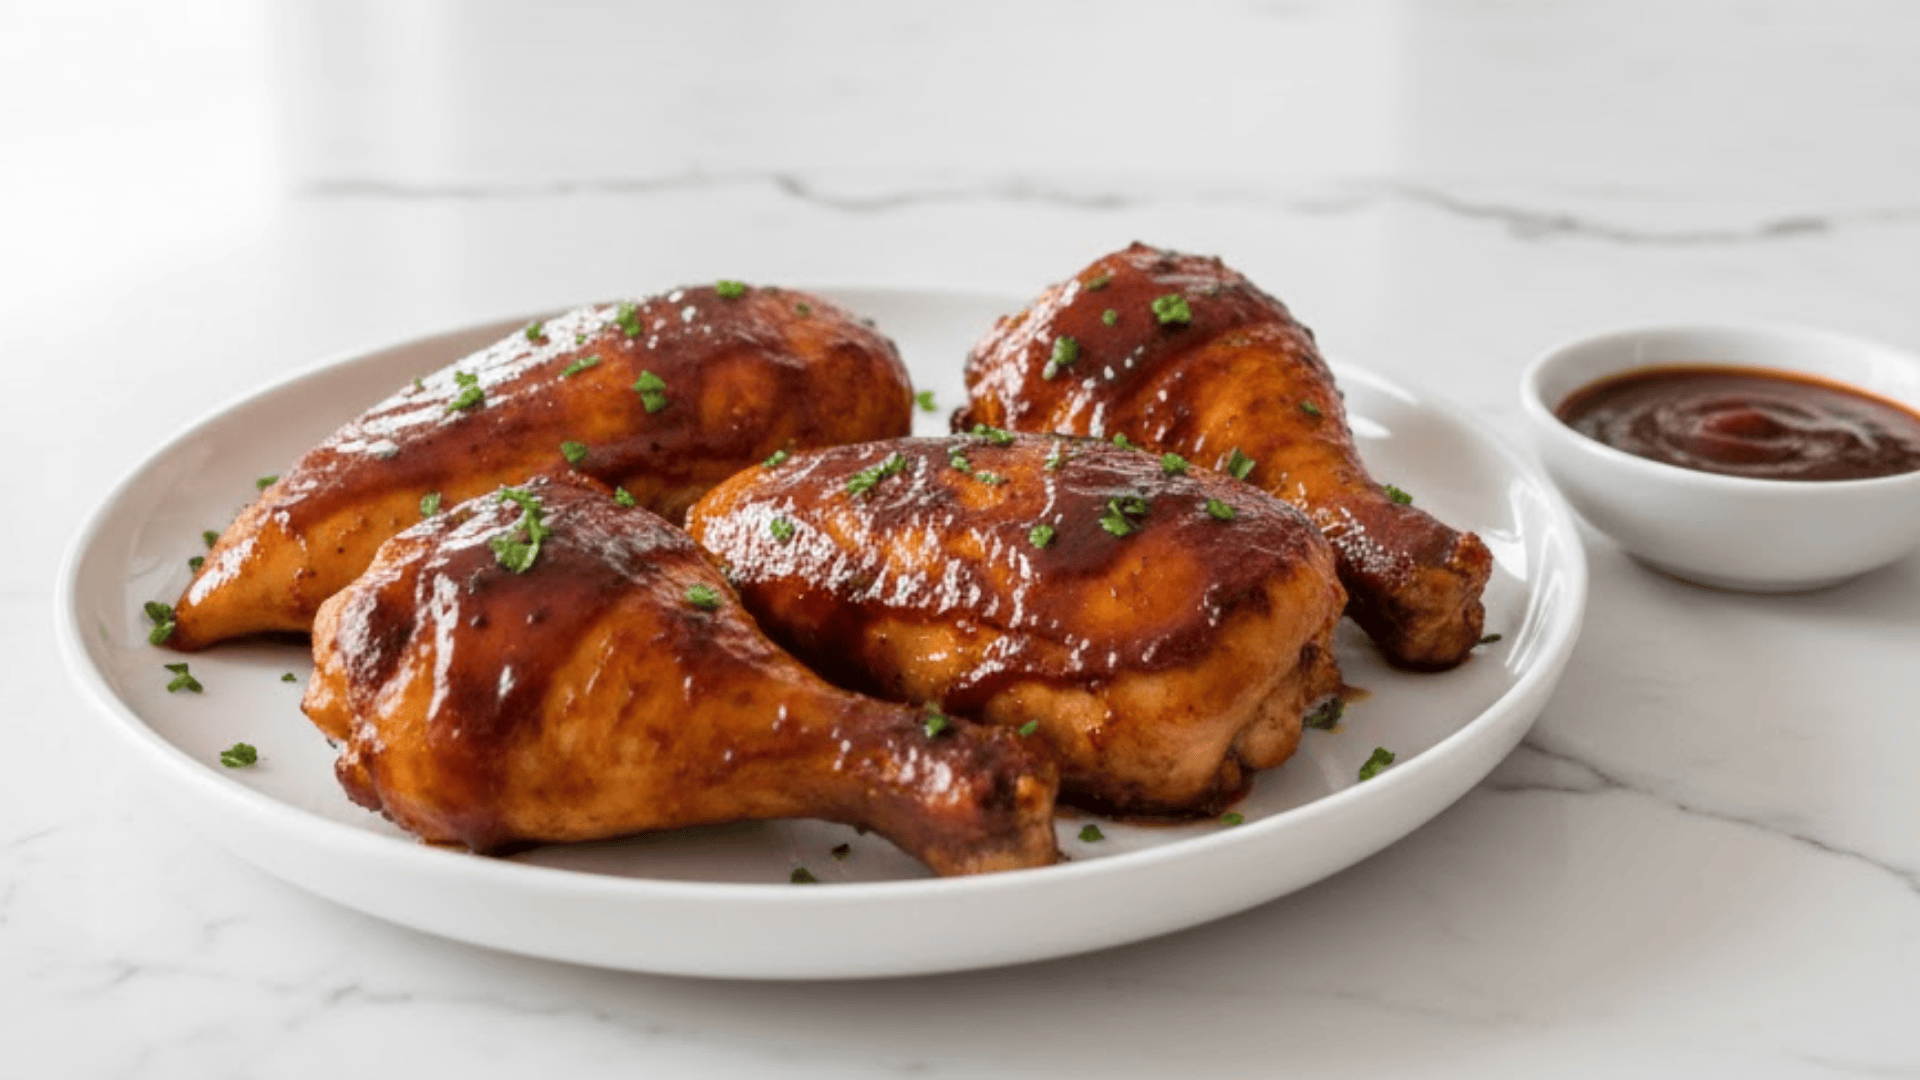
Craving that smoky BBQ chicken taste, but don’t want to deal with a grill? Air fryer BBQ chicken brings all the bold flavor you love with far less effort.
The rapid heat circulation creates tender, juicy meat with a beautifully caramelized glaze that tastes like it came straight from a backyard cookout.
This simple approach turns everyday chicken into a mouthwatering meal packed with rich BBQ goodness.
You’ll learn how to create the perfect balance of crisp edges and a saucy finish, along with practical tips to keep every batch moist, flavorful, and consistently delicious.
Enjoy amazing BBQ chicken anytime with ease and confidence.
Why Choose an Air Fryer for BBQ Chicken
Air frying offers a fast, reliable way to create BBQ chicken with impressive results.
It cuts down on overall cooking time, bringing juicy chicken to the table in as little as 20–25 minutes, making it ideal for busy evenings.
The method also supports lighter cooking, using only a small amount of oil to achieve a crisp finish.
Its even heat distribution helps each piece cook uniformly, removing the guesswork that often comes with other methods.
You can prepare flavorful BBQ chicken in any season without stepping outside or heating up the kitchen.
The intense airflow helps the sauce thicken and cling beautifully, giving each bite a rich, caramelized coating.
Ingredients You’ll NeedChicken:
BBQ Sauce:
Oil:
Dry Rub Seasonings:
|
Step-by-Step Cooking Instructions
A clear, dependable process that guides each cut of chicken to juicy, evenly cooked, beautifully caramelized BBQ perfection.
Step 1: Prep Your Chicken
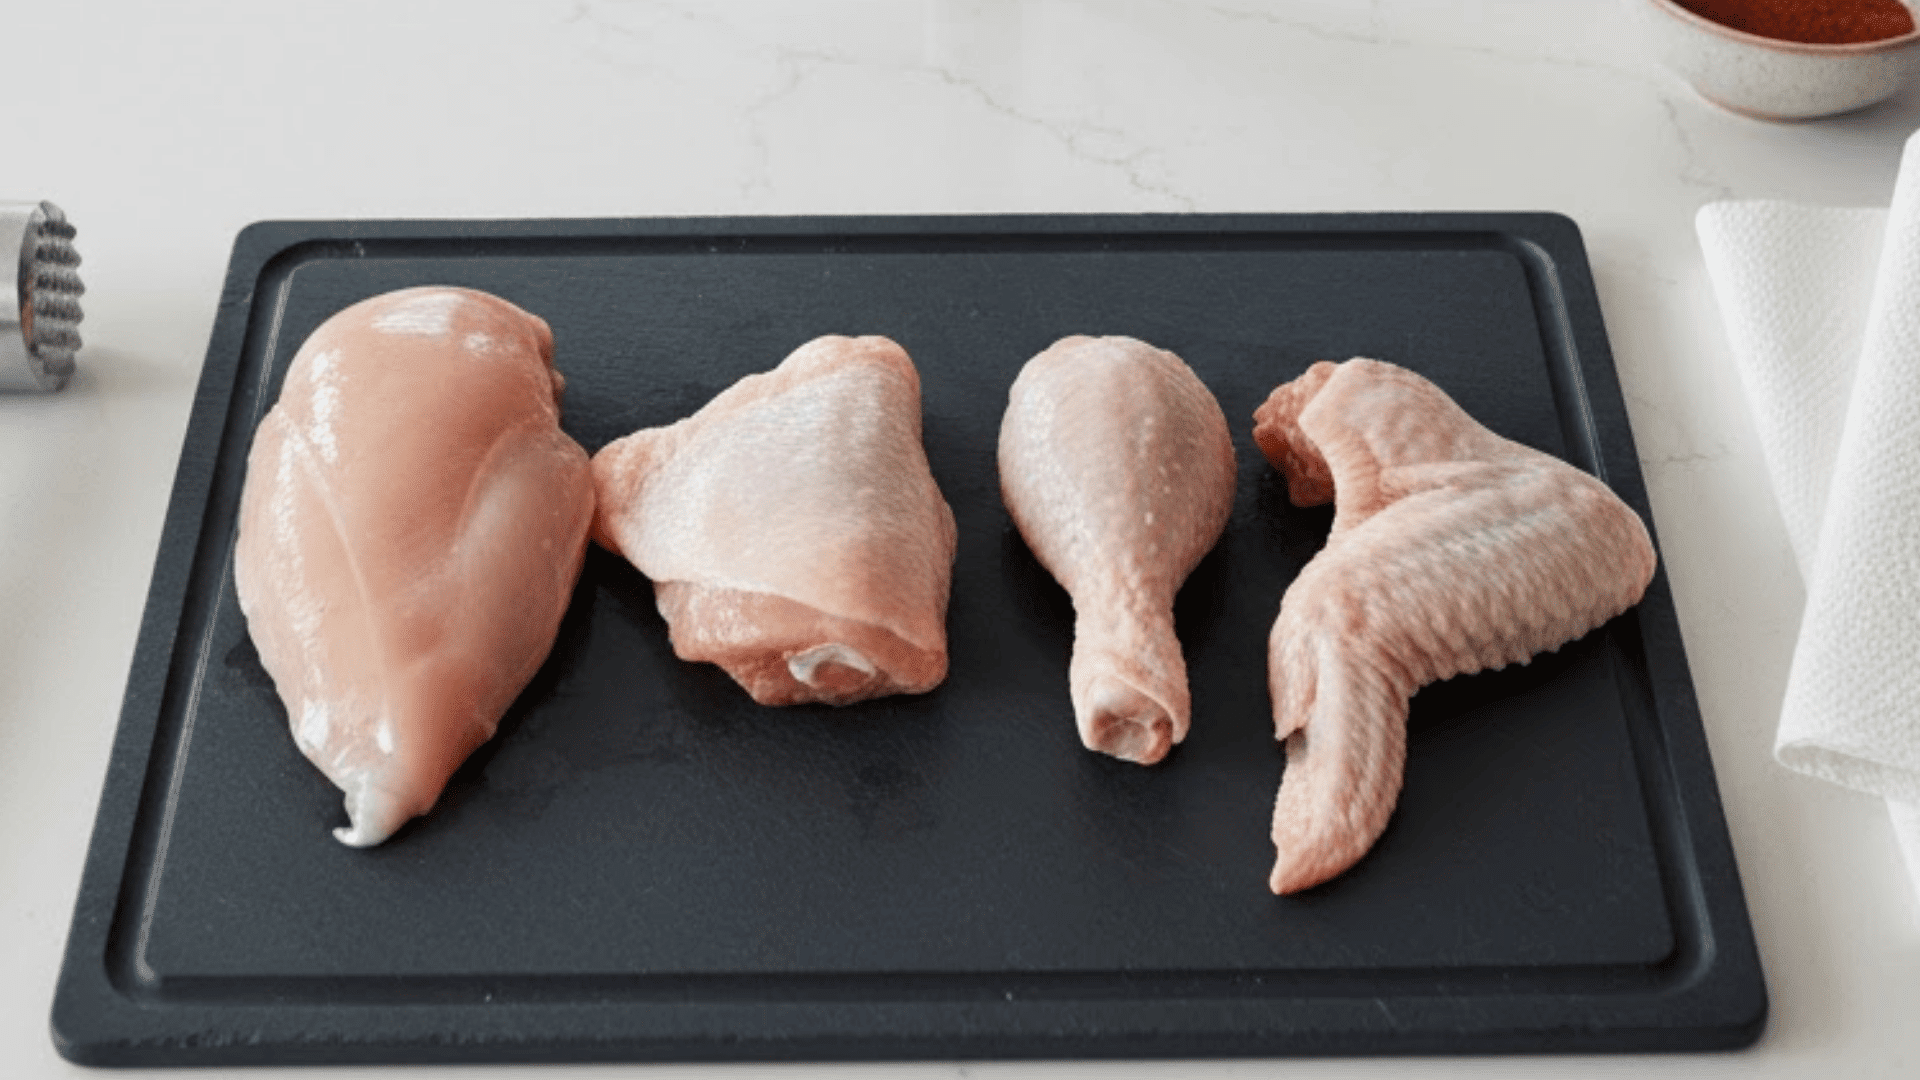
Pat the chicken thoroughly with paper towels until completely dry. Removing excess moisture helps the exterior brown properly and prevents steaming.
For chicken breasts, lightly pound the thickest areas to even them out so they cook more consistently and stay tender throughout.
Step 2: Preheat the Air Fryer
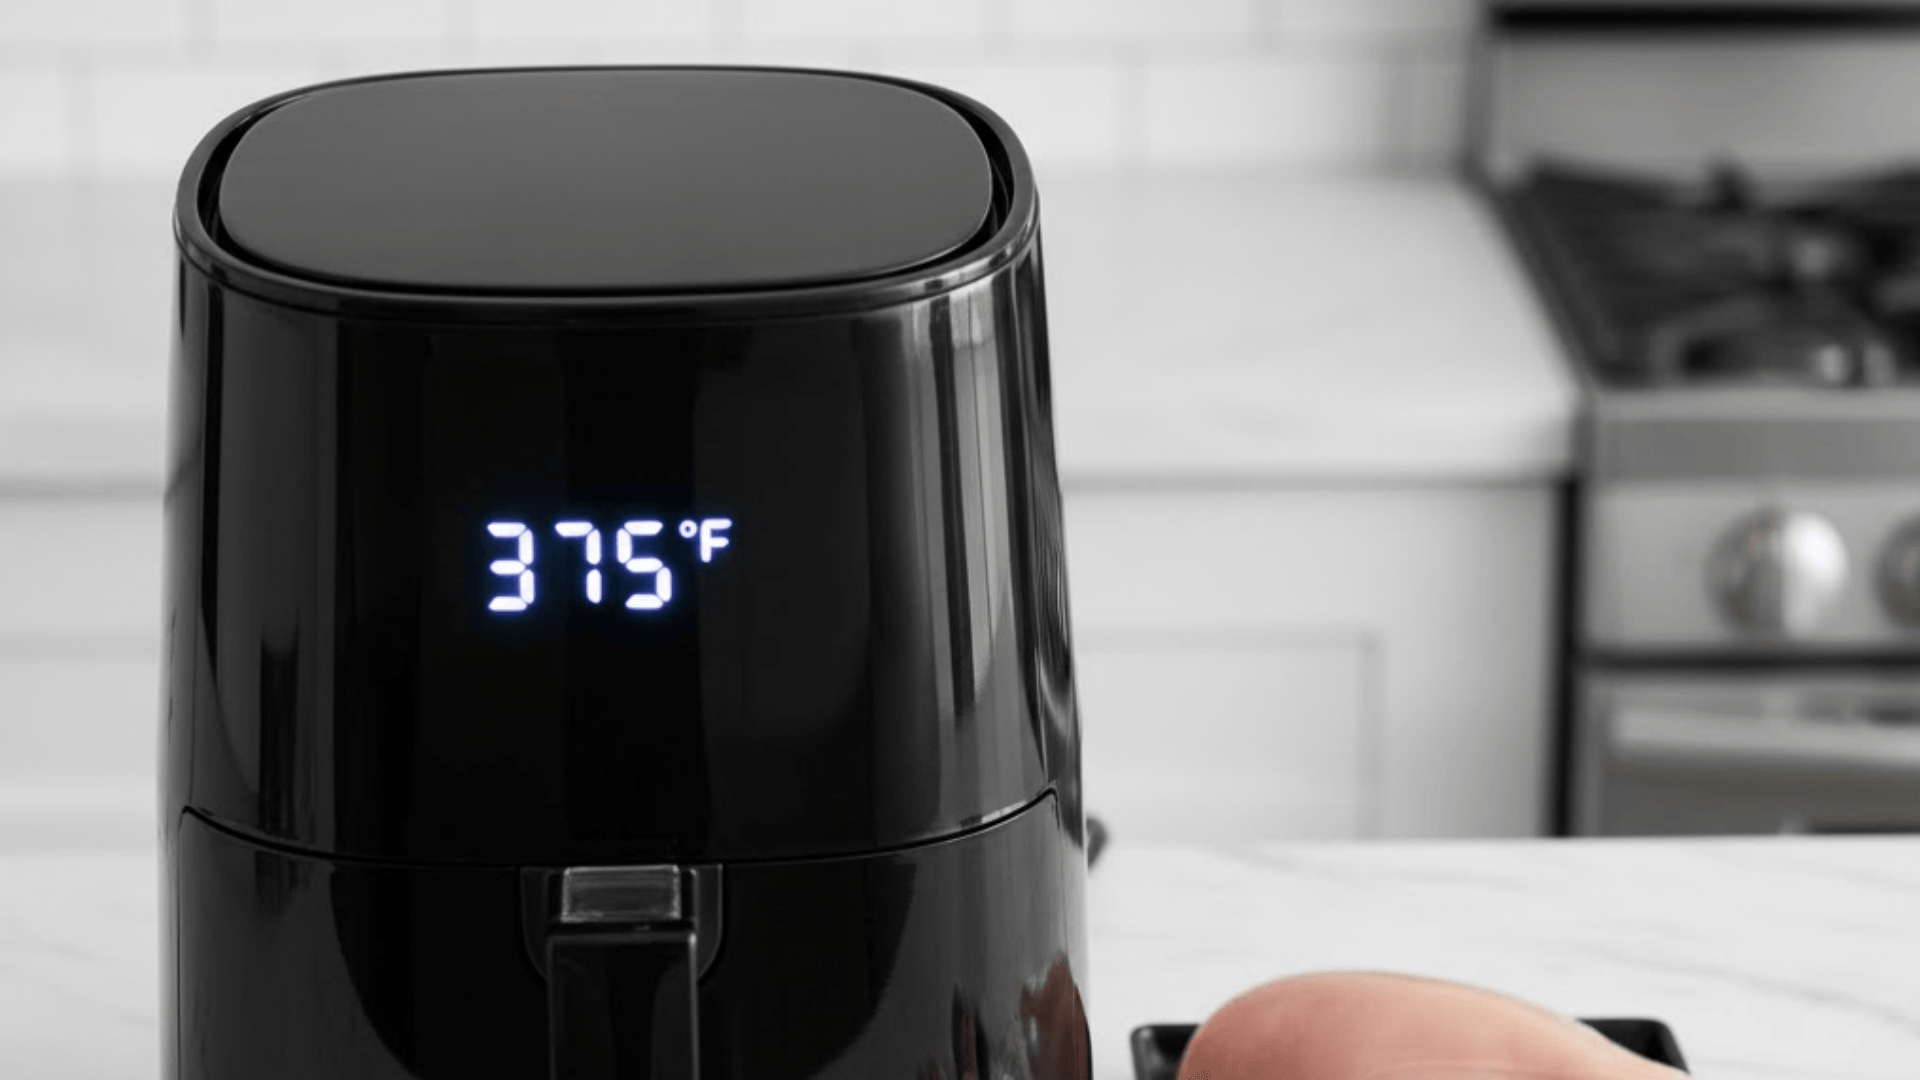
Set your air fryer to 375–380°F and allow it to preheat fully. Starting with a hot chamber improves browning, reduces cooking time, and promotes even heat distribution.
This step sets the foundation for crisp skin and moist, flavorful meat.
Step 3: Season the Chicken
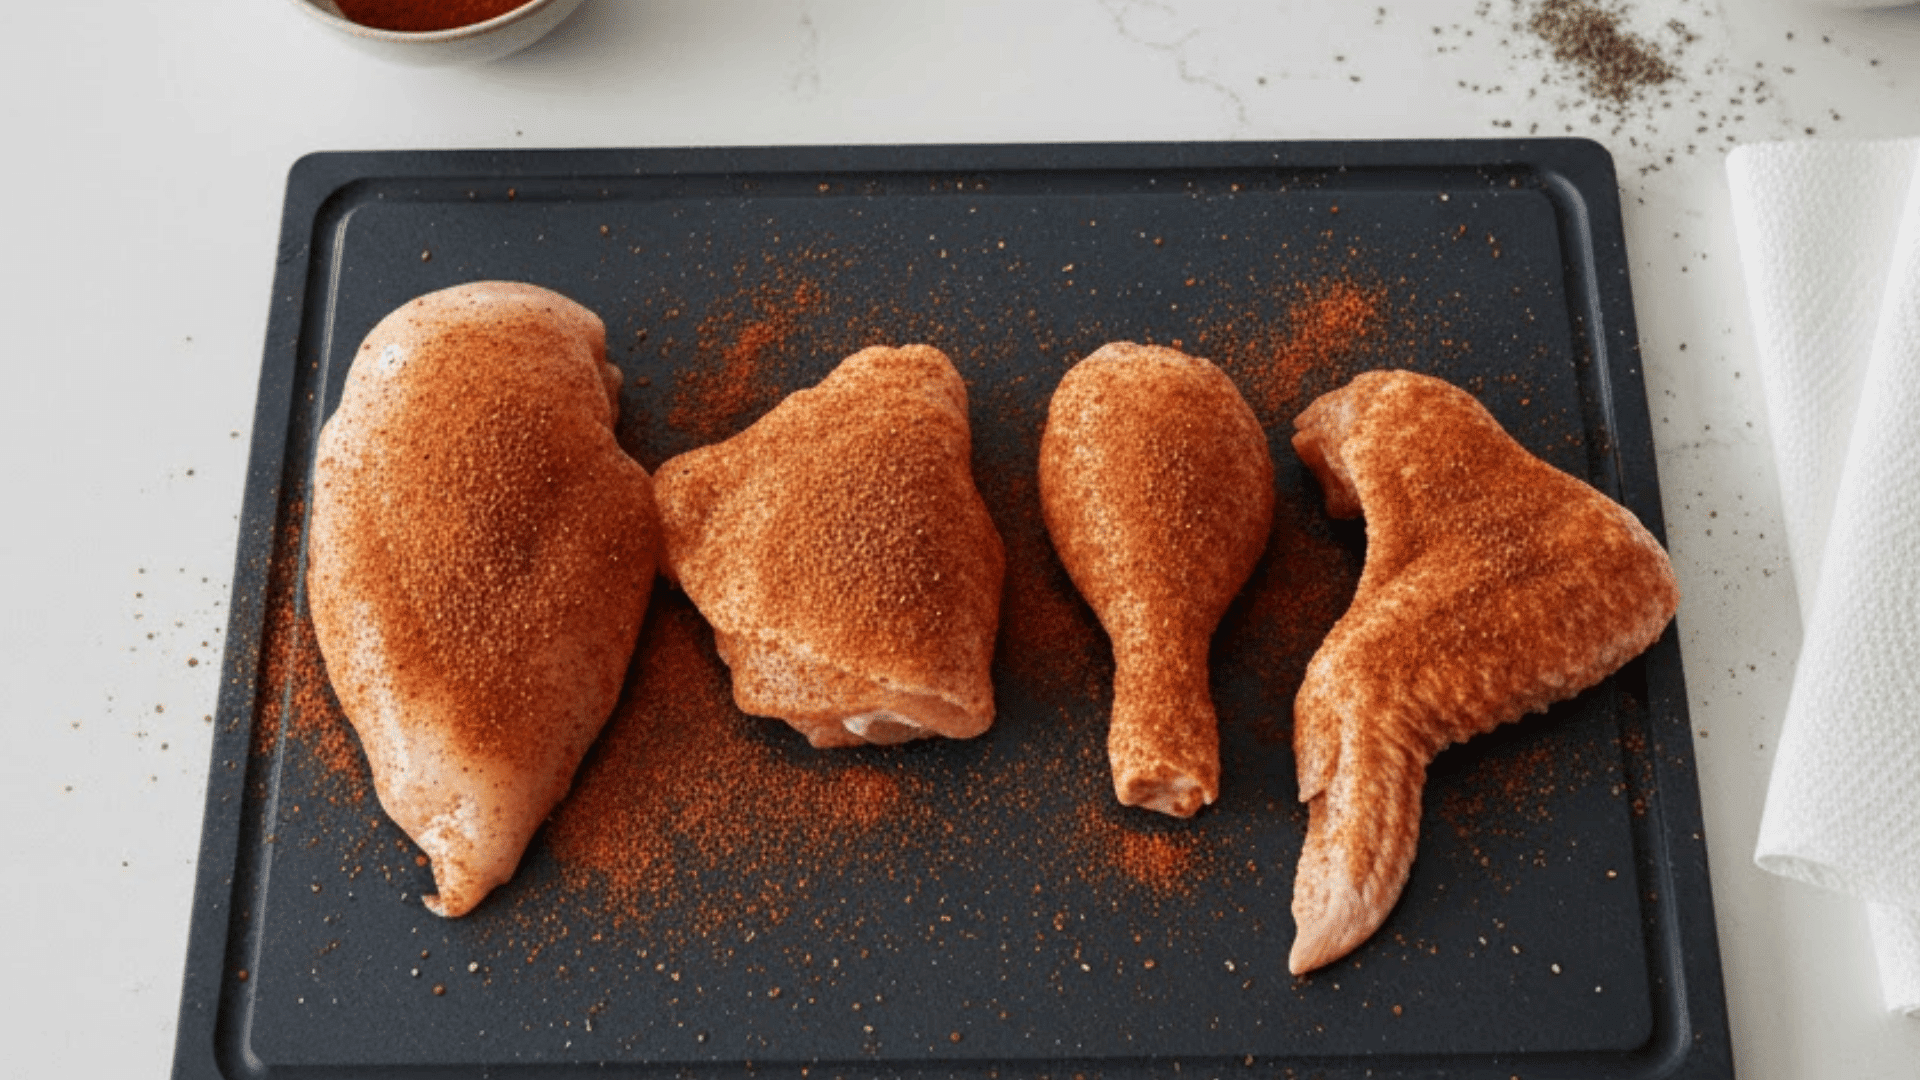
Brush the chicken lightly with oil to encourage browning and help the seasoning adhere.
Coat each piece with a generous, even layer of your dry rub, pressing gently so the spices cling well during cooking and build deeper flavor throughout.
Step 4: Initial Cook
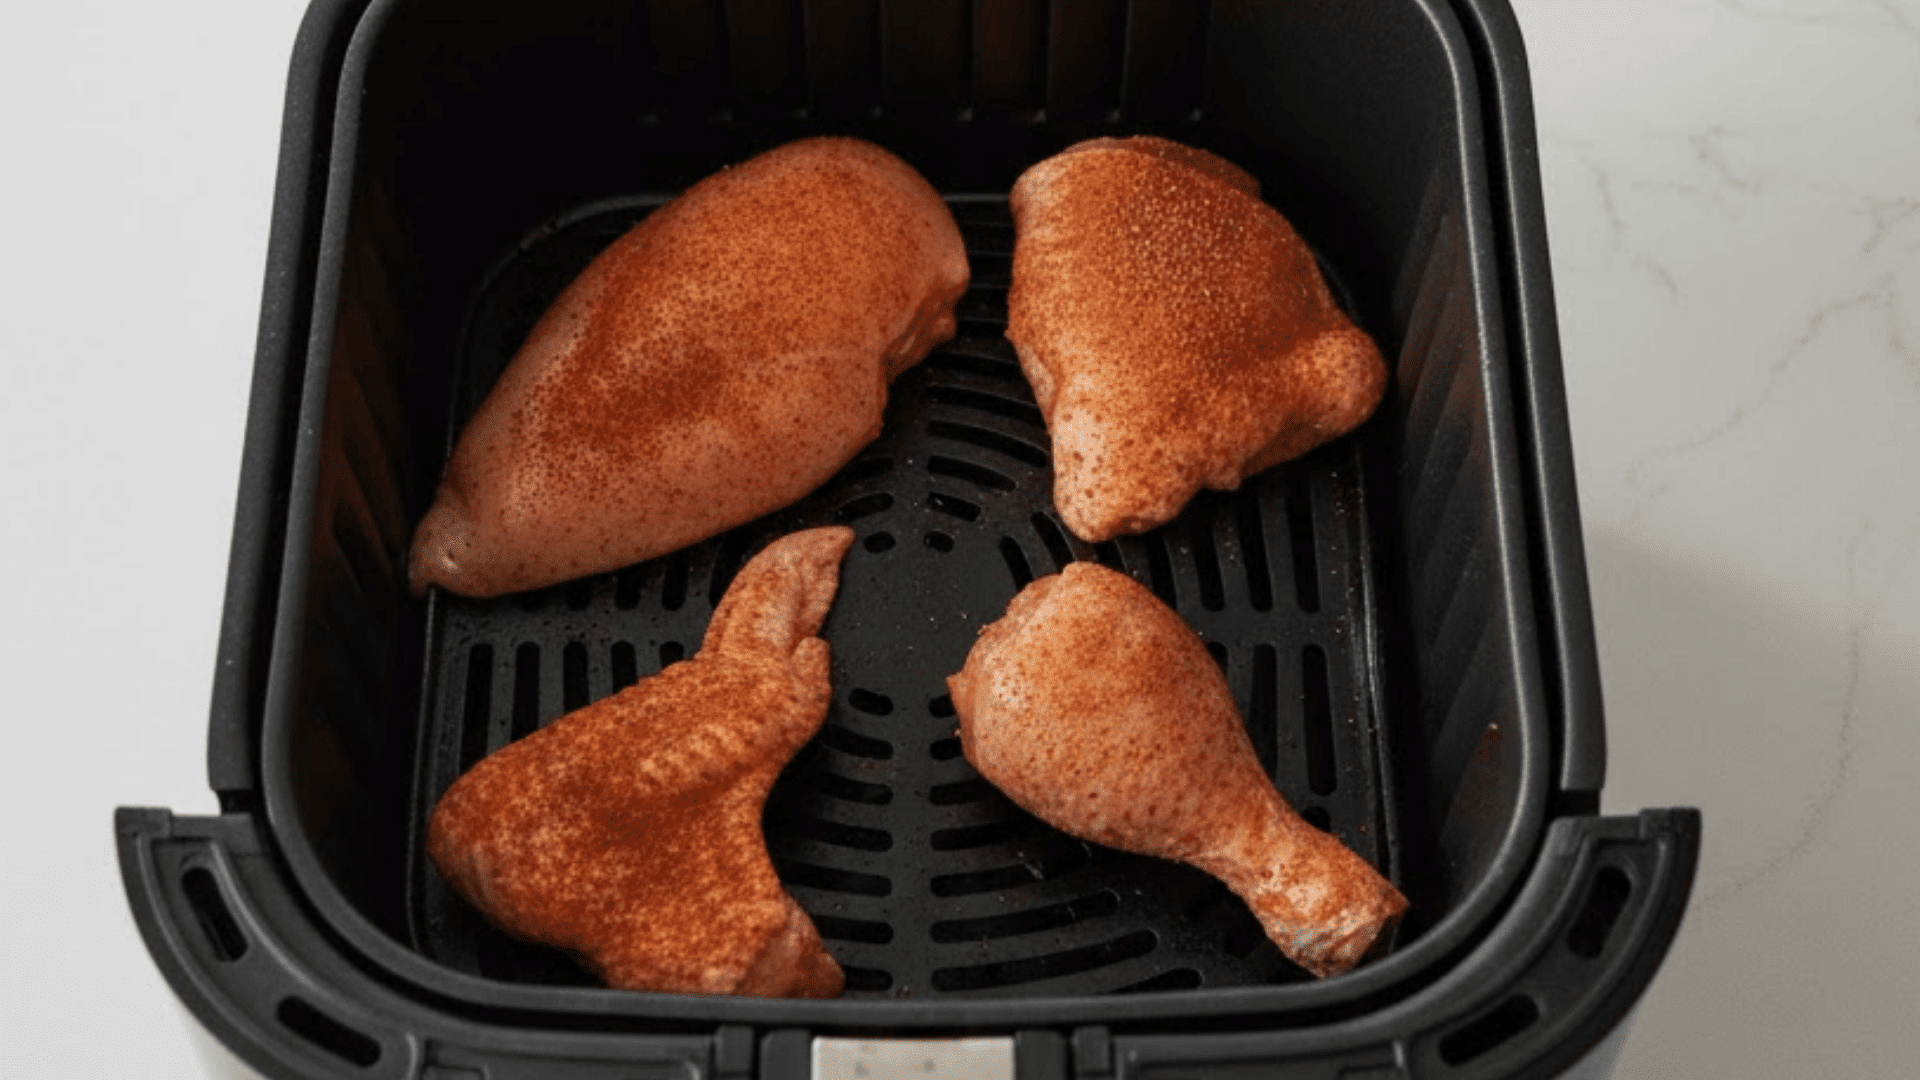
Arrange the chicken in a single layer, making sure pieces do not touch. Adequate space allows hot air to circulate around each cut, ensuring even cooking.
Begin with the first-phase times outlined in the chart below for proper initial cooking.
Initial Cook Time Chart (375–380°F)
| Chicken Cut | First Cook Time |
|---|---|
| Boneless Breasts | 8–9 minutes |
| Bone-In Thighs | 10–12 minutes |
| Drumsticks | 10–12 minutes |
| Wings | 8–10 minutes |
If you are taking bone-in breasts, cook 10–12 minutes, and boneless thighs, cook 9–10 minutes first.
Step 5: Flip and Continue Cooking
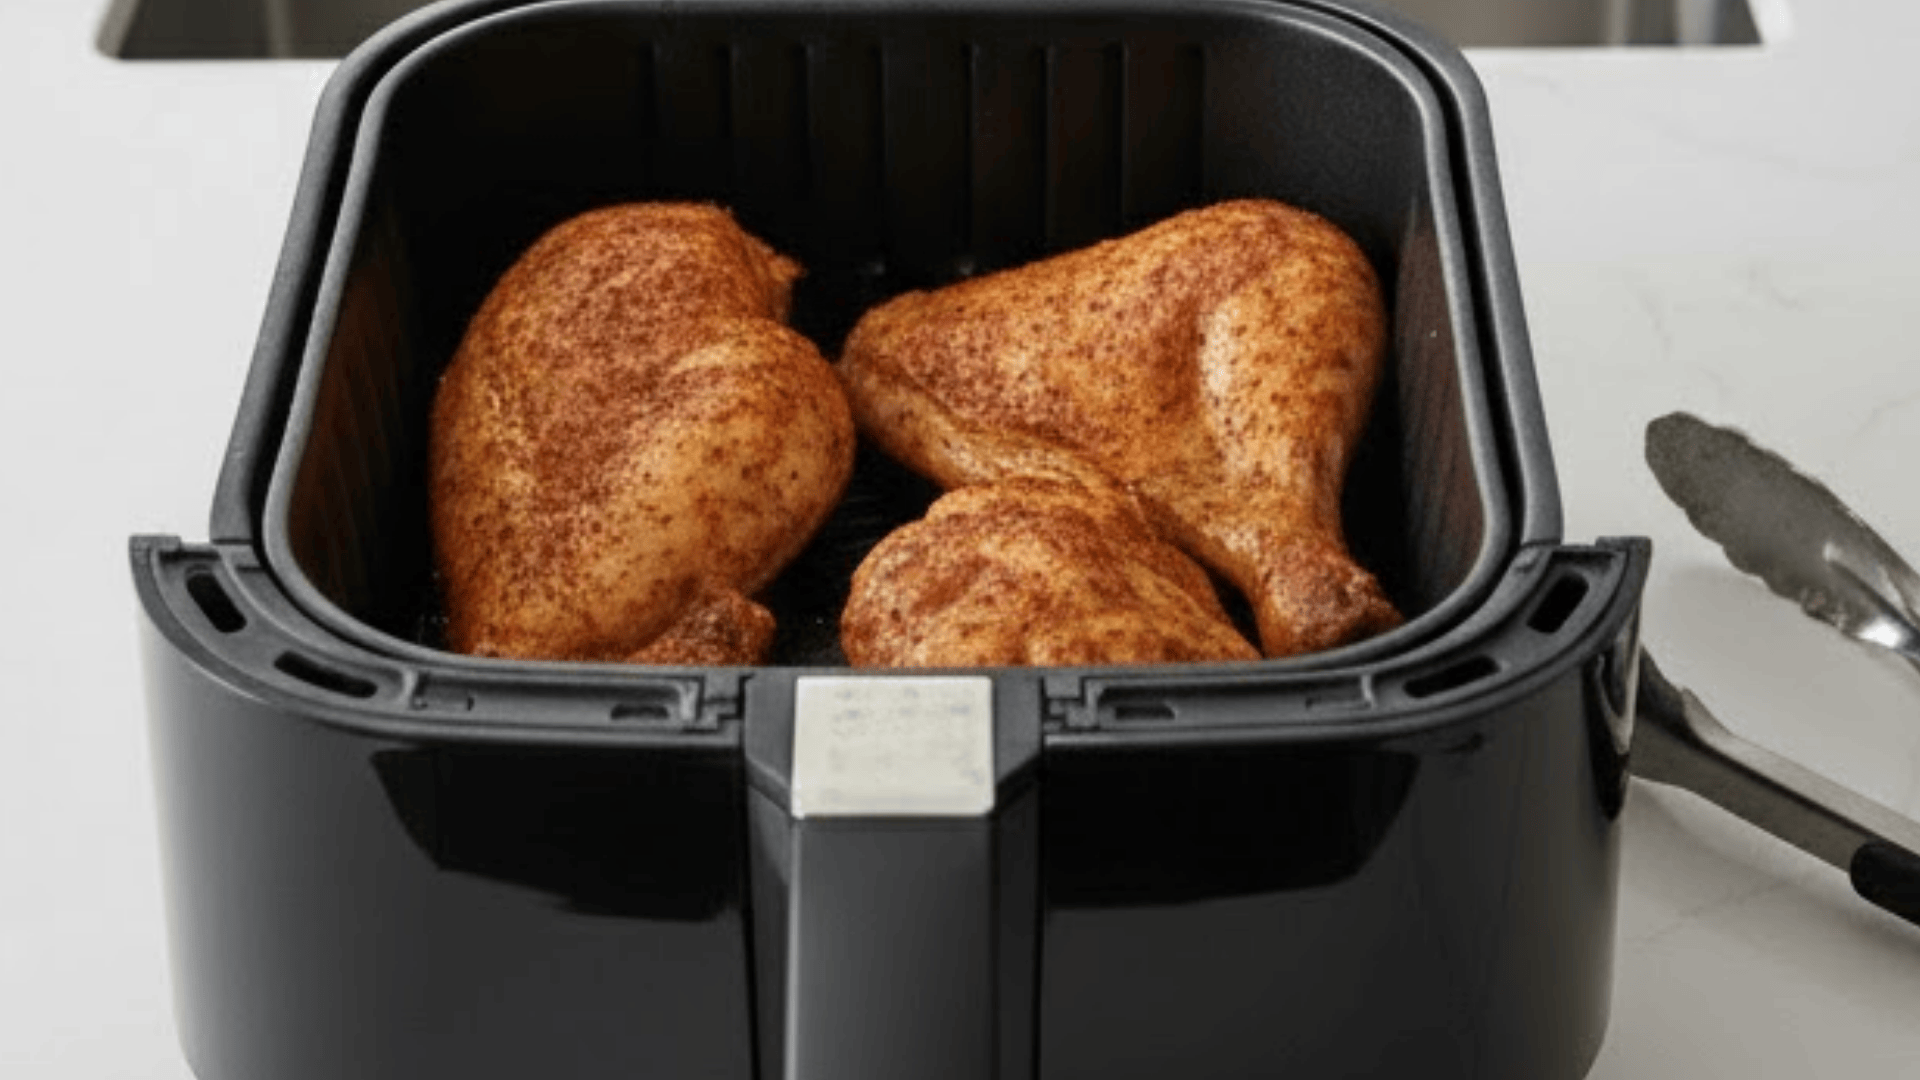
Use tongs to flip each piece, allowing the opposite side to brown and cook evenly.
Return the basket to the air fryer and follow the second-phase timing chart below to complete the cooking process to perfection.
Second-Phase Cook Time Chart (375–380°F)
| Chicken Cut | Second Cook Time |
|---|---|
| Boneless Breasts | 7–8 minutes |
| Bone-In Thighs | 8–10 minutes |
| Drumsticks | 8–10 minutes |
| Wings | 6–8 minutes |
For bone-in breasts, cook for 8–10 minutes more; for boneless thighs, cook for 8–9 minutes to finish.
Step 6: Apply BBQ Sauce
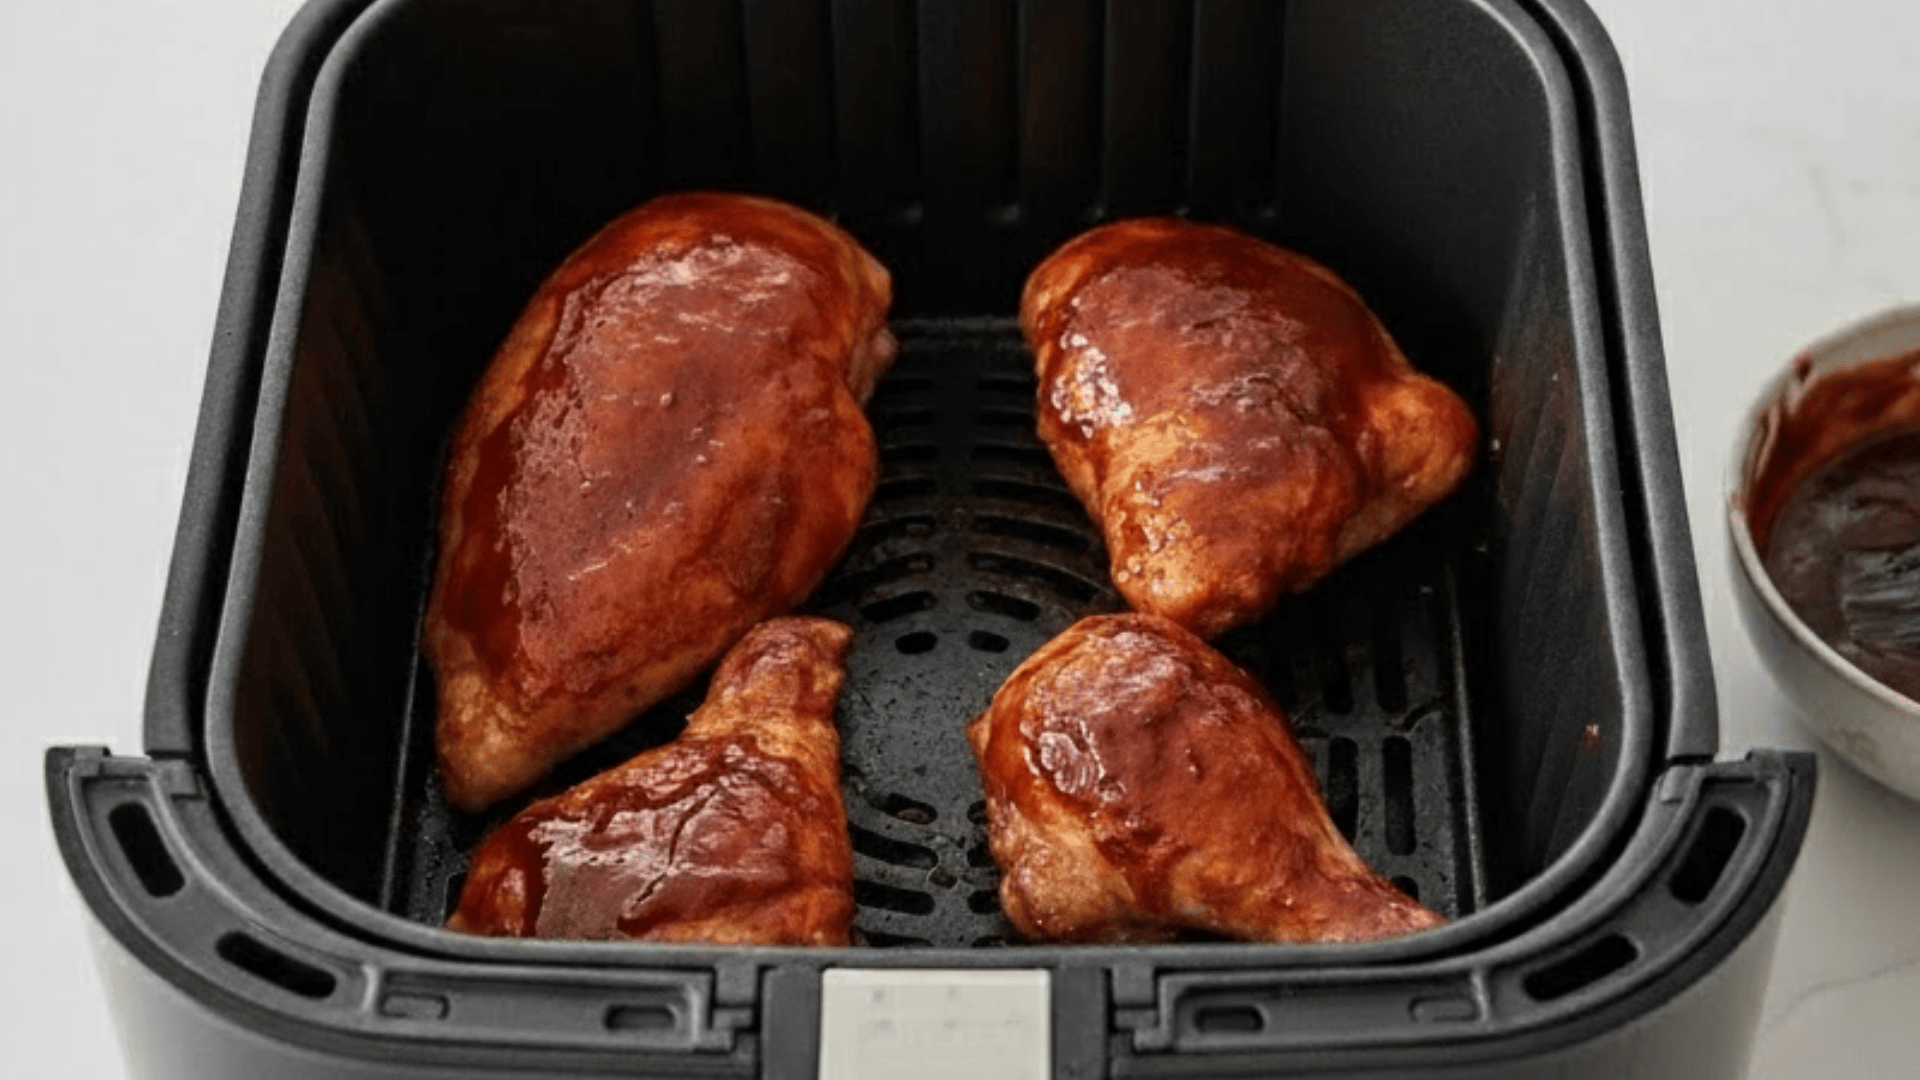
When the chicken reaches its near-final internal temperature, brush it generously with BBQ sauce. Return it to the air fryer for a short finish.
This final blast thickens the sauce, boosts caramelization, and creates that glossy, sticky BBQ coating without burning.
Step 7: Rest Before Serving
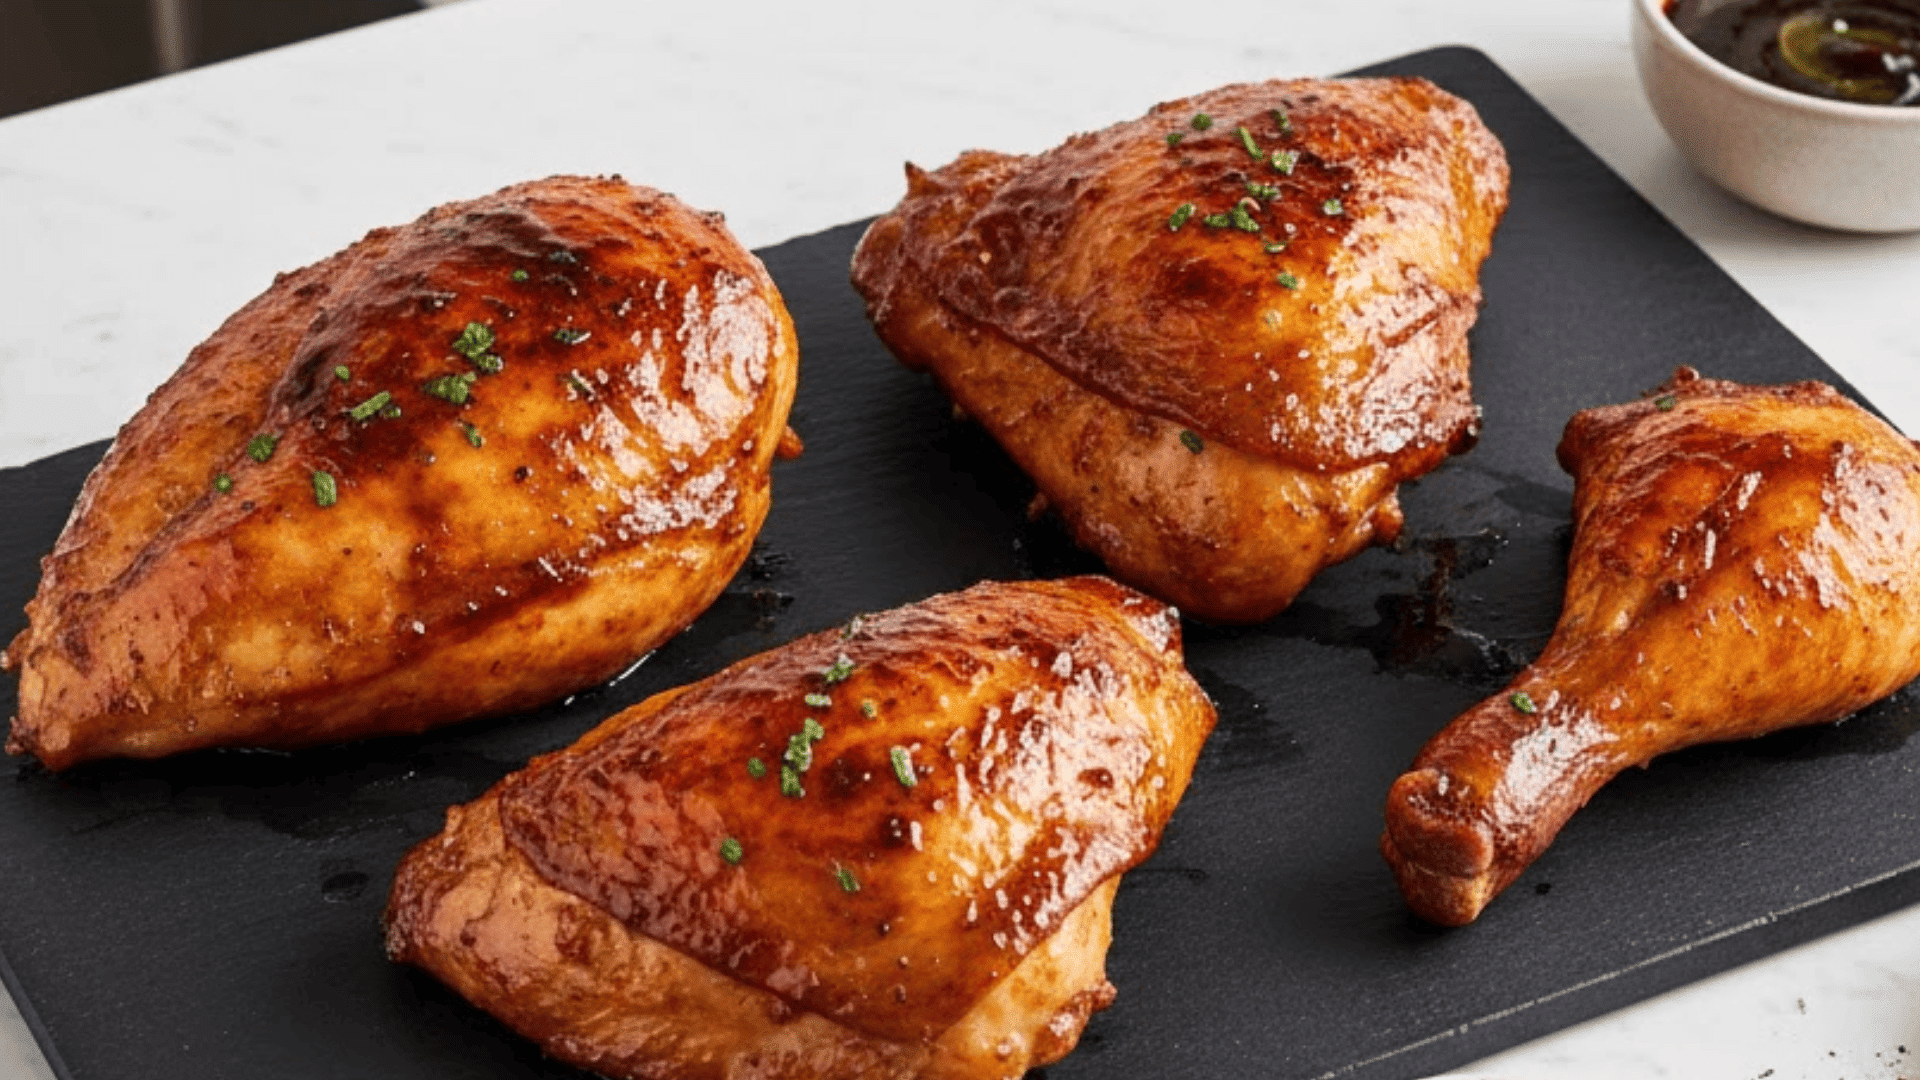
Transfer the cooked chicken to a cutting board or plate and let it rest for several minutes.
Resting allows the juices to settle back into the meat, preventing dryness and ensuring every bite stays tender, juicy, and deeply flavorful.
Expert Tips for Perfect Results
Improve texture, flavor, and consistency by following a few simple techniques that help your BBQ chicken cook evenly and caramelize beautifully in the air fryer.
- Start with room-temperature chicken: Let it sit 15–30 minutes so the inside cooks evenly without leaving the center cold or undercooked.
- Pat the chicken completely dry: Removing moisture prevents steaming and helps the skin or surface brown properly, resulting in a crisp, flavorful finish.
- Preheat the air fryer first: Those few minutes of preheating help the chicken cook faster, brown better, and develop an ideal texture.
- Avoid overcrowding the basket: Leave space between pieces for proper airflow; overcrowding causes steaming rather than crisping.
- Flip the chicken halfway through: Turning each piece ensures even cooking on both sides and improves overall color and texture
These simple tips boost flavor, improve tenderness, and help every batch of BBQ chicken finish juicy, evenly cooked, and beautifully caramelized.
Nutrition Facts by Chicken Cut (Per 100 g Cooked)
Understanding the nutritional profile of each chicken cut helps you choose the option that best fits your goals while still enjoying flavorful BBQ results.
| Nutrient | Breast | Thigh | Drumstick | Wing |
|---|---|---|---|---|
| Calories | 165 kcal | 225 kcal | 195 kcal | 240 kcal |
| Carbohydrates | 5 g | 6 g | 5 g | 6 g |
| Protein | 31 g | 19 g | 18 g | 17 g |
| Fat | 3.5 g | 15 g | 12 g | 17 g |
| Saturated Fat | 1 g | 4 g | 3 g | 5 g |
| Sugar | 4 g | 4 g | 4 g | 4 g |
| Sodium | 300 mg | 330 mg | 310 mg | 350 mg |
These values offer a quick, helpful comparison so you can pick the cut that fits your preferences—whether you want lean, protein-rich, or extra juicy BBQ chicken.
Common Mistakes to Avoid
Avoiding a few simple errors helps your BBQ chicken cook evenly, stay juicy, and develop the perfect caramelized finish in the air fryer.
- Adding sauce too early: Sugar burns fast. Apply BBQ sauce only during the final minutes for a clean, glossy, caramelized coating.
- Overcooking breasts: Lean meat dries quickly. Remove slightly early and let it rest, carry it to the safe internal temperature.
- Skipping the flip: Turning halfway helps achieve better browning and prevents pale, uneven cooking on the bottom.
- Crowding the basket: Pieces touching the trap stem. Leave space or cook in batches for crisp, evenly cooked chicken.
- Ignoring temperature checks: Time varies by cut and air fryer. Use a thermometer to verify doneness instead of guessing.
Following these simple adjustments guarantees juicy, consistent results and keeps your BBQ chicken flavorful, tender, and perfectly cooked every time.
Tasty Serving Inspirations
Give your BBQ chicken a fresh twist by pairing it with colorful ingredients and creative combinations that add extra flavor, texture, and excitement effortlessly.
- Platter Style: Arrange chicken neatly on a serving platter, drizzle extra BBQ sauce, and garnish with parsley, cilantro, or lemon wedges for brightness.
- BBQ Chicken Bowls: Build nourishing bowls with rice or quinoa, roasted vegetables, sliced chicken, avocado, pickled onions, and a generous drizzle of BBQ sauce.
- Wraps and Tacos: Fill tortillas with diced chicken, coleslaw, pickled jalapeños, and a creamy dressing for a flavorful, crunchy, satisfying handheld meal.
- Fresh Salad Add-In: Add sliced chicken to mixed greens with tomatoes, corn, beans, and cheese, then dress with your favorite ranch or vinaigrette for a balanced meal.
- Loaded Sandwiches: Create hearty sandwiches with chicken, coleslaw, pickles, extra BBQ sauce, and crispy onion strings on warm, lightly toasted buns.
These simple ideas bring variety and fun to your meals, turning your BBQ chicken into exciting dishes perfect for any craving or occasion.
Proper Storage and Reheating
Store chicken only after it cools completely. Place pieces in an airtight container, separating layers with parchment to prevent sticking.
Refrigerate within two hours and keep for 3–4 days. For longer storage, wrap individual pieces, place in a freezer bag, remove excess air, label, and freeze up to 2–3 months.
Thaw overnight in the refrigerator. Reheat in the air fryer at 350–360°F for 5–8 minutes, flipping halfway, and add sauce during the final minute for moisture.
Oven reheating: 350°F for 15–20 minutes. Stovetop reheating requires small pieces and a splash of liquid. Avoid microwaving unless absolutely necessary.
Final Thoughts
Air fryer BBQ chicken brings all the flavors of summer grilling to your kitchen year-round.
With cooking times of a few minutes, minimal cleanup, and consistently juicy results, this method has earned its place in regular dinner rotation.
Even if serving it as a main course with classic sides or using it in wraps, salads, and bowls, this method’s adaptability makes it incredibly valuable.
The crispy exterior, juicy interior, and caramelized BBQ coating create a complete flavor experience.
Ready to get started? Preheat the air fryer and get ready for the easiest, most delicious BBQ chicken you’ve ever made. Don’t forget to share your results and any favorite variations you discover!
Have questions or want to share your experience? Leave a comment below—I’d love to hear how your air fryer BBQ chicken turned out!