

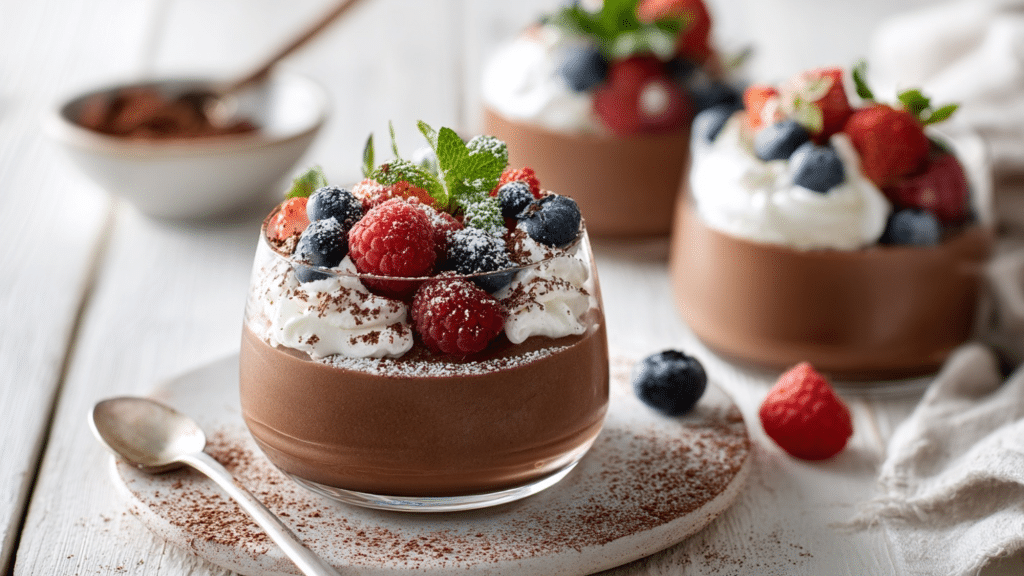

Chocolate mousse without eggs or cream? Sounds impossible, right? Think again. Plant-based chocolate mousse has become the dessert everyone’s talking about in 2025.
Food lovers everywhere are swapping traditional recipes for these creamy, guilt-free alternatives.
What started as a simple substitution has grown into something much bigger. Social media feeds burst with gorgeous mousse photos.
Restaurants proudly feature plant-based desserts on their menus. The best part? These mousses often taste richer and creamier than the original versions.
They pack more nutrients, too. No dairy means easier digestion for millions of people. No eggs means safer preparation and longer shelf life.
Ready to learn why everyone’s making the switch?
Why You’ll Love This Recipe
This recipe delivers that same rich, creamy chocolate indulgence you crave from fancy restaurants. No more expensive dessert bills when you want that luxurious taste at home.
The mousse sets up with a silky, smooth texture that melts on your tongue. It’s the ideal consistency for a truly satisfying chocolate dessert experience.
Most ingredients are probably already in your kitchen pantry. Plus, you can adjust the sweetness level or add extra flavors to make it exactly how you like it.
This mousse works for any occasion. Serve it for romantic dinners, family gatherings, or enjoy a quick weeknight treat that feels completely special
Ingredients You’ll NeedFor Creamy Base Options:
For Sweet Solutions:
For Flavor Boosters:
|
Pro Tip: Start with room temperature ingredients for smoother blending, and always taste as you go to adjust sweetness and chocolate intensity to your preference.
Quick Recipe Overview
Here’s everything you need to know before you start cooking your perfect vegan mousse.
| Aspect | Details |
|---|---|
| Total Time | 20 minutes + 2 hours chill |
| Active Prep | 10 minutes |
| Servings | 4 generous portions |
| Storage | 3 days refrigerated |
| Difficulty | Beginner-friendly |
| Key Success Factor | Temperature control |
Note: This dessert actually improves after chilling, making it perfect for dinner parties and meal prep.
How to Make Classic Vegan Chocolate Mousse
This reliable method works with any base ingredient and delivers restaurant-quality results every single time.
Step 1: Prepare Your Chocolate Base
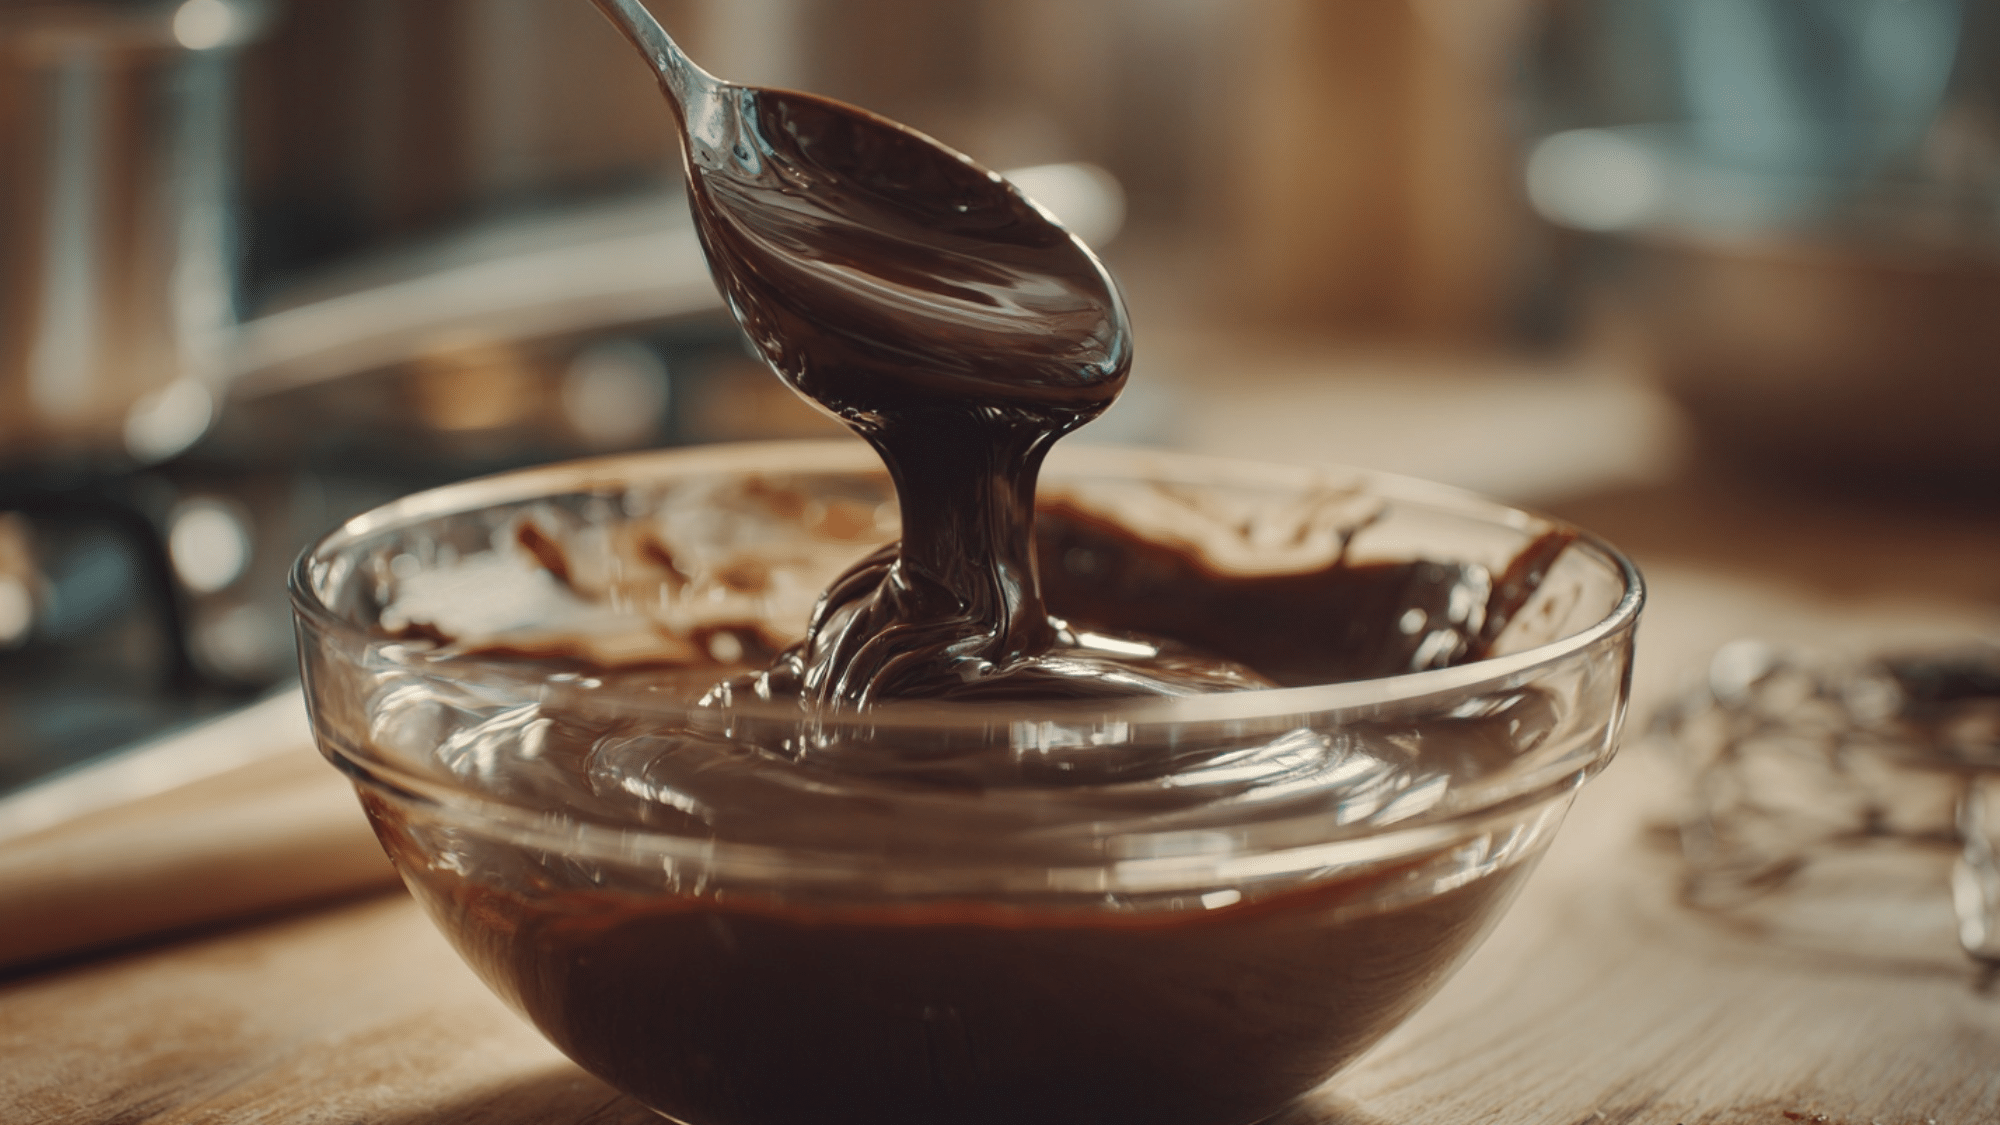
Melt 6 oz of quality dark chocolate using a double boiler or microwave in 30-second intervals. Stir until completely smooth and let cool to room temperature for about 5 minutes.
The chocolate should feel warm but not hot when you add it to prevent seizing. Test the temperature with your finger – it should be comfortable to touch. Hot chocolate will cause delicate textures to break down and create grainy results.
Step 2: Prepare Your Base Ingredient
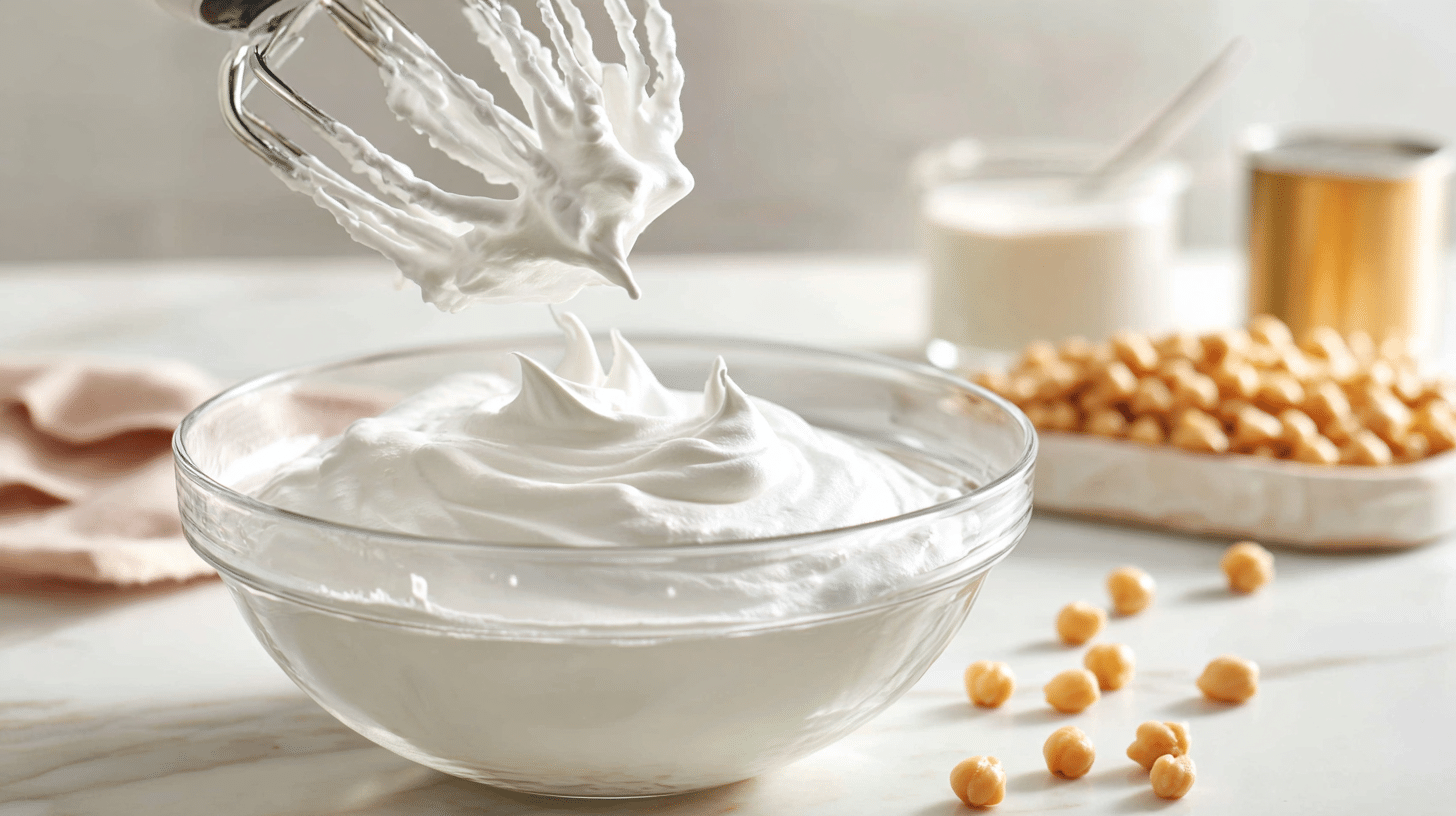
Drain one can of chickpeas and save the liquid; you’ll need half a cup. Pour the aquafaba into a clean, dry mixing bowl and whip it with an electric mixer on high speed for 10-15 minutes.
Keep whipping until stiff peaks form, meaning the mixture stands up straight when you lift the beaters.
The aquafaba should look light, fluffy, and almost like meringue. This whipped aquafaba will give your mousse its airy, cloud-like texture without any eggs or dairy.
Step 3: Blend Your Mousse
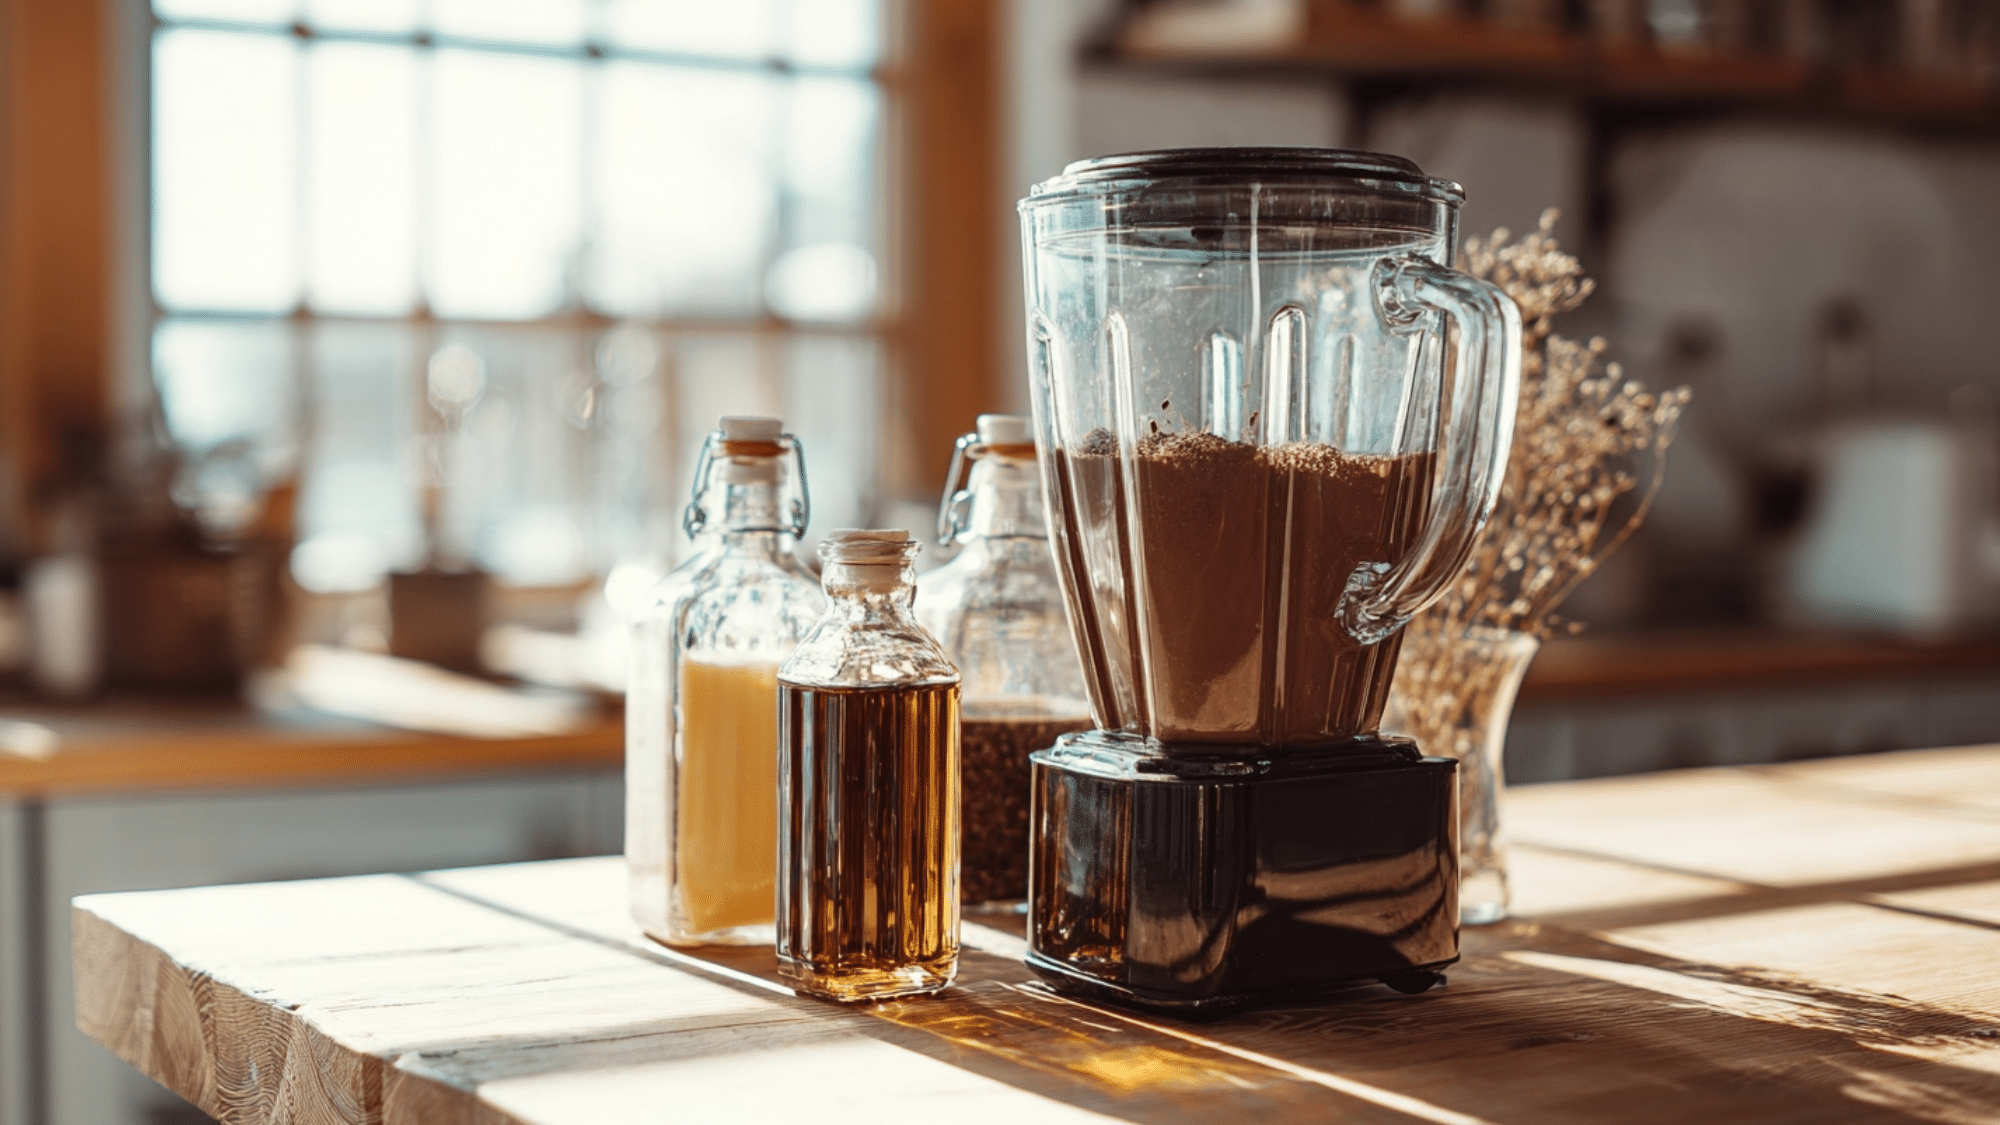
Add your base ingredient to a food processor or blender with 3 tablespoons of maple syrup and 1 teaspoon of vanilla extract. Blend until completely smooth and creamy, scraping down sides as needed.
Slowly add the cooled melted chocolate while the machine runs on low speed. Process until fully combined and the mixture reaches a uniform color. Taste and adjust the sweetness with more maple syrup if desired.
Step 4: Get the Right Texture
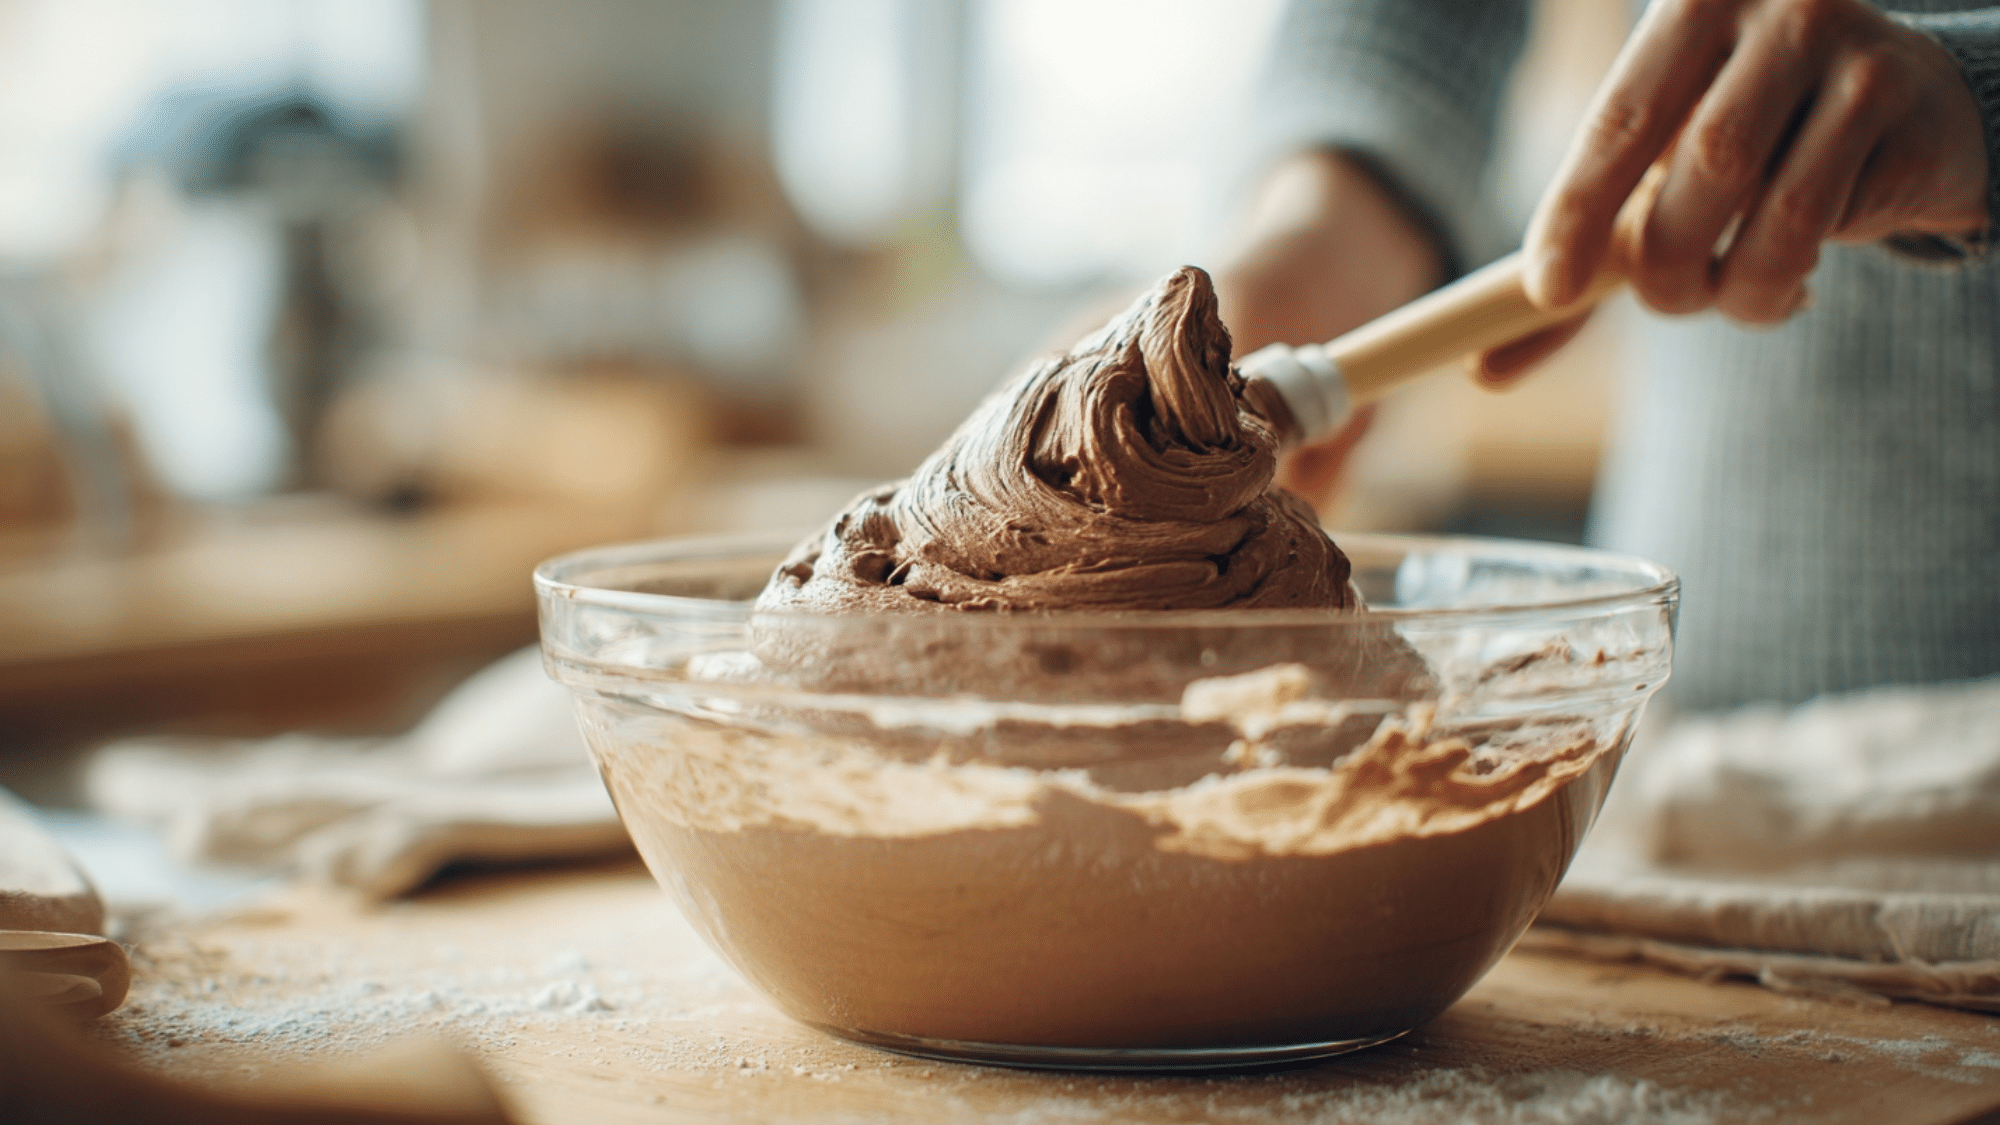
For aquafaba mousse: Gently fold the chocolate mixture into whipped aquafaba using a rubber spatula. For other bases: Transfer the blended mixture directly to serving containers without additional folding.
All versions benefit from gentle handling to maintain their smooth, creamy consistency. Avoid overmixing once the chocolate is incorporated to prevent the mousse from becoming dense.
Step 5: Chill and Serve
Divide the mousse evenly between 4 serving glasses or small bowls using a large spoon. Cover each portion with plastic wrap and refrigerate for at least 2 hours before serving.
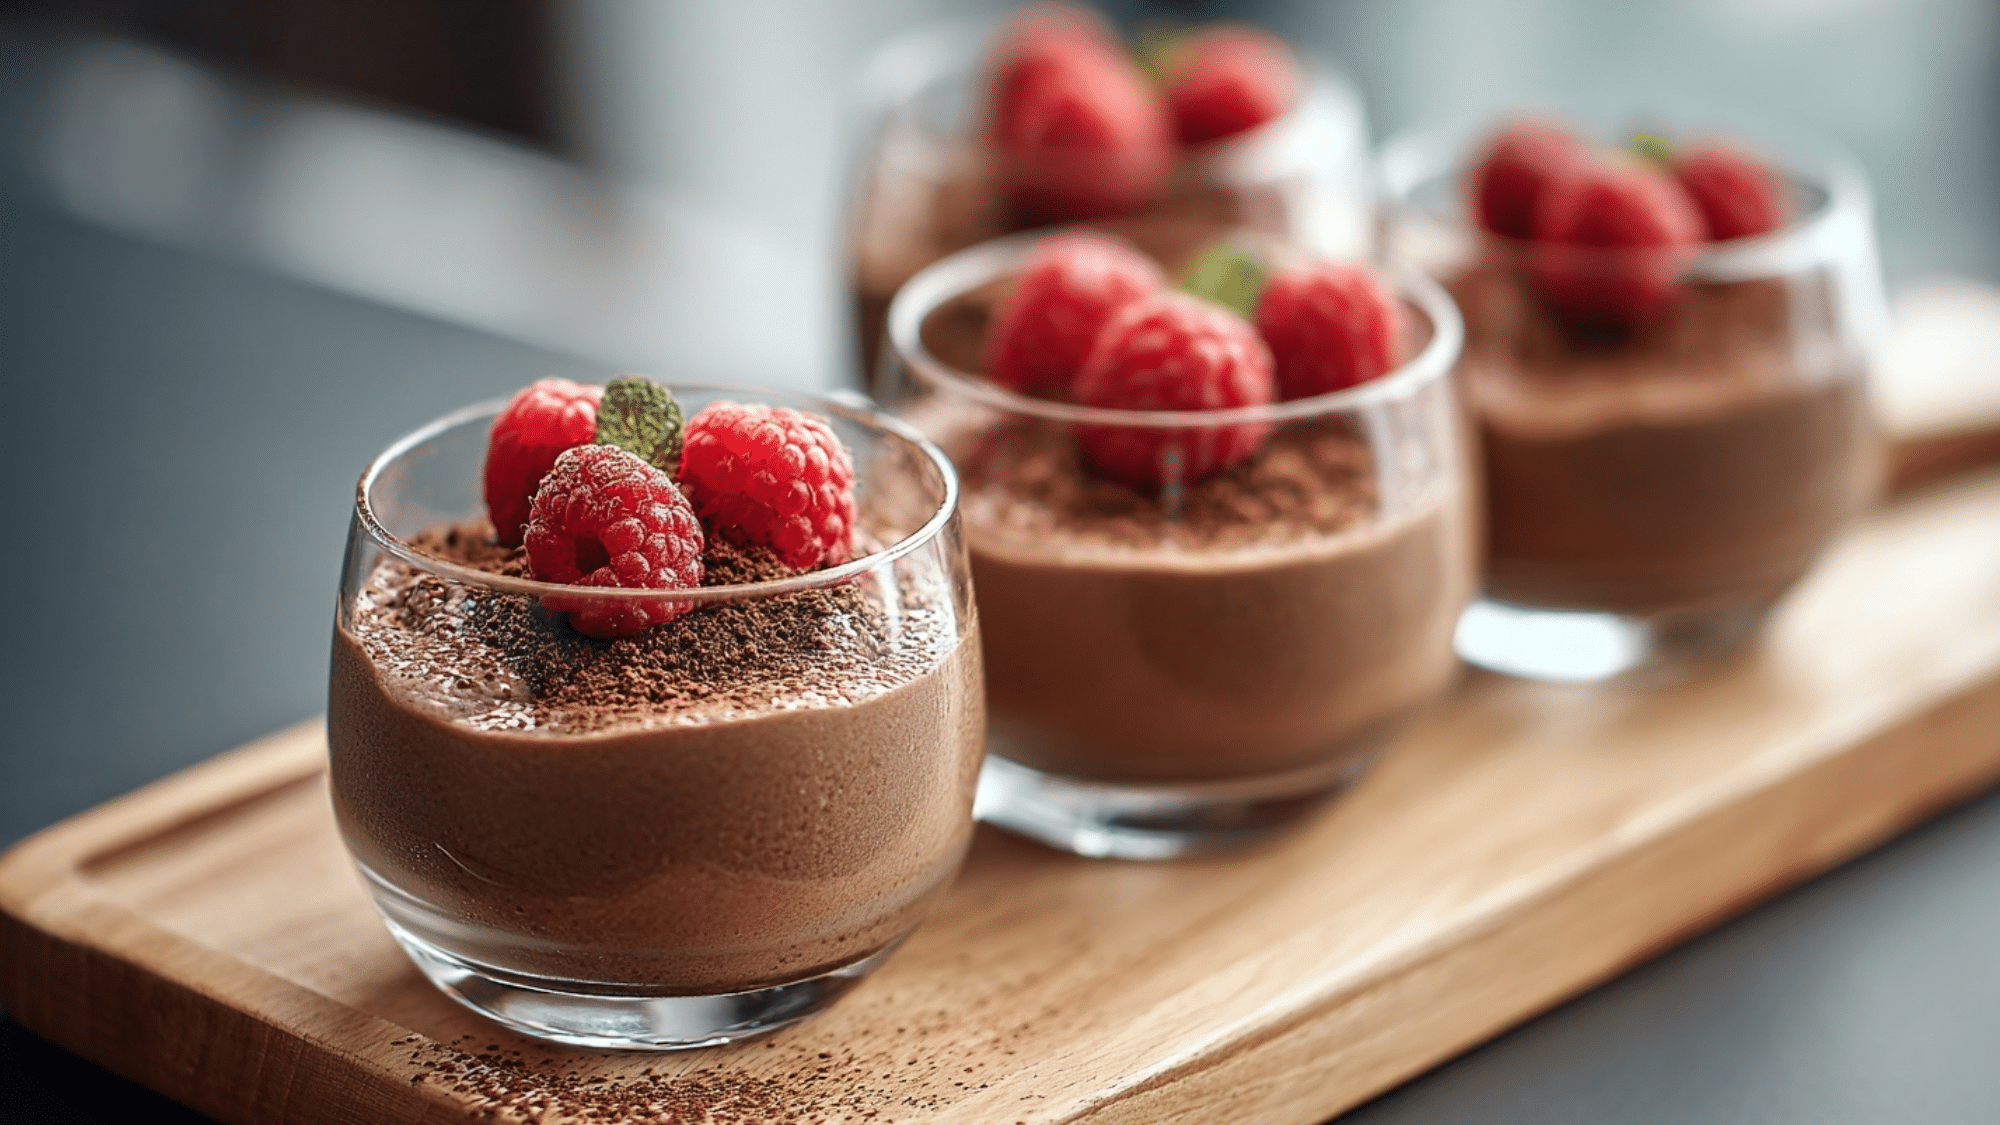
The mousse continues to set and develop its final creamy texture during this chilling time. For best results, allow 4-6 hours of refrigeration for the flavors to meld completely. Just before serving, add toppings like whipped coconut cream, fresh berries, or a dusting of cocoa powder.
Nutrition Facts Made Simple
Here’s the complete nutritional breakdown for one serving (120g) of classic vegan chocolate mousse.
| Nutrient | Amount per Serving (120g) |
|---|---|
| Calories | 165 kcal |
| Total Fat | 7g |
| Protein | 2g |
| Carbohydrates | 30g |
| Fiber | 3g |
| Sugar | 20g |
| Sodium | 15mg |
| Cholesterol | 0mg |
Pro Tip: This dairy-free dessert provides antioxidants from dark chocolate and contains zero cholesterol, making it a heart-healthier alternative to traditional mousse.
Popular Mousse Styles Everyone Loves
Each base creates a completely different texture and flavor experience for every taste preference.
1. Rich Avocado Mousse
Dense and satisfying like a chocolate truffle filling, this version delivers healthy fats and fiber. The avocado flavor completely disappears behind quality chocolate.
Perfect for people who want a more substantial, nutrient-packed dessert experience.
2. Smooth Silken Tofu Mousse

This creates the most custard-like texture with an impressive protein boost of up to 8 grams per serving.
The neutral flavor makes it perfect for showcasing high-quality chocolate. It’s also the most shelf-stable option for meal prep and batch cooking.
3. Light Coconut Cream Mousse
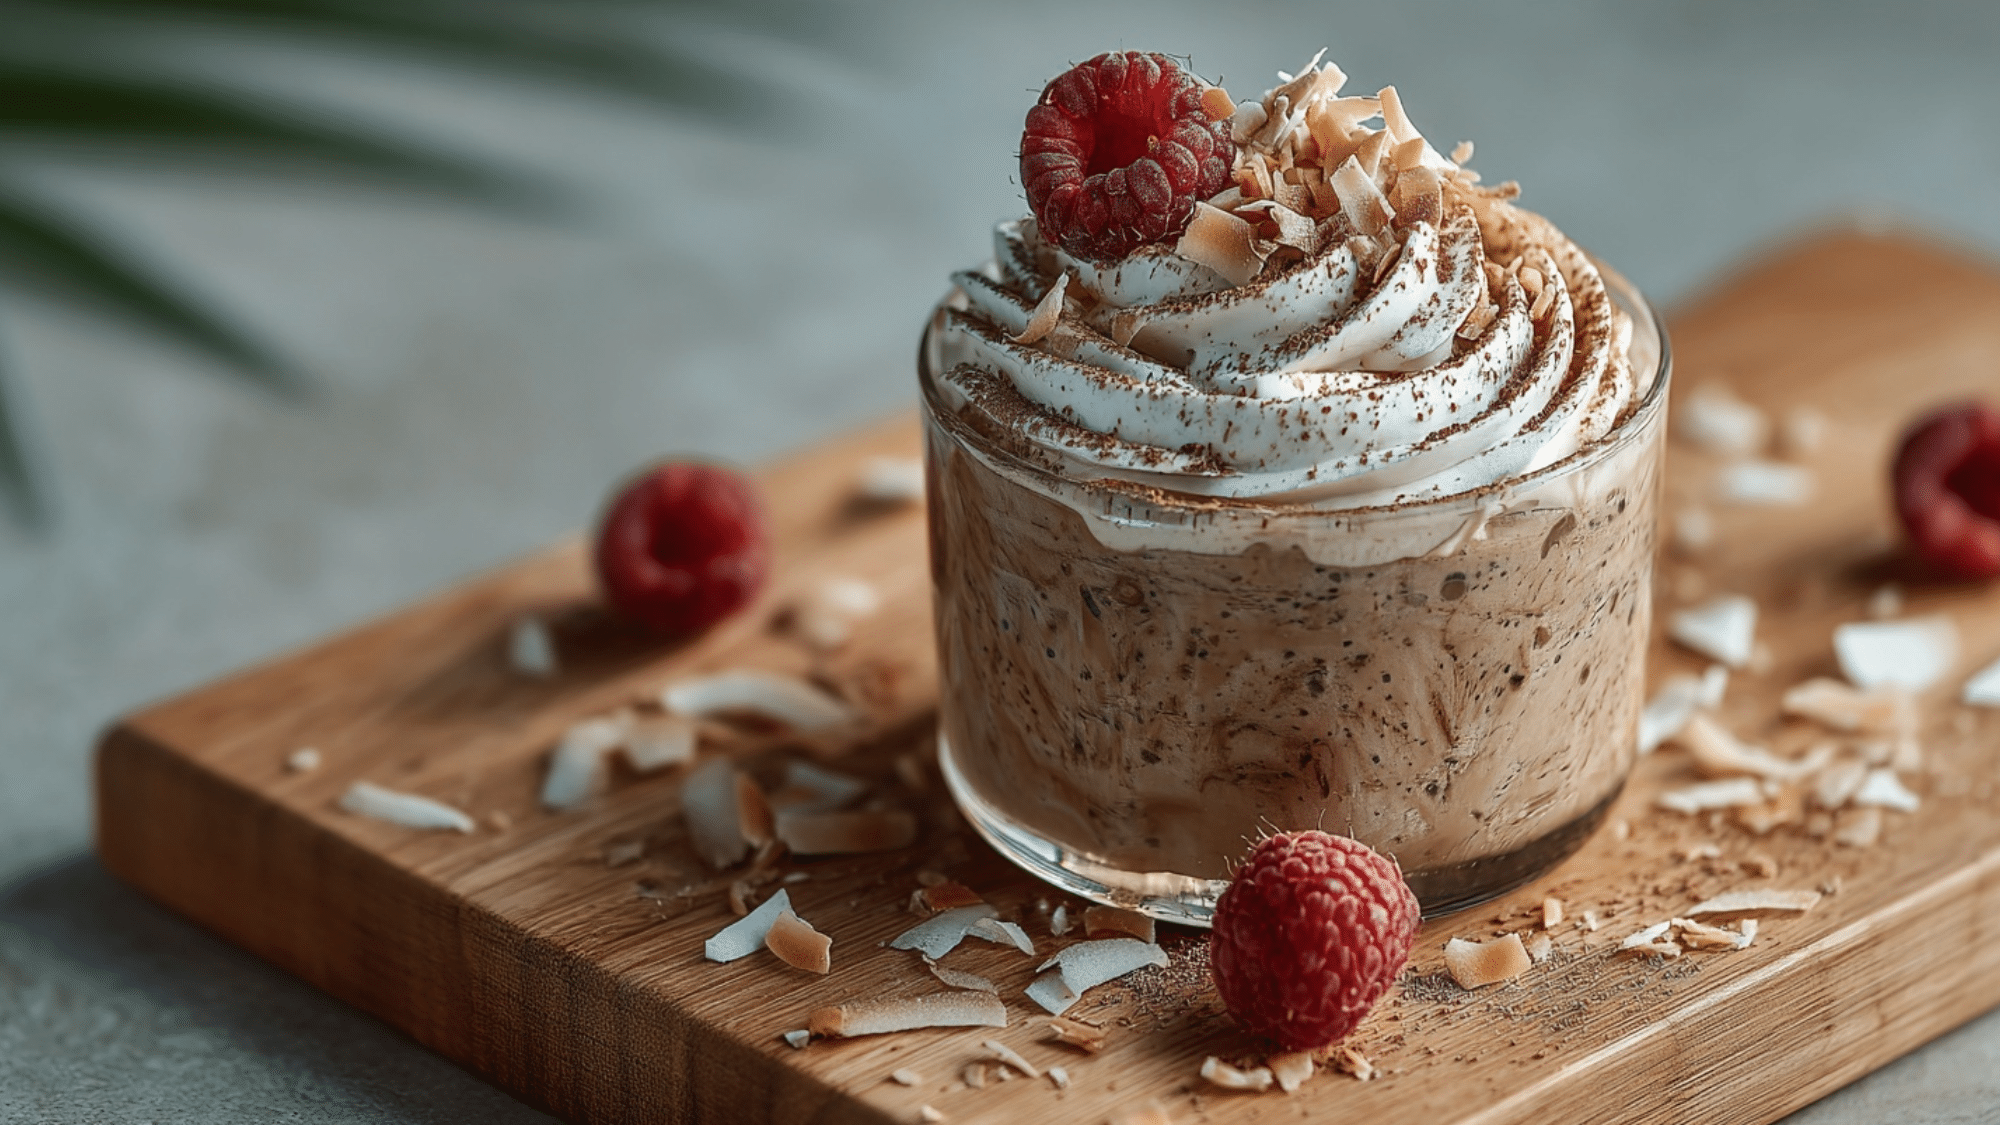
Naturally sweet with subtle tropical notes that complement dark chocolate perfectly. This version whips up quickly and holds its shape well for piped presentations.
The coconut flavor adds an interesting twist without overpowering the chocolate.
How to Store and Freeze
Keep your homemade vegan mousse fresh and delicious with these simple storage guidelines.
- Refrigerator Storage – Keep your vegan mousse covered with plastic wrap or in airtight containers for up to 4 days. The flavors actually improve after the first day of chilling.
- Freezing Instructions – Freeze individual portions in freezer-safe containers for up to 2 months. Leave some space at the top since the mousse will expand slightly when frozen.
- Thawing Process – Move frozen mousse to the refrigerator 4-6 hours before serving. Let it thaw completely for the best creamy texture and flavor development.
- Texture After Freezing – Frozen and thawed mousse may be slightly denser than fresh, but still delicious. Give it a gentle stir before serving if needed.
- Portion Control Tip – Freeze mousse in individual serving cups or ice cube trays for perfect single servings. This prevents waste and makes portion control easier.
- Fresh Toppings – Always add fresh berries, whipped cream, or other toppings after thawing. Frozen toppings can make the mousse watery when they defrost.
Pro Tip: Label your containers with the date and type of mousse base used, so you can track freshness and remember which variation you loved most.
Tips for the Perfect Result
Follow these essential techniques to guarantee perfect vegan chocolate mousse every time.
- Use Room Temperature Ingredients – Ensures smooth blending and prevents chocolate seizing.
- Choose Quality Chocolate (70% Cacao) – High cacao content provides rich flavor that balances plant-based ingredients.
- Whip Aquafaba for Full 10-15 Minutes – Proper whipping creates the airy structure needed for perfect mousse.
- Fold Gently with Figure-Eight Motions – Light movements maintain creamy consistency without deflating texture.
- Chill for a Minimum of 2 Hours – Proper setting time allows flavors to develop and texture to firm up.
Pro Tip: Make your mousse the day before serving for the best flavor and texture development – it actually tastes better after overnight chilling.
Chocolate Dreams Come True!
Plant-based desserts have moved far beyond simple substitutions into something truly special.
Vegan chocolate mousse proves that choosing plant-based ingredients often creates better flavors, textures, and nutrition than traditional recipes.
Whether you prefer aquafaba’s airy lightness, avocado’s rich creaminess, tofu’s protein power, or coconut’s natural sweetness, there’s a perfect version waiting for you.
More people find that plant-based desserts satisfy them more completely while supporting both personal health and environmental goals.
These mousses contain no cholesterol, less saturated fat, and often more fiber than dairy versions. The dessert world has changed forever, and these mousses lead the way forward.
Try your first vegan chocolate mousse this week.