

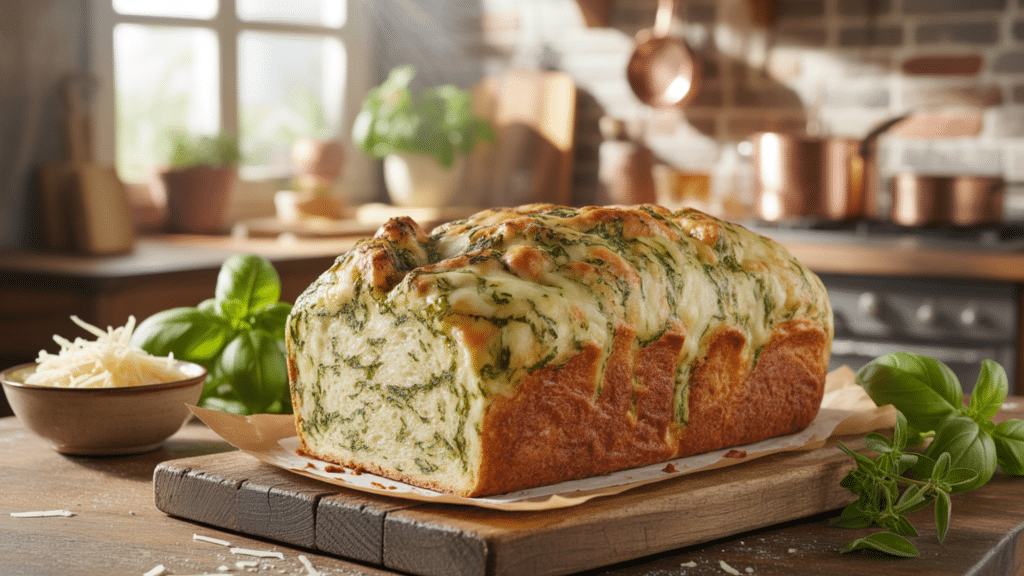

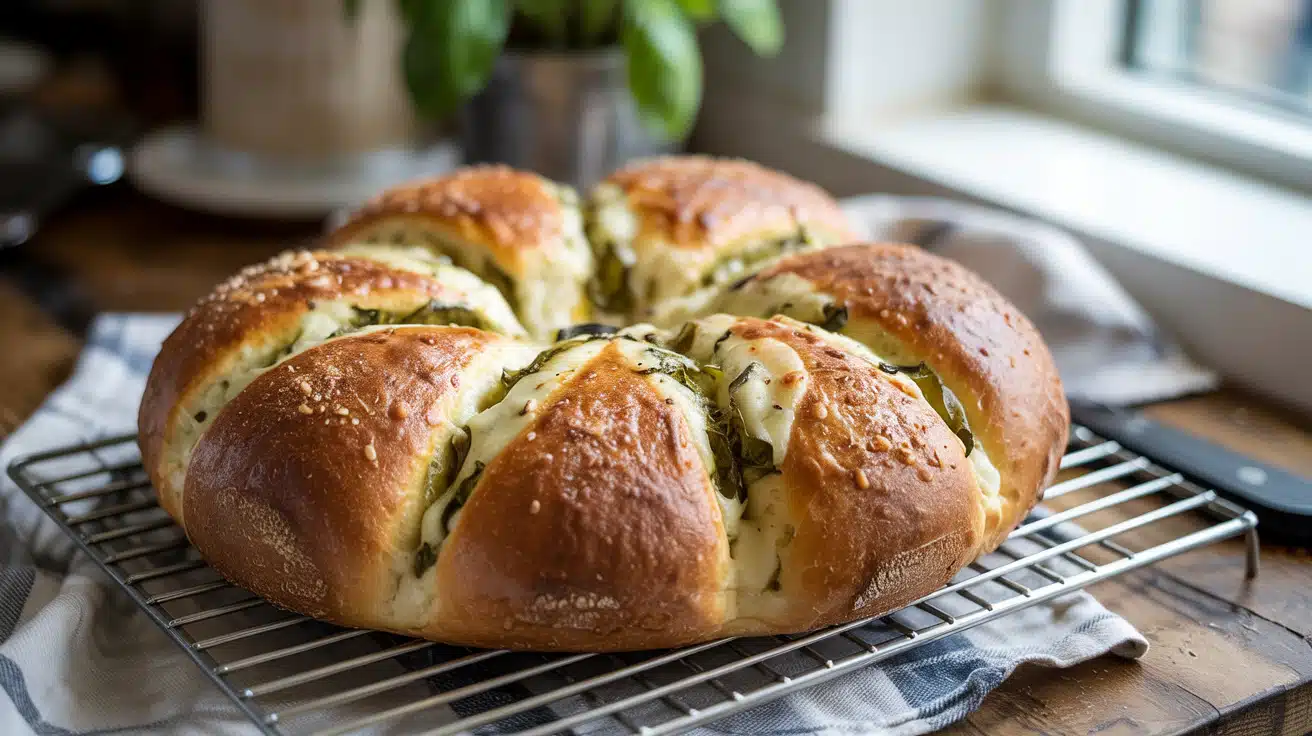
Craving That Perfect Italian Herb and Cheese Bread at Home?
That warm, herb-filled aroma. The golden crust is dotted with melted cheese. The soft, pillowy inside that makes every sandwich better. You know exactly what we’re talking about – that delicious Italian herb and cheese bread from Subway.
Good news! You don’t need to leave your kitchen to enjoy this bakery favorite. Making your own version at home is easier than you might think. Plus, your whole house will smell incredible while it bakes.
This recipe captures all those wonderful flavors you love. Fresh herbs, savory cheese, and that perfect chewy texture. Soon you’ll be slicing into homemade loaves that taste just as good as the original. Maybe even better.
Ready to get started?
Why You’ll Love This Recipe
This recipe delivers that same herb-packed flavor and chewy texture you crave from Subway. No more trips to the sandwich shop when you want that special taste.
The bread bakes up with a golden, lightly crunched crust that gives way to a tender, fluffy center. It’s the perfect texture for any sandwich.
Most of what you need is probably already in your kitchen. Plus, you can add extra herbs or cheese to make it exactly how you like it.
This bread works for everything. Make morning toast, build hearty sandwiches, or serve warm slices alongside your favorite Italian dinner.
Key Ingredients You’ll NeedFor the Bread Dough
For the Topping
|
How to Make Italian Herb and Cheese Bread
Ready to bring that bakery taste to your kitchen? These simple steps will guide you through making soft, flavorful bread that rivals any sandwich shop version.
Step 1: Mix and Knead the Dough
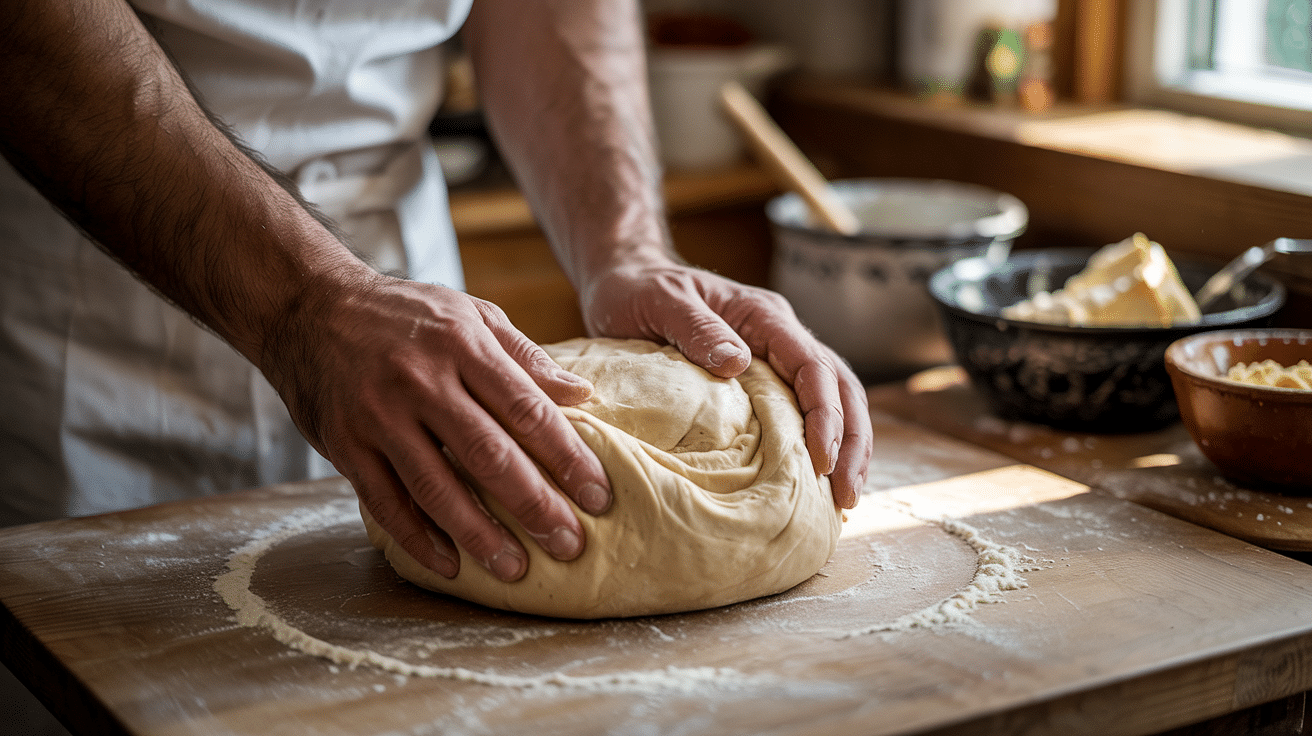
Start by mixing your flour, sugar, salt, and yeast in a large bowl. Make a well in the center and add the warm water and melted butter. Stir everything together until it forms a rough dough.
Turn it out onto a floured surface and knead for about 8-10 minutes until the dough becomes smooth and stretchy. Place the dough in a greased bowl, cover with a damp towel, and let it rise in a warm spot for about 1 hour until it doubles in size.
Pro Tip: Your water should feel just slightly warm to the touch, not hot. Too much heat will kill the yeast, while cold water won’t activate it properly.
Step 2: Form Your Loaves
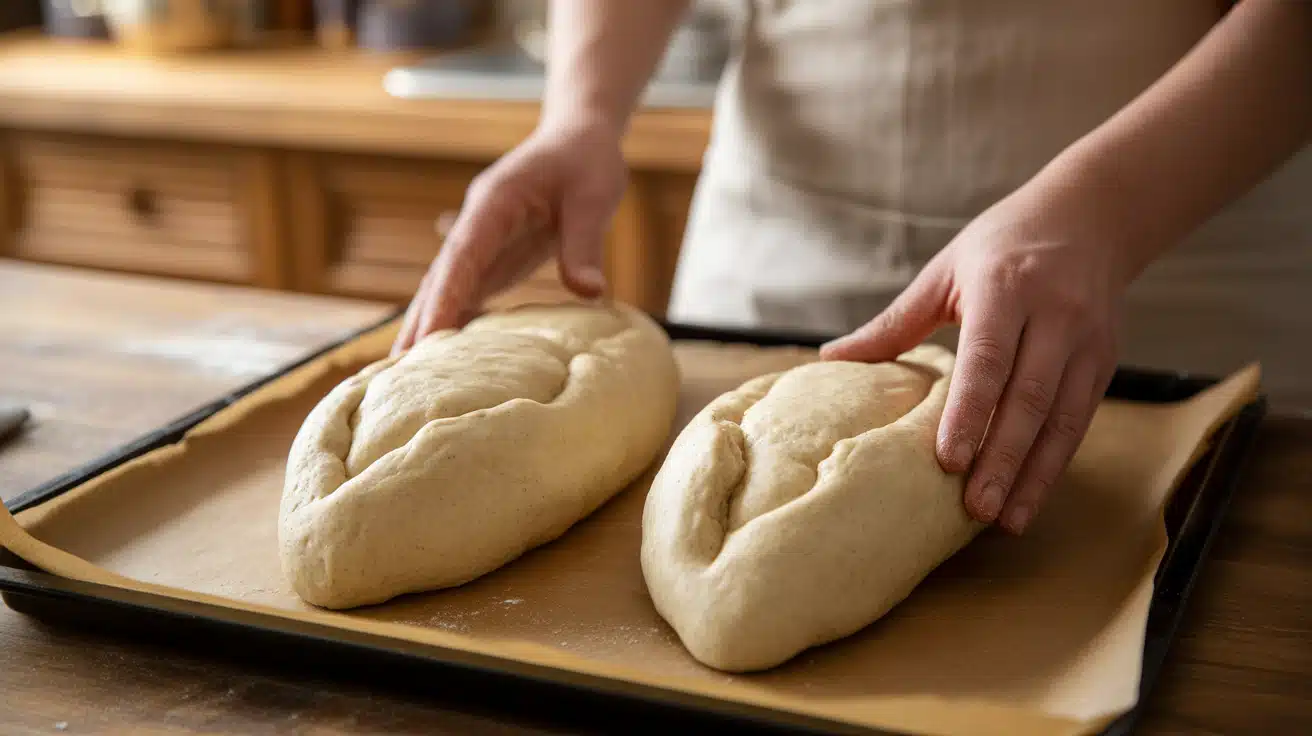
Once the dough has risen, punch it down gently to release air bubbles. Divide the dough into two equal portions. Roll each piece into a long oval shape, about 12 inches long, to make that classic submarine roll look.
Place both loaves on a parchment-lined baking sheet, leaving space between them.
Pro Tip: Dust your hands with flour if the dough feels sticky while shaping. This prevents it from sticking without adding too much extra flour.
Step 3: Add the Herb and Cheese Topping

Brush the tops of both loaves with melted butter or beaten egg for a golden finish. Mix your dried herbs, garlic powder, and onion powder in a small bowl.
Sprinkle this herb mixture generously over both loaves. Top with the shredded cheese, pressing it lightly so it sticks to the dough.
Pro Tip: Save some herb mixture to sprinkle on top of the cheese for extra flavor and a prettier finish.
Step 4: Bake Until Golden
Preheat your oven to 375°F. Bake for 25–30 minutes, until the bread is golden, the cheese is bubbling, and the loaves sound hollow when tapped on the bottom.
Let the loaves cool on the baking sheet for 5-10 minutes before slicing and serving.
Pro Tip: Check the bread at 20 minutes. If the cheese is browning too quickly, tent it loosely with foil for the remaining baking time.
Tips for the Perfect Result
Want to nail that authentic Subway taste and texture? These simple tricks will take your homemade bread from good to restaurant-quality.
- Using bread flour for extra chew – Bread flour gives you that satisfying chewy bite. If using all-purpose flour, add one tablespoon of vital wheat gluten per cup.
- Getting Subway’s airy texture – Let the dough rise until truly doubled in size, about 60-90 minutes. For better results, try an overnight cold rise in the fridge.
- Cheese blend ratio for best melt and flavor – Use equal parts mozzarella and provolone. Grate your own cheese instead of buying pre-shredded for better melting.
- Avoiding soggy bottoms – Start baking on the bottom rack for 15 minutes, then move to the center. Cool on a wire rack to prevent steam from softening the crust.
Follow these tips, and your homemade Italian herb and cheese bread will taste just like the original. Maybe even better since it’s fresh from your own oven.
Variations to Try
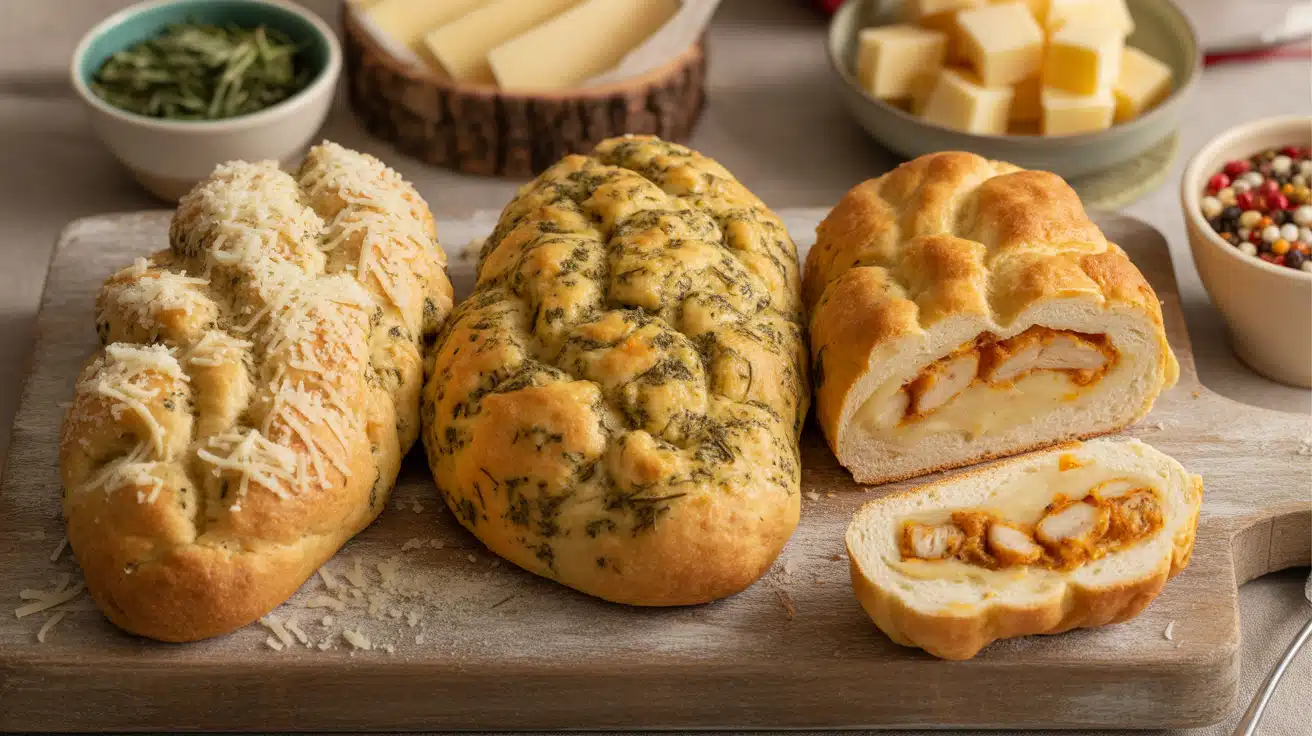
Ready to put your own spin on this classic recipe? These simple swaps will give you new flavors to enjoy.
- Cheese Options: Try asiago for a sharper bite, cheddar for extra richness, parmesan for nutty flavor, or a four-cheese Italian blend for rich taste.
- Herb Mixes: Add rosemary for earthy notes, thyme for floral hints, sage for warmth, or red pepper flakes for a spicy kick.
- Stuffed Version: Roll cooked shredded chicken, pepperoni, or ham and cheese into the center of your dough before baking. This turns your bread into a complete meal.
Each variation keeps the same basic method but gives you totally different flavors. Start with small changes and see what your family likes best.
Serving Suggestions

This herb-crusted bread works perfectly for many different meals throughout the day.
1. Sandwich Ideas
Create Subway-style sandwiches, such as the Italian BMT, featuring salami, pepperoni, and ham. Try chicken ranch with grilled chicken and bacon for a hearty lunch. The bread holds up well to heavy fillings and plenty of toppings.
For lighter options, make a caprese sandwich with fresh mozzarella, tomatoes, and basil. Turkey and avocado also pairs beautifully with the herb flavors already baked into the bread.
2. As Garlic Bread
It also makes excellent garlic bread for pasta dinners. Just slice, brush with garlic butter, and toast under the broiler for 2-3 minutes.
Try adding a sprinkle of red pepper flakes or fresh parsley to the garlic butter for extra flavor. The bread pairs especially well with creamy pasta dishes like fettuccine alfredo or rich marinara sauces.
3. Breakfast Toast
For breakfast, toast thick slices and spread with butter while warm. The herbs and cheese make even simple toast feel special with your morning coffee.
Top your morning toast with scrambled eggs and crispy bacon for a hearty breakfast sandwich. You can also spread cream cheese and add sliced tomatoes for a lighter morning meal.
4. Appetizer Bites
Cut the bread into small cubes and toast until crispy for homemade croutons. Serve them with soup or toss into Caesar salads. You can also slice thin pieces, brush with olive oil, and bake until golden for party crostini.
These croutons stay crispy longer than store-bought versions and add much more flavor to any salad. Try them on top of French onion soup or minestrone for an extra special touch.
5. Pizza Base Alternative
Slice the bread in half lengthwise and use it as a base for quick personal pizzas. Add marinara sauce, extra cheese, and your favorite toppings, then bake until the cheese melts and bubbles.
This works great for kids’ meals or quick weeknight dinners. The herb and cheese flavors in the bread mean you need fewer toppings to make it taste great.
Nutrition Facts (Per Slice)
Here’s the nutritional breakdown for one slice of this tasty Italian herb and cheese bread to help you plan your meals.
| Nutrient | Amount |
|---|---|
| Calories | 185 |
| Total Fat | 6g |
| Saturated Fat | 3g |
| Cholesterol | 15mg |
| Sodium | 320mg |
| Total Carbohydrates | 26g |
| Dietary Fiber | 1g |
| Total Sugars | 2g |
| Protein | 8g |
Note: Nutrition information is approximate and based on one slice from a loaf cut into 10 pieces. Values may vary depending on specific ingredients and portion sizes used.
Storage & Make-Ahead Tips
Want to keep your homemade bread fresh longer or prep ahead for busy weeks? These storage methods will help you enjoy that bakery taste anytime.
- Room temperature storage: Keep your baked bread in an airtight container or wrap it tightly in plastic wrap. It will stay fresh for up to 3 days at room temperature.
- Freezing baked loaves: Let the bread cool completely, then wrap each loaf in plastic wrap and place in a freezer bag. Frozen bread stays good for up to 3 months.
- Freezing unbaked dough: After shaping the loaves but before adding toppings, wrap them in plastic wrap and freeze. When ready to bake, thaw overnight in the fridge, add toppings, and bake as directed.
- Reheating for fresh taste: Wrap slices in damp paper towels and microwave for 10-15 seconds. For whole loaves, wrap in foil and warm in a 300°F oven for 10 minutes until heated through.
With these storage tricks, you can always have delicious Italian herb and cheese bread ready whenever you need it.
Ready to Start Baking? Get Your Recipe Card!
There’s something special about pulling warm, herb-crusted bread from your own oven.
The aroma fills your kitchen with that irresistible bakery scent. This recipe brings that beloved Subway flavor right to your home kitchen without any complicated steps.
We’d love to know how your bread turned out! Did you try any fun variations or find a new favorite sandwich combination? Leave a comment below and let us know what worked best for you.
Ready to get baking? Save this recipe and give it a try this weekend! Your kitchen will smell incredible, and your family will think you’re a baking genius.
Happy baking!